
The Complete Guide on Framing Your Cross Stitch
Have you ever wanted to learn how to frame cross stitch like a professional?
Framing cross stitch yourself can add more personalization to the completed project. Not only that, but Do-It-Yourself framing can also save you money.
The trick is to know where to cut costs without lowering the quality.
Framing your own cross stitch projects can seem overwhelming at first. But don’t worry, I’ll walk you through everything you need to know to get started.
With the right tools and know-how, you can easily frame your cross stitch projects like a professional.
WANT FREE CROSS STITCH PATTERNS?
Sign up for my newsletter to get access.

Supplies You Will Need for Do-It-Yourself Framing
You may not need all the supplies listed depending on your preferred method of framing.
- Your Frame of Choice
- Glass
- Matting
- Spacers
- Rust-proof Pins (pinning method)
- Cotton Thread (lacing method)
- Acid-free Foamboard
- Acid-free Backing Board
- Point Driver
- Points
- ATG Adhesive Applicator
- ATG Tape
- Kraft Paper or Backing Paper
- Hanging Hardware
- Rubber Bumpers
Prepare Your Cross Stitch Before Framing
This is an optional step.
It isn’t always necessary to wash your project before framing. However, I prefer to wash my finished projects because I have oily hands. Check out my tutorial on washing your cross stitch project.
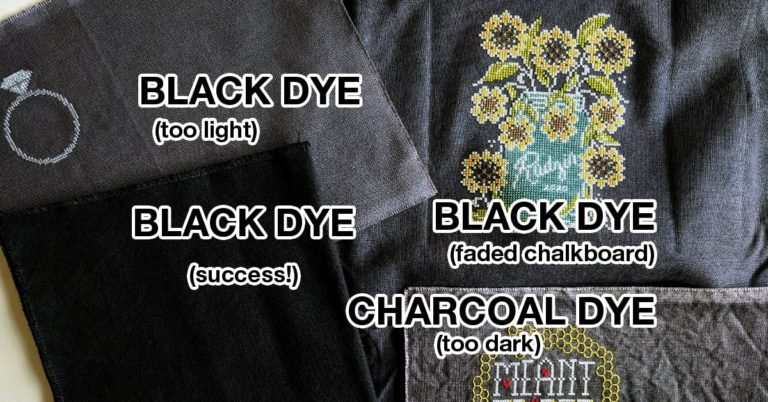
If you used hand-dyed threads or fabric, you may not want to wash your project because there is a chance that the fibers could bleed.
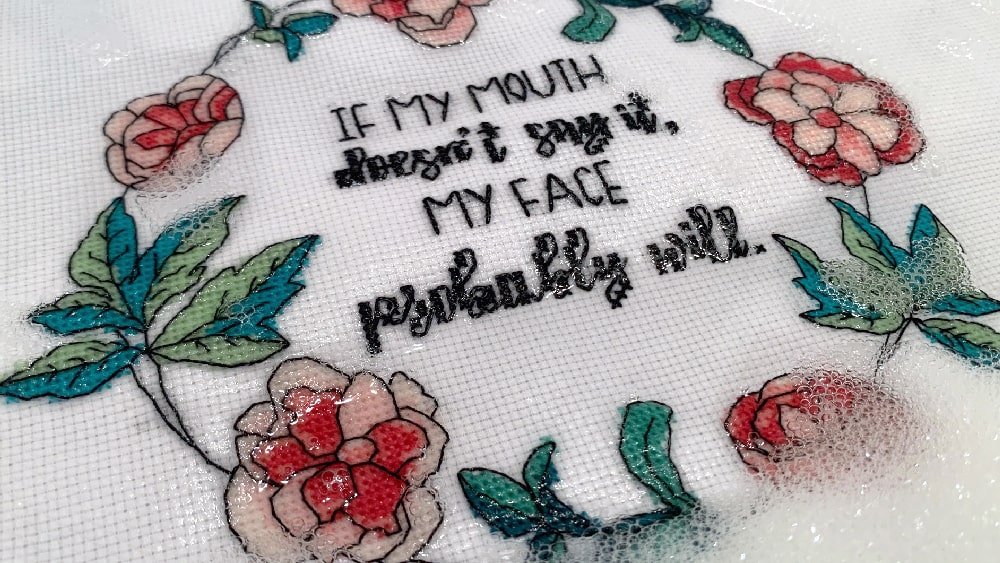
Please, please, please iron your finished stitching! I can’t tell you how many times I’ve seen a beautifully stitched piece and it’s framed with wrinkles. Ironing will elevate the overall appearance of your project.
Where to Get Frames
You might be thinking, “Can’t I just go to my nearest big box craft store and get a frame?”
Yes, you could, but this article is about creating the most professional-looking frame job on a budget.
Frames sold at these craft stores are for photos, meaning they don’t have a lot of depth. If mounted properly, you will need quite a bit of thickness to your frame.
Those frames usually aren’t made of the best materials, hence why they are pretty cheap. However, I think they are still costly for what you are getting.
Another disadvantage is that these frames only come in standard sizes.
There are better options for getting that custom-framed look for a fraction of the price.
Support Your Local Framer
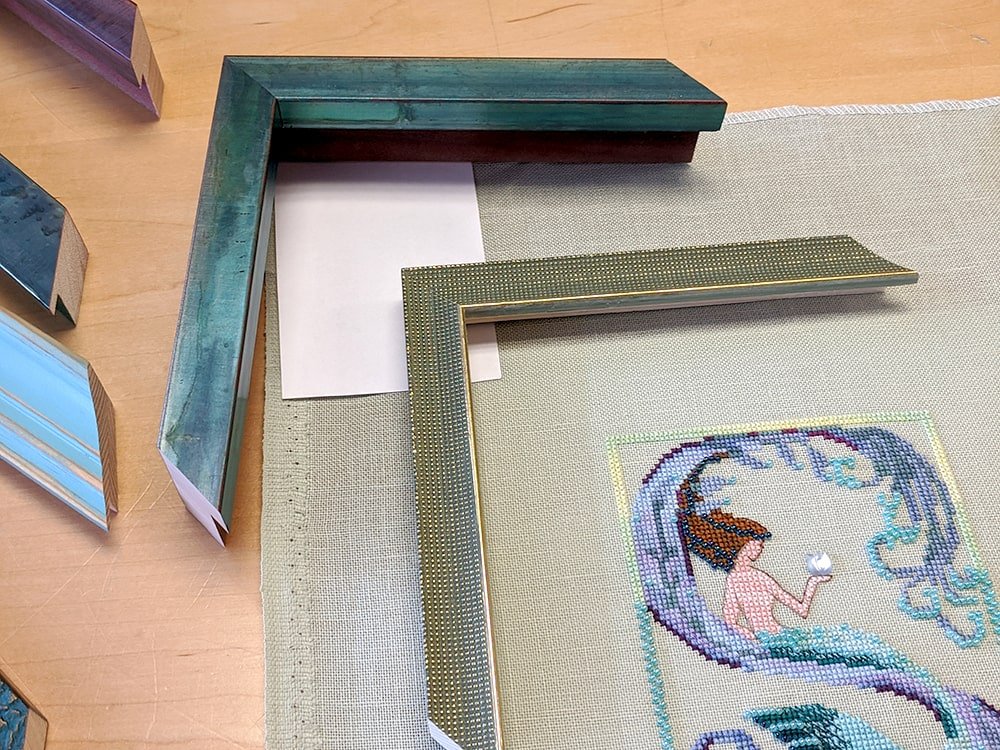
I love my framer, Paige. She owns Frame & Fiber in Point Pleasant, NJ. She is fantastic and I love watching her content. I actually found her through her YouTube. I felt confident letting her frame my cross stitch because she shared her process and techniques.
Always try to support small businesses. Many framers have been framing for years and know the best practices when it comes to framing cross stitch so that it will stay in pristine condition for years to come.
Get to know your framer and pick their brains. They have a wealth of framing knowledge and are more than happy to help you with your framing needs.
Did you know that you don’t have to get your project completely framed by your framer? To cut costs, you can get certain parts done and do other parts yourself if you don’t want to do the whole thing yourself.
For instance, you can pick out your custom frame and get other materials to DIY the framing process. This will depend on what finishing materials and tools you have, and what your strengths are.
The most basic thing you can do to save money is to mount the cross stitch yourself. We will talk more about mounting later.
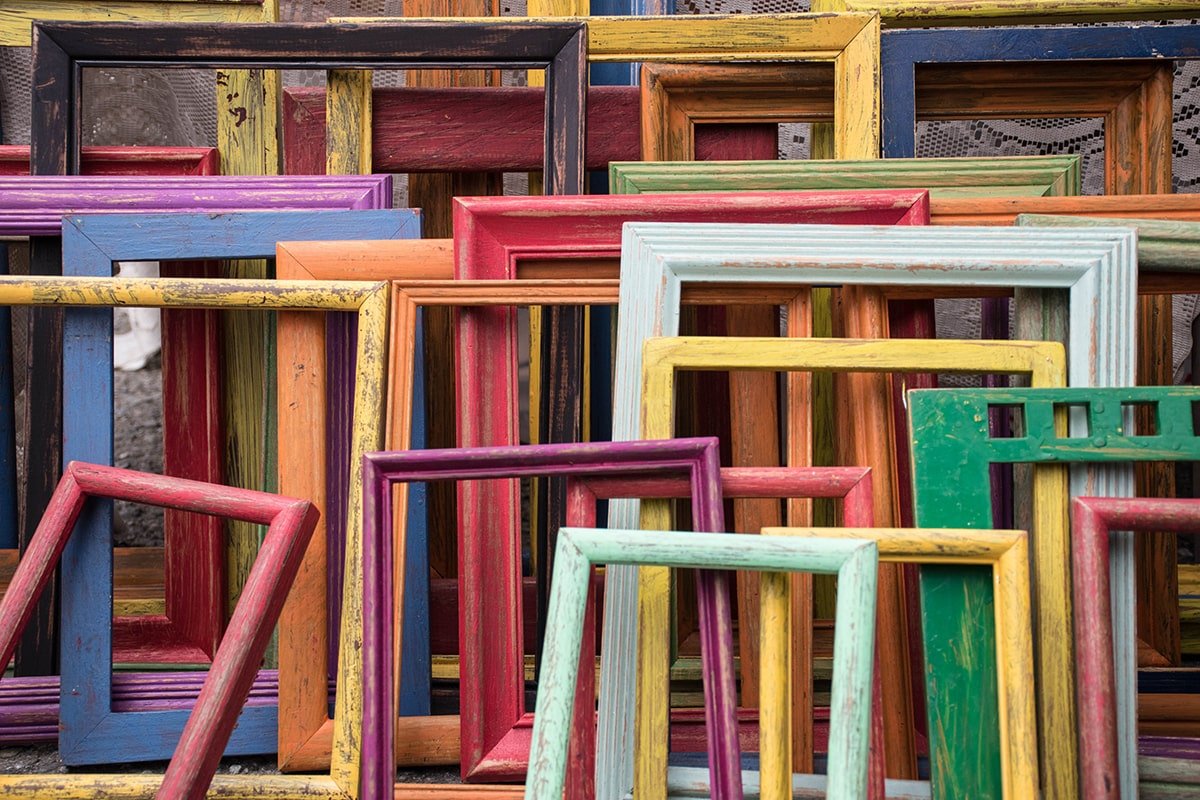
Get Creative at Thrift Stores
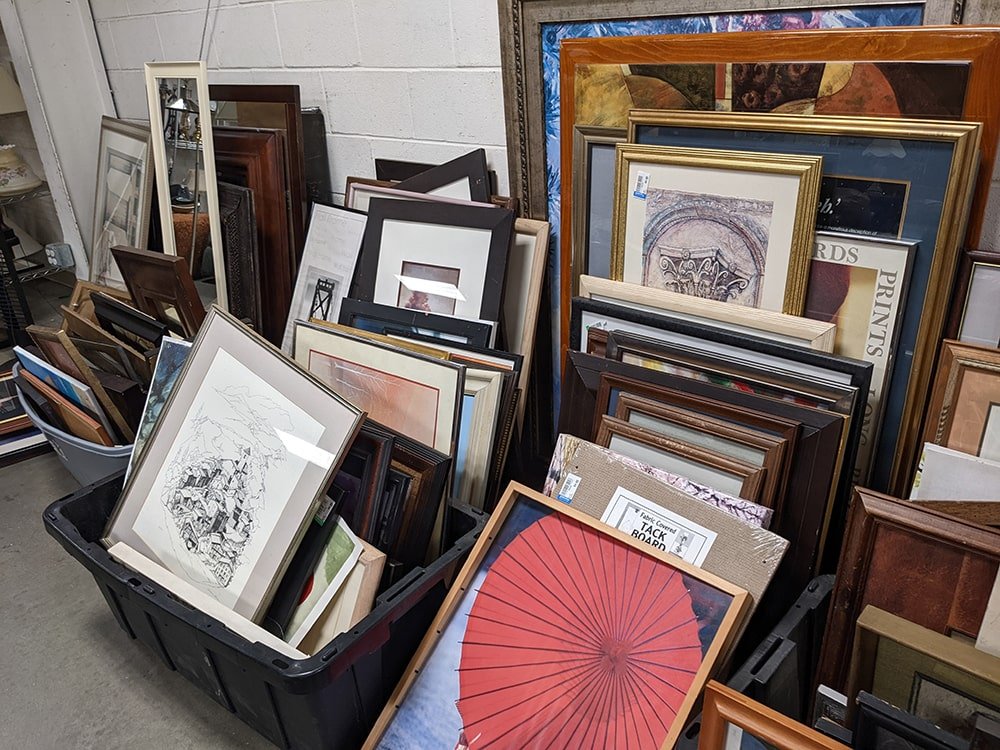
If you have followed my content for a while, you will know that I LOVE, LOVE, LOVE thrifting my frames.
In my opinion, it’s the best solution. You get the best deals. At my local Goodwill, they have $1 Sundays. So whatever color tag is that week will be $1! You really can’t beat that.
One reason that I like thrifting frames is that many of them are custom-framed pieces. This means that you are getting quality materials for a fraction of the price.
Keep in mind that this isn’t always the case, but many times it is.
Even if you don’t find pieces that were custom framed you are still getting a great deal.
Choosing the Right Type of Glass for Your Cross Stitch
There are several choices for framing when it comes to using glass. You can choose to not have glass or you have several options of plexiglass and glass available to you.
The glazing options listed are the most popular but there are many more.
The best option is the one with the properties that meet your needs. For example, what’s your budget? Do you want to prevent fading? Does the glare bother you?
There are many pros and cons when using no glass, plexiglass, or glass for framing your cross stitch project.
No Glass
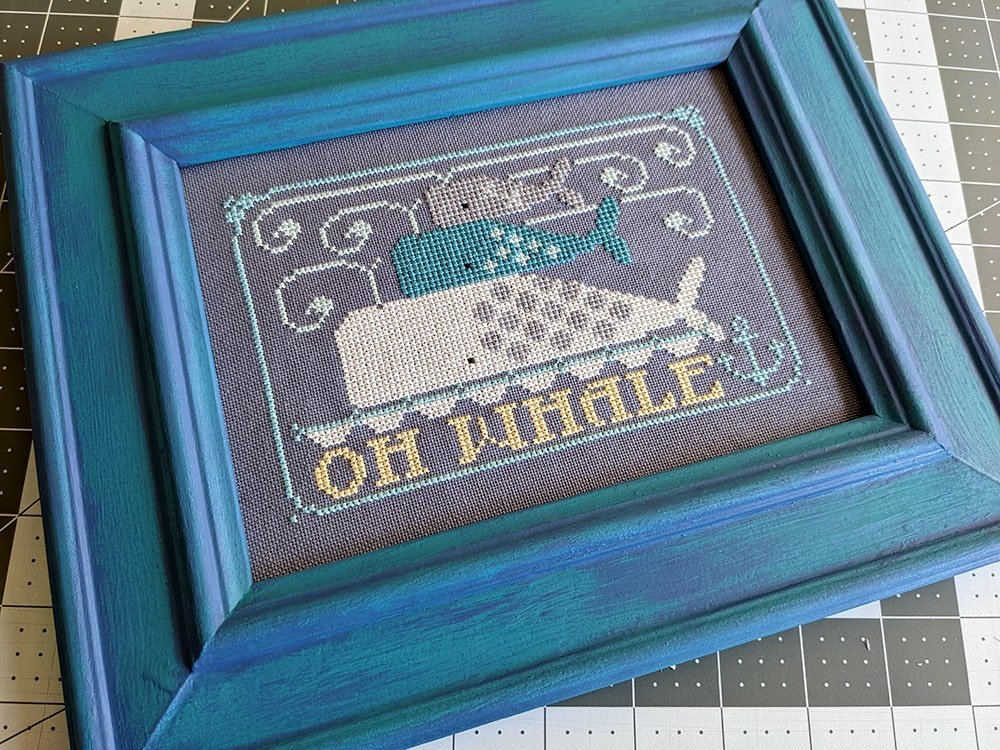
Primitive cross stitch pieces are typically displayed without glass. This is a favorite among many stitchers.
The benefit to not using glass is that there is no reflection. The downside to not having glass is that your piece can easily become dirty or sun damaged.
No glass for your framing project is a great option if you don’t want the headache of cutting glass and desire that more primitive style.
Plexiglass
Reasons why someone might choose plexiglass, or acrylic, over glass include that it is lightweight, anti-reflective, shatter-proof, and has exceptional archival qualities. The best varieties are even anti-static and scratch-resistant.
The use of plexiglass is particularly important if you are going to have it shipped.
With the increase of technology there are now as many options for plexiglass as there are glass. It comes down to your preference.
Regular Glass

Unlike plexiglass, glass is less likely to scratch, less expensive, doesn’t easily bow, has less of a static charge, and there’s no protective covering to remove.
Basic glass is usually what the craft store framing department uses. It is the cheapest option of glass and doesn’t have any special properties.
Personally, if I am framing cross stitch myself, I just use whatever glass the frame came with. However, if I want the best for my higher quality pieces, I will buy museum glass.
Conservation Glass
Conservation and museum glass are used by more professional frame shops because of their higher quality preservation qualities.
This is the most frequently used glass in custom framing and blocks 99% of UV rays. However, there is a noticeable glare.
Museum Glass
Museum glass is the best quality and most expensive. It has the best clarity, blocks 99% of UV rays, and the colors of your stitching will look amazing. It’s hard to not be sold when seeing the difference between this and conservation glass side by side.
Choosing the Right Type of Matboard for Your Cross Stitch
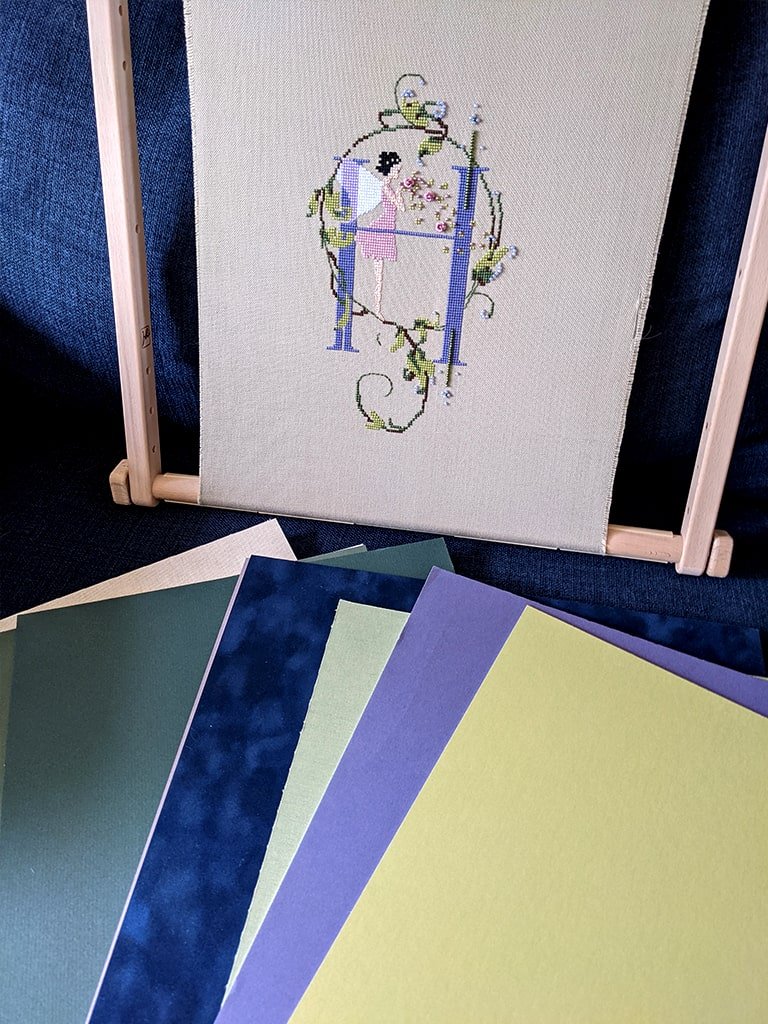
Just like with glass you have different options when it comes to mat boards.
You can choose to have no mat, which will cut down on the cost. In addition to not spending money on the mat itself, you will spend less on the entirety of materials (frame, glass, mounting board, etc.) because the dimensions are smaller.
How many mats do you want? Besides forgoing the mat altogether, you can have a single mat, double mat, or triple mat with various embellishes. The windows of the mats can be round or have fancy cuts.
I would use at least a double mat to account for the dimension of the stitching.
Matboards come in different textures and thicknesses as well.
In addition to your matboard being available in a variety of different colors, the core of your matboard comes in several choices including cream, white, black, and bright colors.
There are so many configurations for getting the look you want when it comes to choosing mats for your cross stitch.
Matboard will help keep your stitching off the glass. Keeping your stitching off the glass is important because condensation can build up on the inside of the glass and cause damage to your cross stitch.
To save money, I buy mat scraps from a local framer. They use a machine to precisely cut the matboards. It requires a certain size board to be able to cut it down so most of the mat would otherwise be wasted. Their biggest size scrap is 16”x20” and costs $2.00.
No Matting
If you are not using matting inside your frame, you will need to use frame spacers. You can learn all about frame spacers below.
Most of my framed cross stitch doesn’t have a mat.
Decorative Matboard
Decorative matboard or acid-free matboard is your least expensive option and comes in the widest variety of colors.
This matboard is paper made from wood pulp that has been treated with a neutral pH bath. Eventually the lignins in the paper will degrade, releasing acids. This can eventually cause what is called mat burn. The acids from the matboard can damage your stitching in the long run.
Choose this type of mat if preservation is not a concern. The lifespan of a decorative matboard lasts up to roughly 10 years. You may notice that the core of the matboard will become discolored over time.
I always chuck the matboard that comes in my thrift store frames and replace it with a higher quality mat if I choose to use a matboard.
Conservation Matboard
Conservative matboard is the best intermediate option as it is cheaper than museum matboard while still containing some conservation properties. These are the highest grade paper matboards.
This alpha-cellulose processed wood pulp is purified to be acid-free and lignin-free. It is also buffered in a calcium carbonate to keep a neutral pH.
These mats are bleed-resistant and fade-resistant.
There are still lots of color choices with this matboard so don’t feel like you are missing out. Conservation matboard comes in a wide variety of textures including solid, linen, jute, silk, suede, luster, and more. In addition, this type of matboard contains a product line with colorful cores! How fun is that?!
Depending on the manufacturer and the environment, this matboard has a lifespan of about 50-100 years.
Museum Grade Matboard
Museum matboard or archival matboard is the highest quality and most expensive.
This matboard is made 100% from cotton. That includes the face, the core, and the backing. Cotton rag is naturally acid-free and lignin-free. The mat starts and stays pH neutral throughout its lifetime.
Museum matboard is the best mat for your cross stitch and will last for 100s of years.
My favorite is the Crescent RagMat Museum matboard.
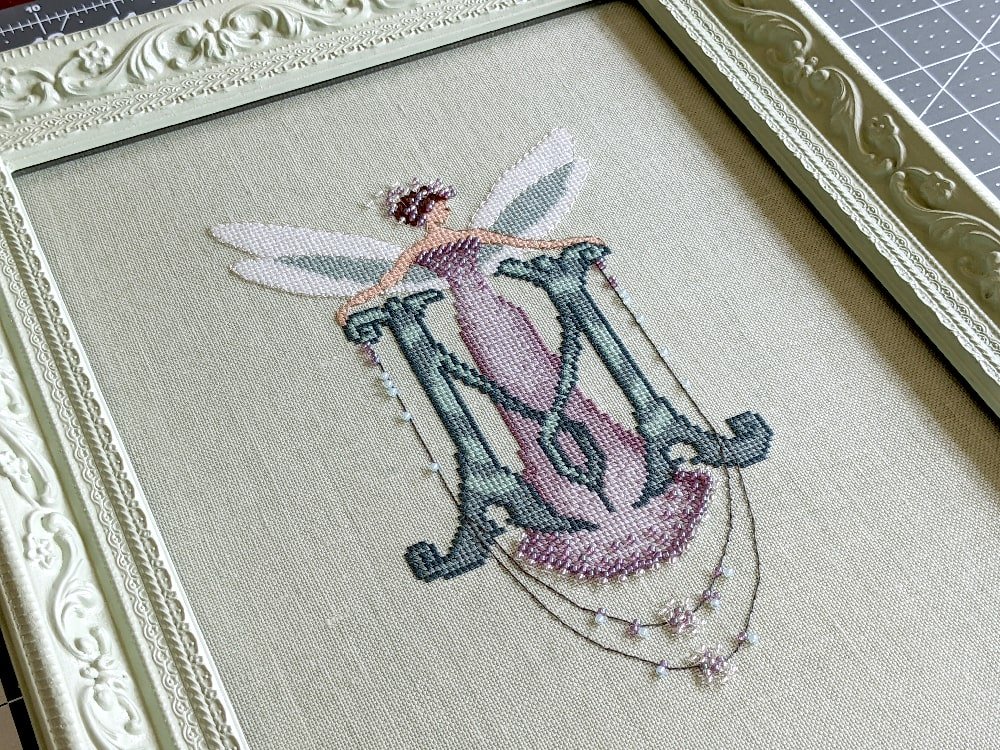
Using Frame Spacers with Cross Stitch
Frame spacers are the answer to framing cross stitch without a mat.
They allow airspace within the frame so that without a mat, your stitching won’t touch the glass. The airspace keeps your stitching from developing mold or mildew from the moisture inside the frame.
There are a few different types and brands of spacers. Some use adhesive to stick to the glass (made by EconoSpace) and others are an “s” shape (made by FrameSpace) to wrap around the glass. They come in hollow and solid options.
I use the adhesive backed spacers because they are more readily available to me.
Spacers come in different sizes including 1/16”, 3/16”, ⅛”, ¼”, and ⅜” and a variety of different lengths.
The depth of the spacer will depend on if your stitching has beads and other embellishments. If you are framing stitching without beads or even with 2mm seed beads, I would go with a ⅛” frame spacer. If you are stitching with Mill Hill Treasures, I would go with a ¼” spacer.
For any other embellishments that you decide to add you may need a bigger spacer and a frame with more depth.
Depending on the manufacturer, spaces come in the colors white, black, clear, and smoke. You will want to match the color of the spacer to the color of the inside of the frame.
I use either ⅛” or ¼” spacers in black or clear for all of my stitching projects.
Mounting Your Cross Stitch
Pinning and lacing are how professionals mount cross stitch. Everyone has their preferences so try both and discover which you like more.
For mounting your work, you will need rust-proof pins or cotton thread depending on the method you choose.
You will also need a mounting surface such as foamboard to pin into or a thick matboard.
The mounting surface I will use depends on how much space I have in my frame. Many times, I won’t have enough space to use foamboard and will choose a thinner, but sturdy, matboard instead.
I’ve even heard of stitchers mounting their work on 100% cotton canvas boards.
For best results, mount your stitching to matboard that is a similar color to your fabric. To hide traveling threads that you can see under a light fabric, use a light gray or beige color matboard and they will disappear!
Read more about my cross stitch mounting tutorials.
Pinning
Pinning is popular with many stitchers because it is quicker and easier than lacing.
Use rust-proof pins, such as stainless steel or brass pins, so that the pins will not ruin your project. Nickel-plated pins are rust-resistant. Silk, dressmaker, and satin pins have a flat head so that it will rest flush against the foamboard.
Just like with matboard, there are different choices for foamboard. Use an acid-free or cotton rag foamboard to protect your work from acids. The most common thicknesses of foamboard are between ⅛” and 3/16”. You can also find a ¼” variety.
The thicker the board, the easier it will be to keep your pins inside the foam. Sometimes they tend to poke through the sides. Be careful not to prick yourself.
Again, keep in mind how many layers you have and the depth of the frame. The thicker foamboard may not fit.
You will want to place the pins about half an inch apart from each other.
Find the center of each side and place your pins. Working with parallel sides, alternate adding pins. Then do the other parallel sides.
If you are unhappy with a section, you can always take the pin out and try again.
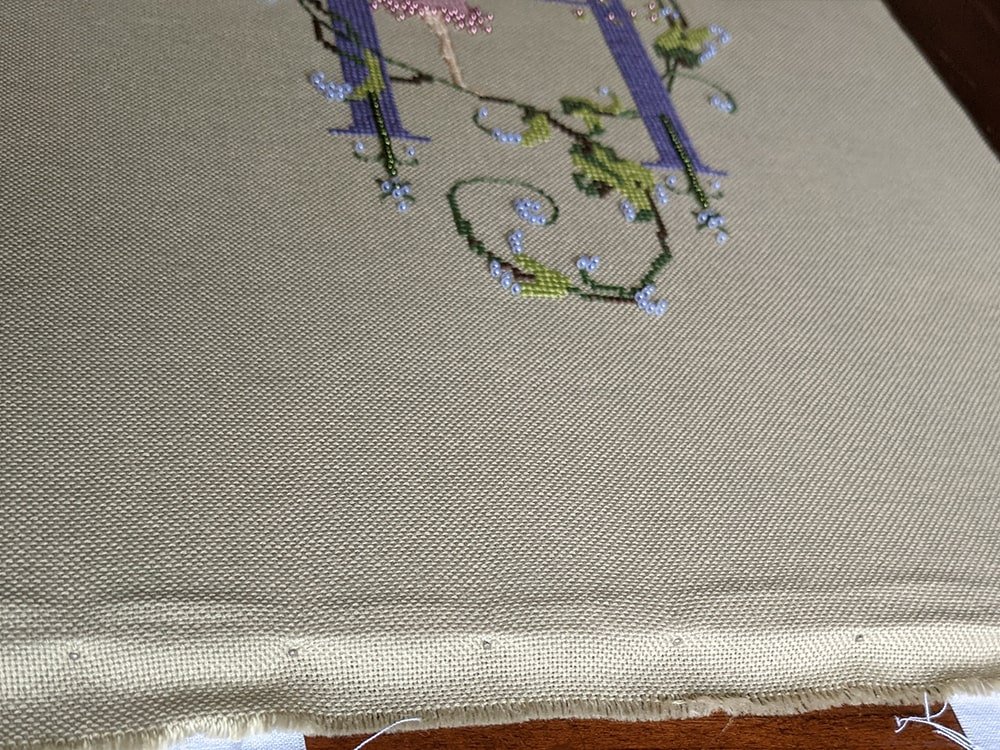
I try to follow the weave lines when pinning so that I get perfect perpendicular lines when framing my cross stitch.
Lacing
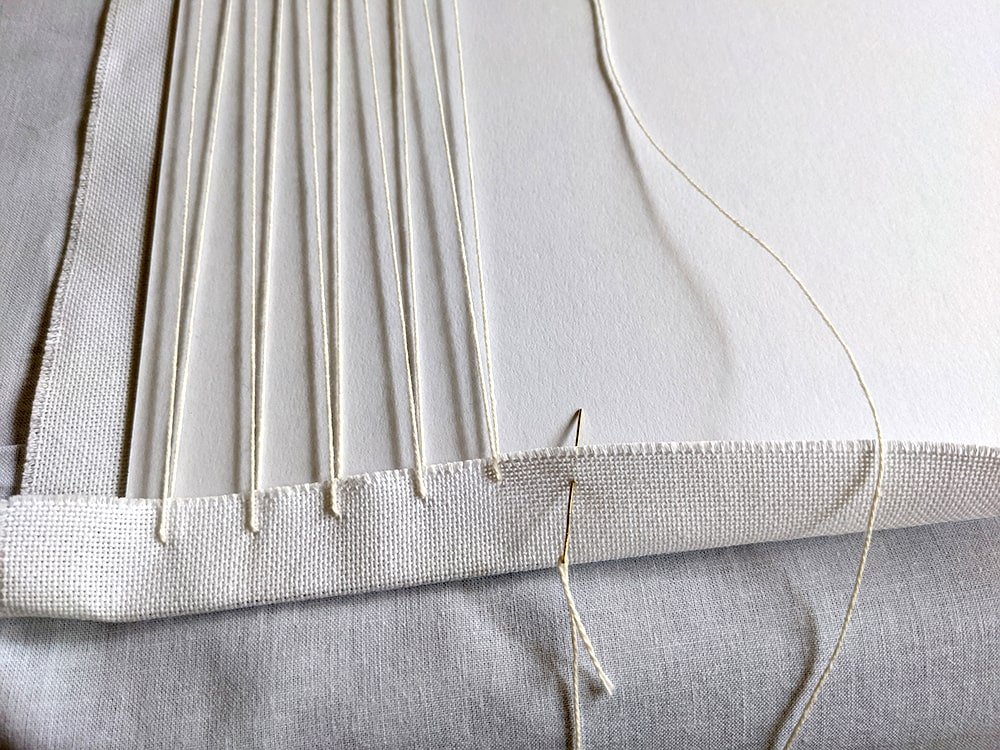
Although more time-consuming than pinning, I think that lacing provides a better finished product. I can get better tension without wavy lines.
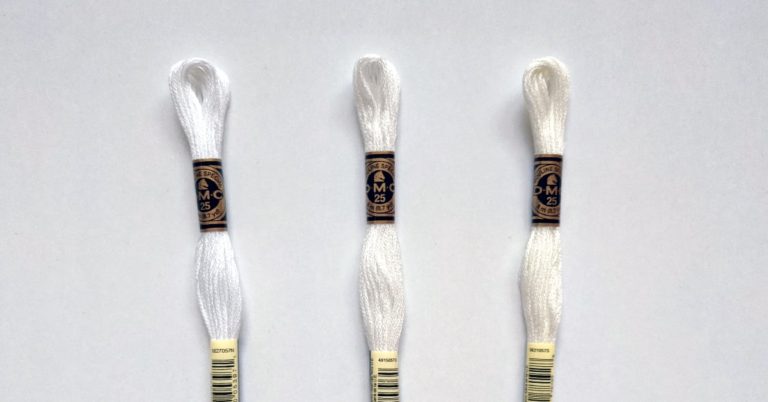
To lace, use a needle and cotton thread. I use a size 24 tapestry needle and size 10 crochet thread.
Use a matboard or some other acid-free or archival board for mounting.
If possible, you can pin the centers down on all four sides so that the fabric stays in place. Then remove them once you are done lacing.
Start at one end and thread up and over in a zigzag pattern. Once finished you can finesse the project until you are happy. Because you are not pinning the fabric to your board, there is more flexibility with adjusting.
Finish the other side then you are done! Pop that sucker into your frame and admire your work.
Closing Up Your Frame
The hardest part is over. Mounting your piece will be the most time-consuming part of framing your cross stitch.
If you have additional space in your frame, you may want to cover the back with some backing board or extra mat board. However, this isn’t necessary. I just think it keeps everything tidy.
Use your point driver, brad gun, or staple gun to keep the stitching firmly in the frame.
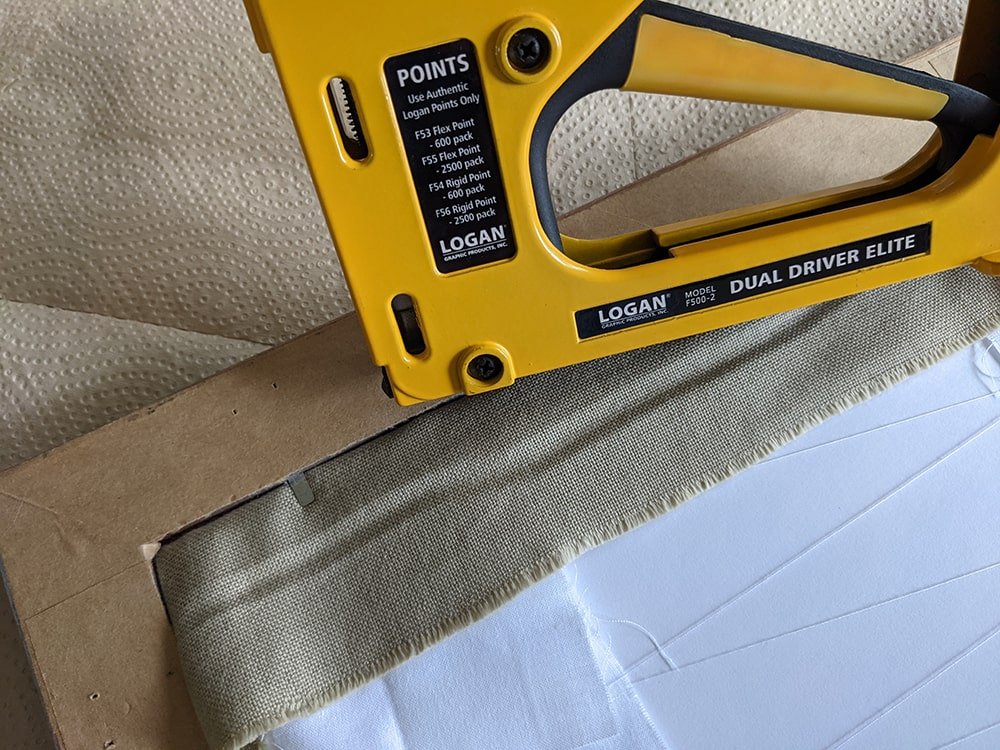
Like with pinning, I start with the centers. Then place points on either side closer to the corners. I usually have between 3 and 5 points per side depending on the size of the frame.
Use the ATG adhesive applicator to apply ATG tape around the frame. I try to get it as close to the end as possible.
Lay your backing paper on a flat surface. Flip your frame over and place it onto the backing paper. My grandpa is always so impressed with how smooth I get my backing paper. If you have a few wrinkles it’s no big deal.
Using any single edge razor blade, an x-acto knife or box cutter will work, cut around the frame. Make sure you cut all the corners.
Now that the frame is all closed up, add your hardware. The hardware you use will depend on the size and weight of your cross stitch project.
For smaller projects, sawtooth hangers are fine. For larger projects, I like to use d-rings. You can also use a wire to connect the d-rings, but I prefer to use two hooks instead of one nail so that my frame stays level. Again, it’s up to you.
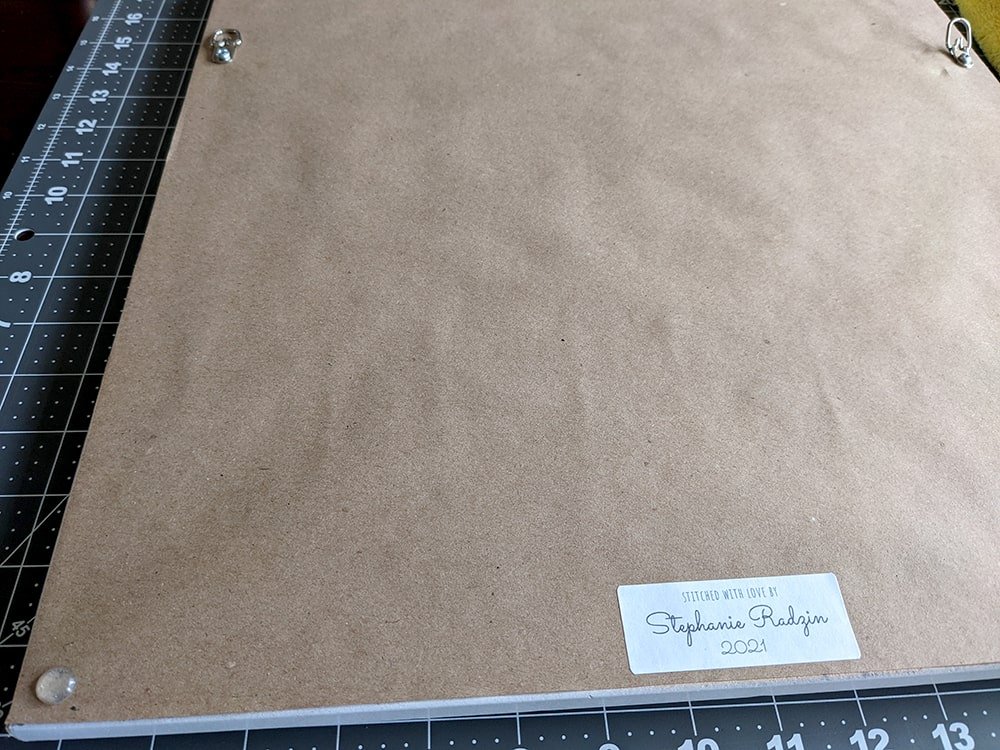
I like to finish off the frame by adding rubber feet to the bottom 2 corners and a label with my name and the date on it.
Final Thoughts
It’s up to you how you want to frame your cross stitch.
You can choose to exclude certain parts to make the project more affordable or you can choose the best framing materials to preserve your stitching for a lifetime.
I hoped this guide helped you learn all the elements that go into framing your cross stitch.
Happy Stitching!
I love this! I am confused about stapling. Am I going to staple the fabric to the foam board or whatever I use for the backing? How do the staples hold firm in that material that is not dense. Also, I know it would be incredibly time consuming, but I am such a visual person, that making a video of doing this would help me and others so much. Thank you for helping me on my tight budget!
Thanks so much. Clear and complete. I’m thinking lacing is the way for me since you said it’s more flexible for working out waviness. Off to gather my supplies.
Thank you for a very informative website. I’m trying to decide if I want a frame shop to frame the cross stitch I did for my sister or tackle the project myself. I think I will try myself with the wealth of info that you share.