
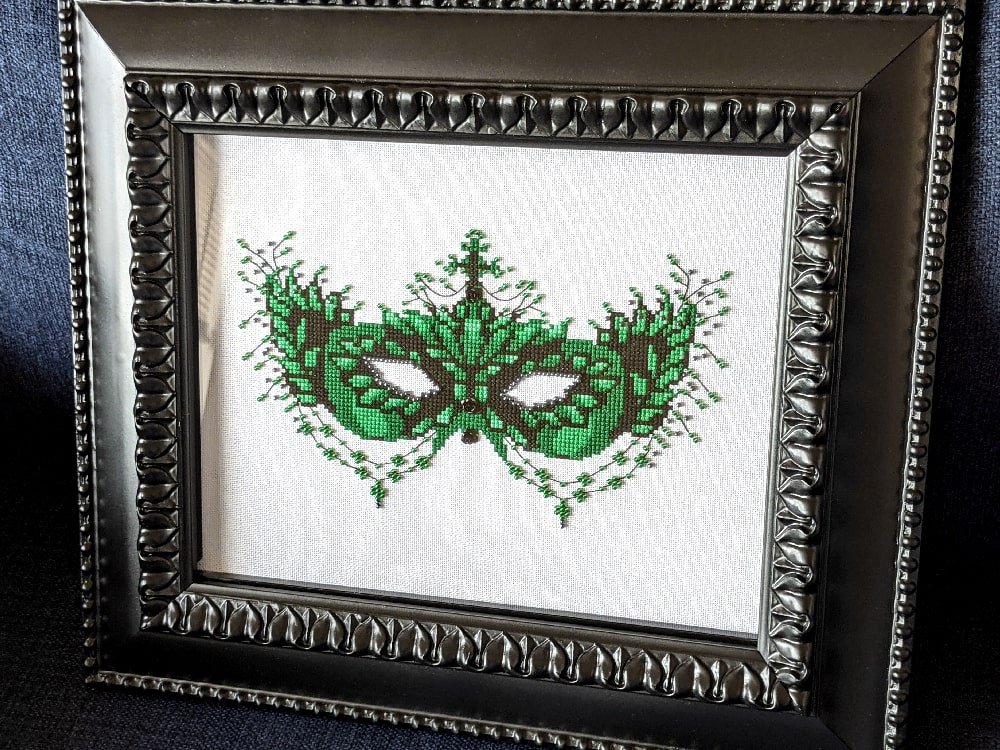
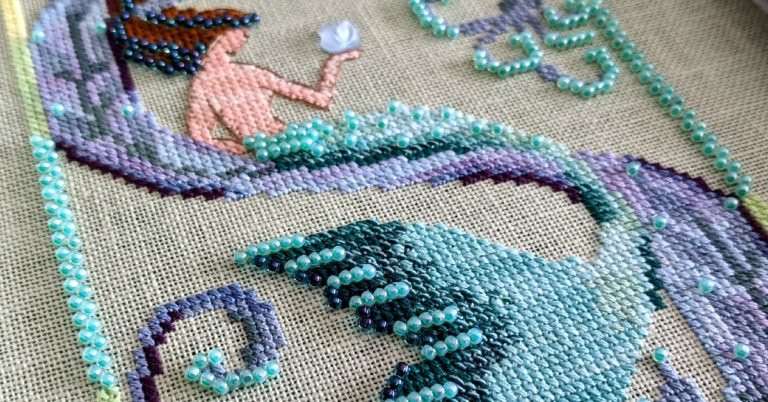
Emerald Green 2019 Mirabilia Retreat Mask

Here is another color conversation! I can’t help myself. I plan on doing this one for myself in either the original colors or teals.
This green conversation happens to be a gift for our friend, Brian. Brian was sweet enough to plan a Bachelor Party for Mike since we had a low-key wedding during the pandemic.
Brian loves masks and collects them. He was going to throw a masquerade-themed New Year’s Eve party, but it was canceled. How perfect would that have been?!
This mask is a free pattern on the Linen and Threads website. It is from their 2019 Mirabilia Retreat. You can also find other Mirabilia Retreat patterns from past years. (Currently, it is no longer available. I will add the link if it becomes available again.)
The whole thing stitched up pretty quickly. It’s only 70hx116w stitches.
This project was completed on 28ct white lugana.
WANT FREE CROSS STITCH PATTERNS?
Sign up for my newsletter to get access.

Mirabilia Mask Color Conversion
Brian’s favorite color is green so of course, I had to change the colors.
Luckily, this pattern only has a few colors so it was easy to change. Check out my color theory article if you need help with color conversions.
DMC 32 Dark Blueberry > 3818 Ultra Very Dark Emerald Green
DMC 32/341 Blend > 910 Dark Emerald Green
DMC 341 Light Blue Violet > 912 Light Emerald Green
DMC White > T81 11/0 (beads)
DMC has enough colors that I chose a medium green instead of stitching the blends. However, if you would rather do the blends, I have a new tutorial to create better blends.
There are only 8 stitches of the white thread so I chose to fill them with beads. You can also opt to fill them with your light color. In my opinion, the white stitches aren’t really necessary.
Cross Stitch Bead Conversion
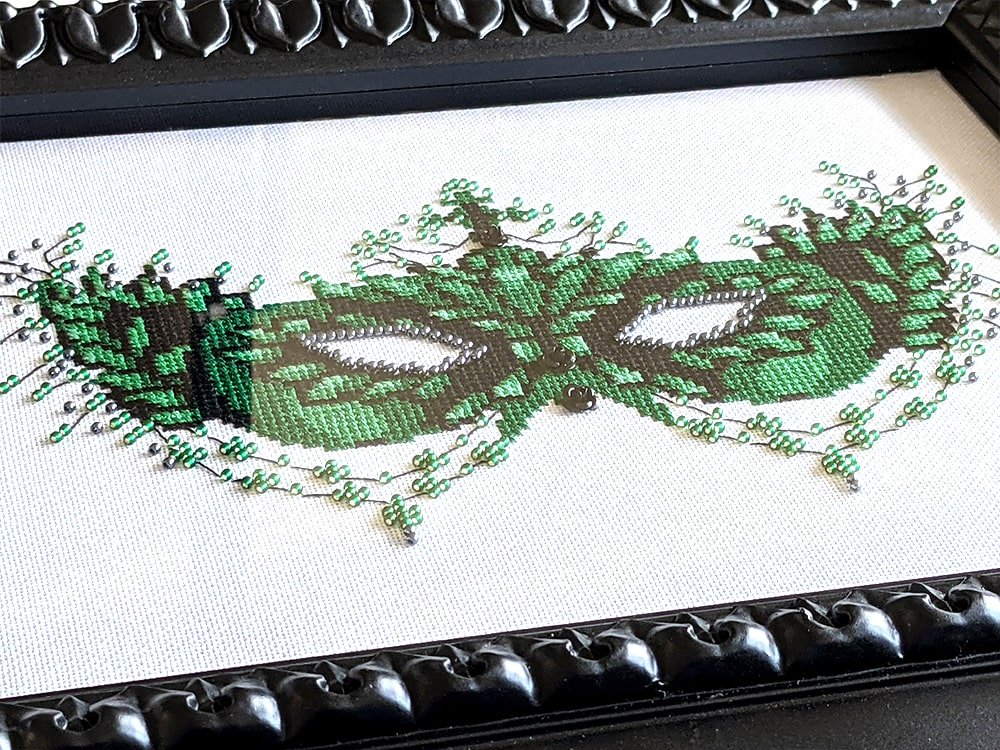
I kept going back and forth about whether I wanted the color scheme to be green, gold, and black, or just green and black. Ultimately, I went with green and black so a more gothic vibe.
Mill Hill 00206 Violet > T81 11/0 Toho Hematite Metallic
Mill Hill 03034 Royal Amethyst > T36F 11/0 Toho Emerald Green Silver Lined Matte
Mill Hill Treasure 13009 > Black Roses
Beads are always annoying to get unless I want to make the trek to my LNS. I am fortunate enough to have a bead shop closer to where I live. However, they do not carry Mill Hill.
After reading Northern Expressions Needlework’s blog post, I learned that Mill Hill is not a manufacturer and that they repackage Miyuki and Toho beads. Then it made sense why the bead shop didn’t carry Mill Hill.
I spent forever there matching colors to my stitching and trying to figure out which beads I wanted. I ended up buying more beads online and used those.
I decided to use Hematite instead of the Jet Black beads because they stood out a little more from my stitching.
I was always disappointed in the number of beads that came in the Mill Hill packaging. It was maybe enough for one project, depending on the project.
Buying straight from the manufacturer allows you to get more beads at a more affordable price.
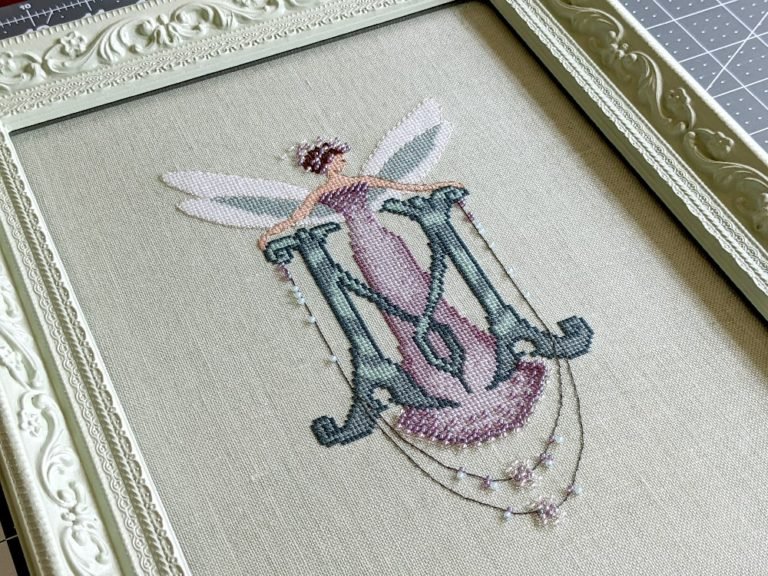
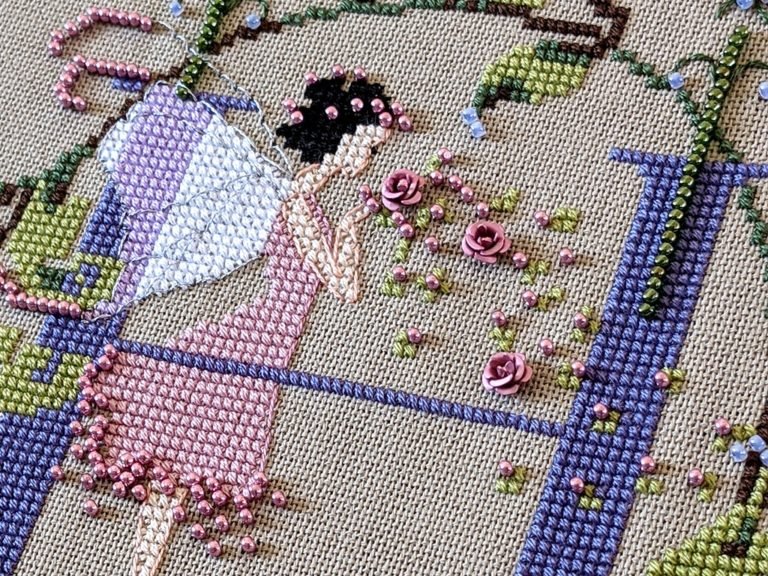
I bought black roses similar to the roses that I used in my Letters from Nora H fairy. Again, it’s getting harder and harder to track down the Mill Hill Treasures and I think that these are a great alternative.
Thrifted Cross Stitch Framing
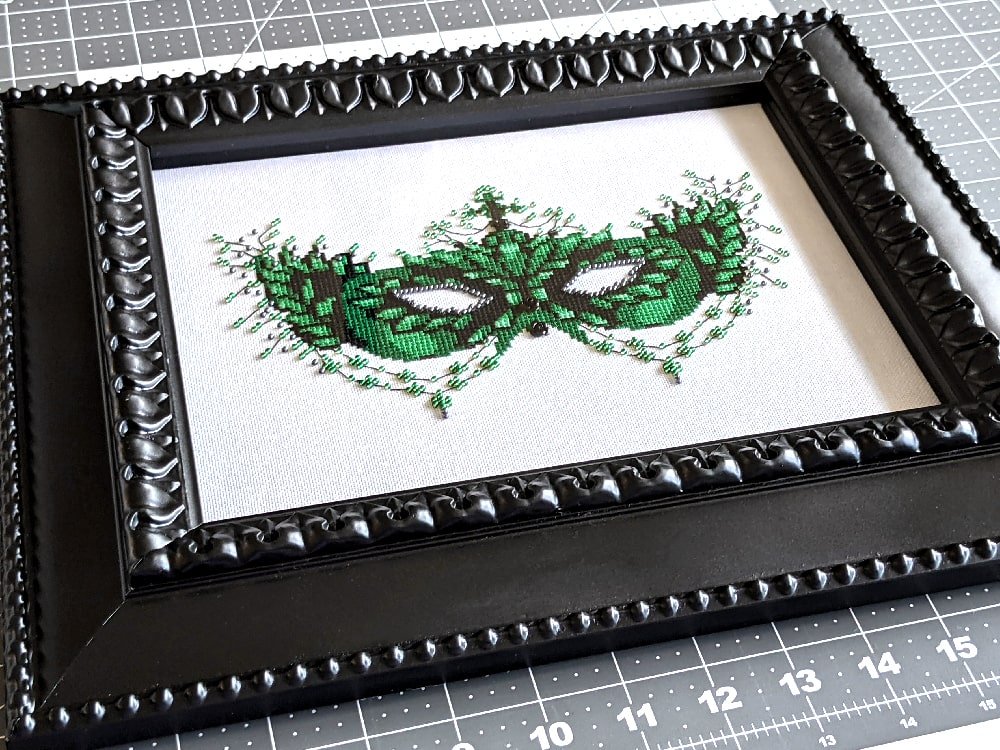
I’m so glad that I started a thrift frame stash. I had the perfect frame just waiting to be transformed into a beautiful frame that matched this stitching.
With the weather getting colder, I had to spray paint this frame quickly. I initially spray painted it when it was warm and sunny but there was some debris stuck in the paint. So I wanted to sand and redo it.
I used Krylon Fusion All-in-One Paint and Primer in Satin Black. The pattern on the frame goes so well with the wings of the mask. Spray paint really made the whole thing come together.
Luckily, the frame was the perfect size for the stitching. I chose not to do a mat this time (nor do I think there would have been enough space). Instead, I went with black spacers that I got from my local frame shop.
The glass is reused from the piece.
I laced the cross stitch to a piece of medium gray RagMat board. I carried my black backstitching and the darker-toned matboard conceals the stitching. If I used a white mat board, you would be able to see the carried threads in the front.
There you go. I transformed this thrifted custom-framed piece into an inexpensive custom cross stitch frame that looks like it was from my frame shop.
The frame was $5.99, the spacer was $6.00, and the mat board that I used to mount my stitching was a remnant for $.75.
That’s not a bad price for framing if I do say so myself.
The article on how I do my framing is coming soon! Subscribe to my newsletter to get updates on tutorials, tips, and free patterns.
Thankfully, I have another identical frame for when I stitch my own mask.
I hope you enjoyed this cross stitch conversion project. If you have any questions feel free to leave a comment.
Happy Stitching!
Is the emerald green mask still available! Do you know where I could get it?
The original color scheme is actually purple. The link was broken, but I messaged the owners of the website and am waiting to hear back. 🙂
Your mask is just perfection. I love it. What fabric and count did you use?
Thank you so much! The fabric is 28ct white lugana. Normally, I like to stitch on 32ct but 28ct was what I had.
I thought I left the comment. I must have done it wrong.
Your website is awesome!!! Thank you for putting this together. I just subbed to your YT channel.
? What count fabric did you use to stitch the mask? It is stunning!
Thank you
Denise
Thank you <3
I used 28 ct but prefer to stitch on 32.