3 Steps To Resize Thrifted Frames for Cross Stitch (Budget-Friendly DIY)
You just finished a project that you spent countless hours stitching. You want a way to display your work of art, but custom framing can be so expensive.
Thrifting your cross stitch frames is a great alternative because it’s inexpensive and you can find great deals on beautiful frames.
But what if you can’t find the right size?
Recently, I have been cutting my frames down to the perfect size for my project. This has become my favorite method for framing cross stitch. It’s such a game-changer!
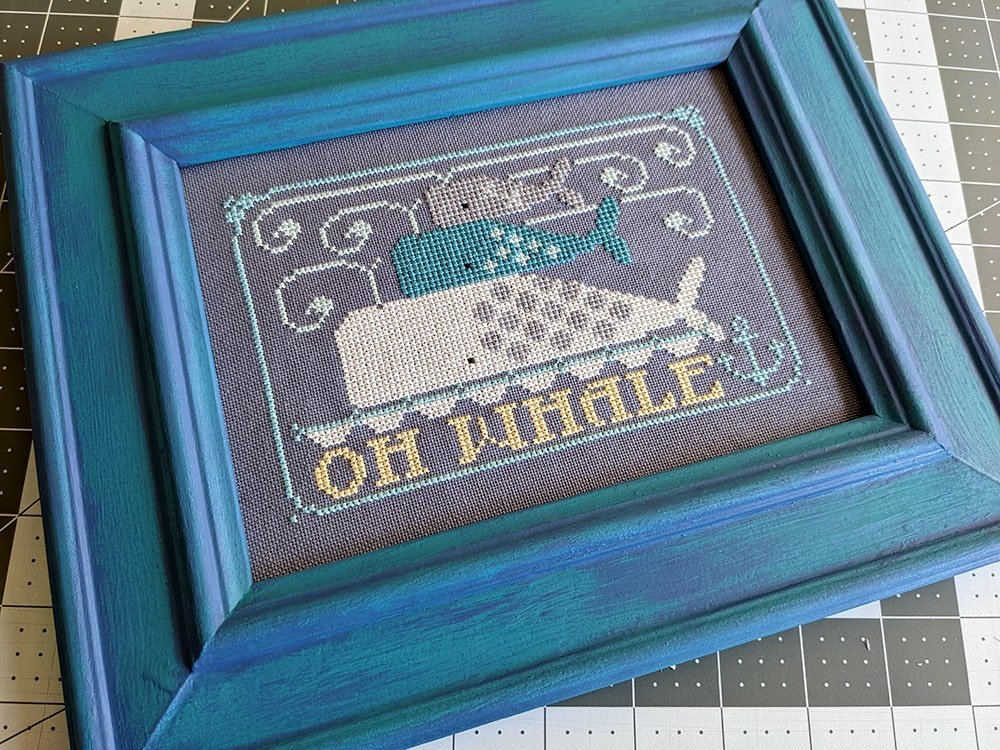
Save money by resizing thrifted frames for your cross stitch projects.
WANT FREE CROSS STITCH PATTERNS?
Sign up for my newsletter to get access.

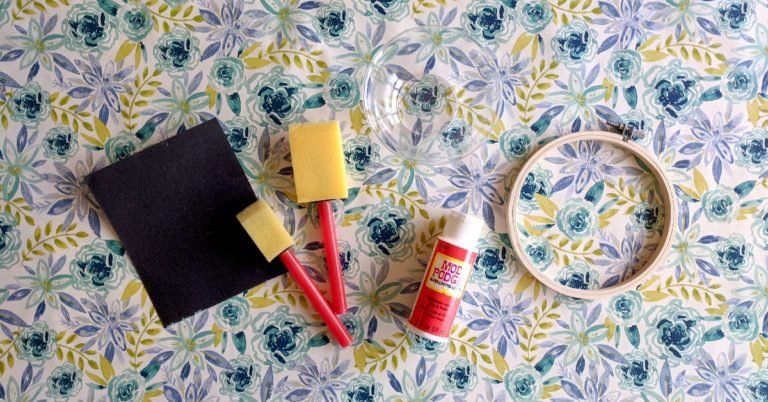
Materials You Will Need To Resize Your Thrifted Frame
- Finished Cross Stitch Project
- Thrifted Frame (here are some criteria I follow to find the best cross stitch frames)
- Miter Saw or Miter Box
- Workbench
- Wood Glue or E6000
- Logan Graphics F300-1 Studio Joiner (optional)
- Quick Release Band Clamp (optional)
- Glass Cutter (optional)
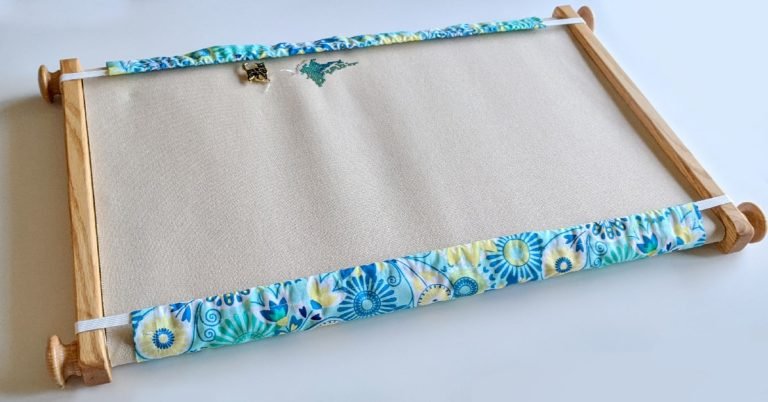
1. Measure Your Cross Stitch
Start by measuring your finished cross stitch project.
Determine how much space you want around your cross stitch piece. I usually prefer about half an inch of space around, but everyone’s preferences differ.
Double the amount of space to account for both sides (top and bottom, and left and right).
Add the space amount to the dimensions of your finished project.
For example, if I am framing a project that is 5 inches by 7 inches, I will need a 6-inch by 8-inch window.
How did I get that?
½ x 2 = 1 inch
5 + 1 = 6 inches
7 + 1 = 8 inches
Easy, right?
Don’t forget to measure several times to make sure that you have the right dimensions for your project.
There’s a saying, “Measure twice, cut once.”
2. Cutting the Thrifted Frame and Glass
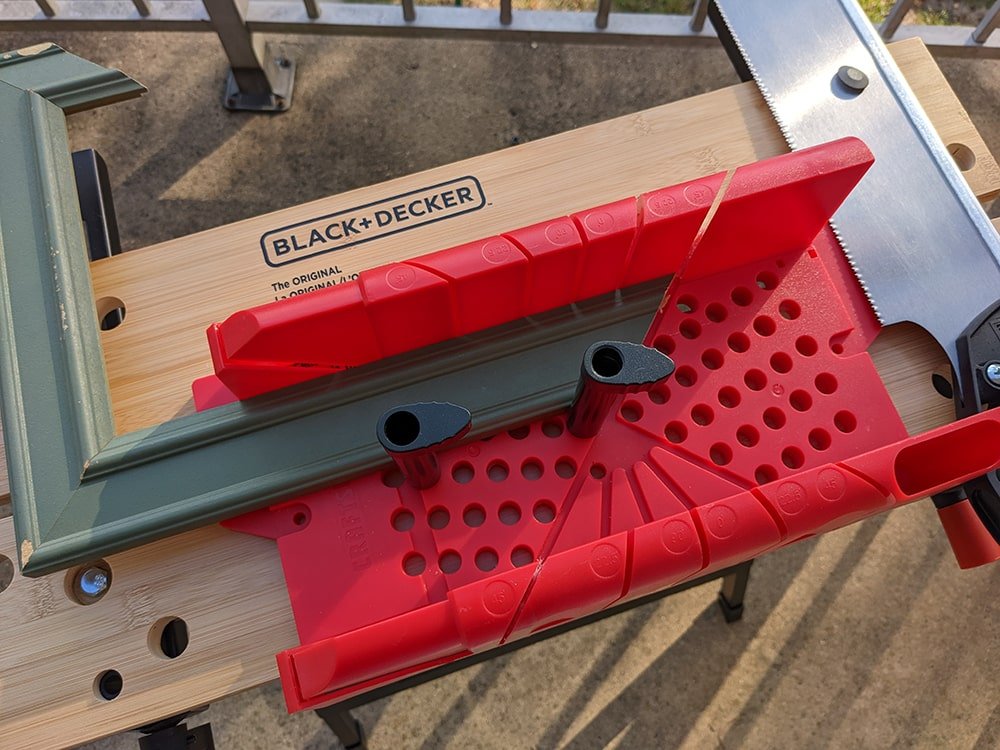
Once you have decided how big you want your frame to be, create obvious markings where you need to cut.
You will need some sort of cutting tool. Either a miter box or miter saw will do.
A miter box is the perfect manual option if you lack space or don’t want to touch power tools.
Miter boxes aren’t the best because they have wiggle room, which can create inconsistent corners. It is also likely that you will cut some of the plastic which will increase the gap over time. These are fine if you are a beginner.
I like this miter box because it has pins to hold the wood securely. These pins are very helpful for getting a more accurate cut.
Because I live in a small apartment, I also needed to purchase a portable workbench so that I could anchor down the box and bring it out onto my balcony so that I didn’t get sawdust everywhere.
I used the slats of wood to hold the feet of my miter box firmly in place while I sawed.
If you have a powered miter saw, that’s even better! Cutting your frame will be so much easier, quicker, and more precise! I ended up going to my Grandpa’s house to use his miter saw because it was taking me forever to cut through the wood.
You may want to invest in a miter saw if you end up cutting a lot of frames yourself. Please be careful and wear safety gear such as protective eyewear.
I cut the wood at 45 degree angles to get the perfect mitered corners.
For the most part, I like to use glass with my projects. I use the glass that came with the frame.
You can also use plexiglass or choose not to use glass and skip this step completely.
I used this glass cutter and cut on both sides. You want it to sound like sizzling bacon. I think I leveraged it over a pencil or something similar. Then I gently tapped the glass and tada.
There are lots of tutorials on YouTube for cutting glass. I am by no means an expert.
Again, please be careful!
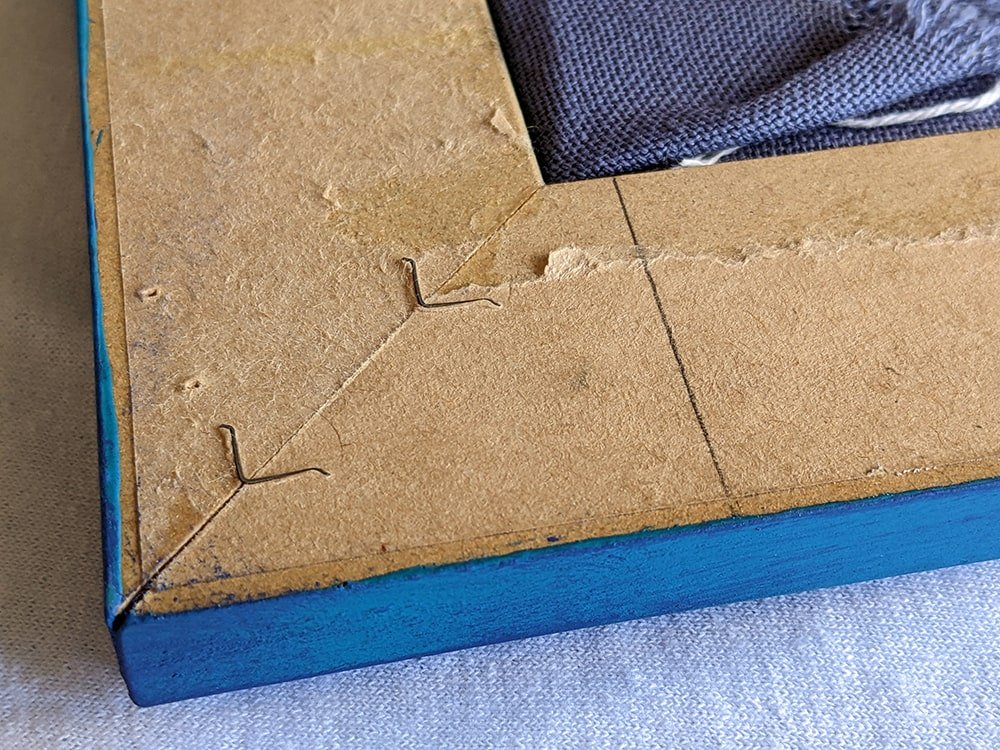
3. Assembling Your New Resized Frame
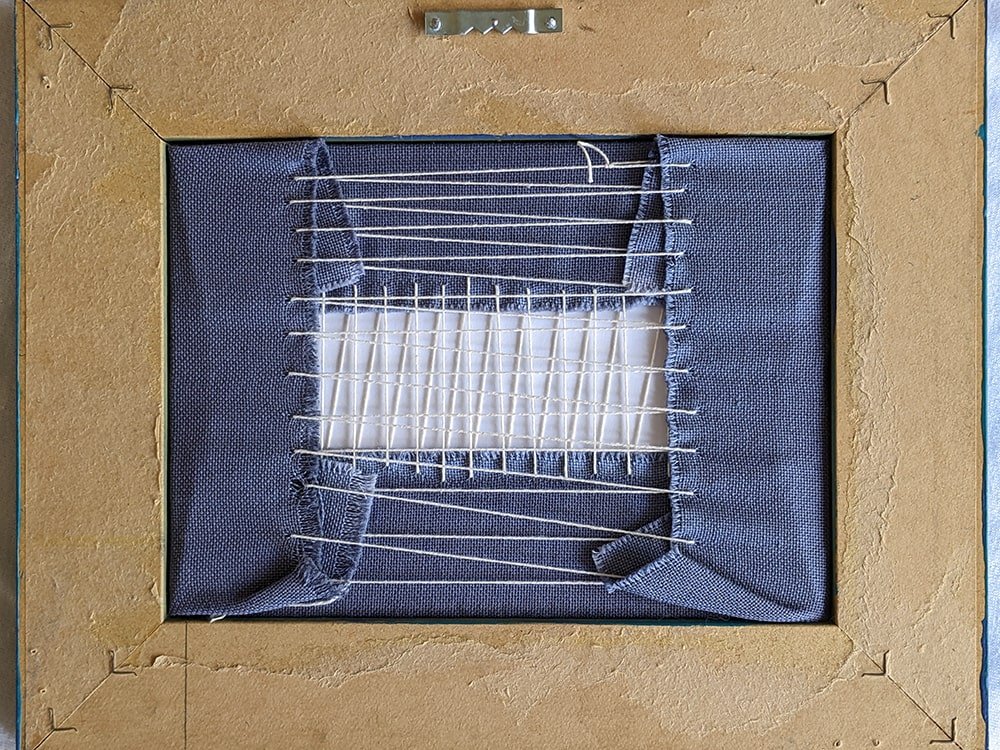
Once you have all your pieces cut, it’s time to assemble the frame.
If you are using a wooden frame (which is highly recommended), you will need wood glue to hold the corners in place.
If your frame is not wood, E6000 should work fine.
While I let the glue set I used a picture framing strap to hold the corners in place. Because my frame was smaller, I wasn’t sure of the practicality of this. I had to use weights to hold down the corners of the strap.
You can be extra professional and add even more strength to the corners by purchasing a v-nail tool. I purchased this joiner for more security.
However, this isn’t necessary considering the weight of the projects. The glue should hold just fine.
If you have some gapping between the joints, you can use wood filler to fill it in. Once you paint your frame, you will never even notice.
Final Thoughts
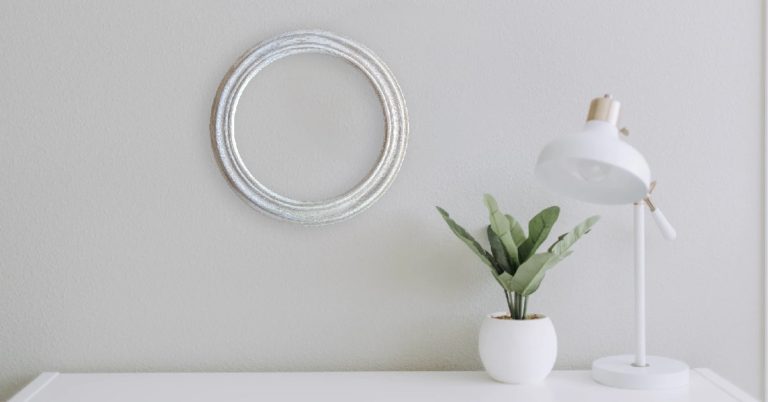
Don’t like the color of your frame? Go crazy painting it however you like. The original color was never important as long as you like the style. Paint it metallic for a classic appearance or pick a color from your stitching to give it extra pop.
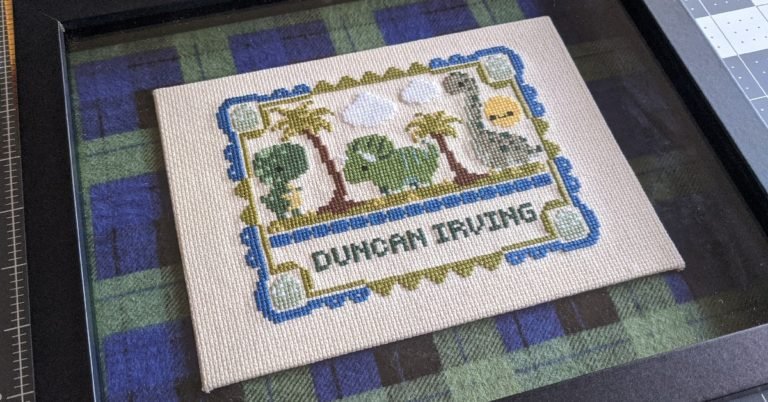
I hope you got a lot out of this budget-friendly tutorial. It is so much fun to be able to resize and customize frames for your cross stitch. Your wallet will thank you.
For more framing tips and tricks, you can check out my complete cross stitch framing guide.
Happy Stitching!