3 Ways to Mount Your Cross Stitch Projects for Framing
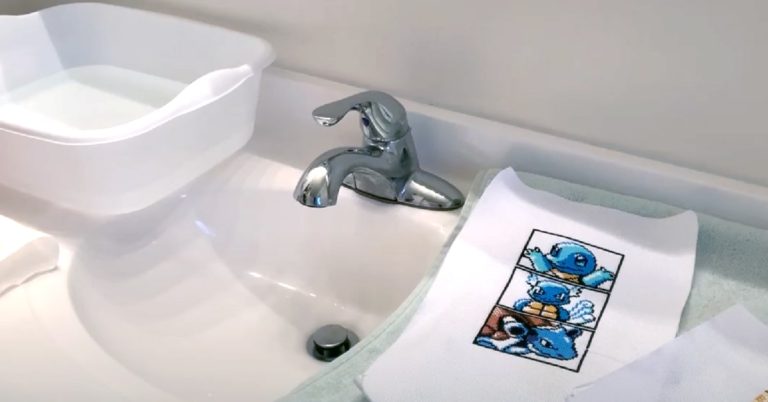
At some point, you are going to want to frame your own pieces. Constantly getting pieces framed by a professional can become expensive.
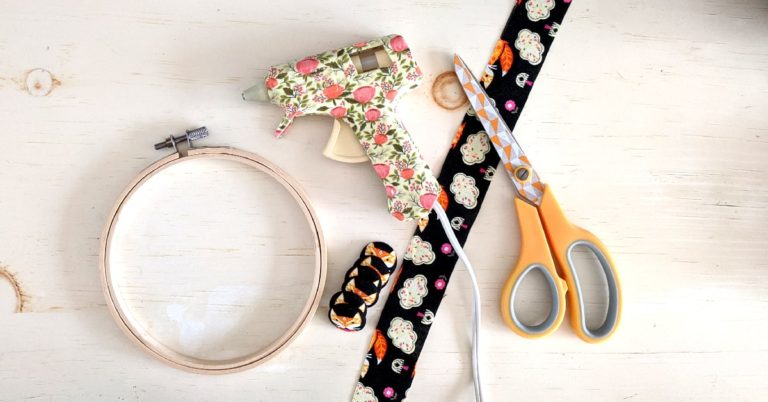
It can be pretty fun and easy to learn to finish your cross stitch projects yourself. There are tons of various ways to decorate your stitching.
There are three ways that I like to mount my finished cross stitch. Each method I will use for different circumstances.
WANT FREE CROSS STITCH PATTERNS?
Sign up for my newsletter to get access.

Mounting on Sticky Board
For smaller pieces that didn’t take me too long, I will adhere to sticky board. Honestly, sticky board makes the process so simple because you don’t have to worry about your project moving around as you are trying to attach it.
Normally, I would suggest an alternative because you do not want glues to touch your stitching. They may deteriorate the fabric and threads over time.
However, sticky board is the quick and easy option. At the very least the mourning materials must be acid-free to preserve your project’s longevity.
Constantly using sticky boards can get expensive. You can make your own sticky board by using an acid-free adhesive spray and backing board or mat board.
To mount your fabric, start by cutting the board down to size.
Either cut the sticky board to the size of your frame or slightly larger than the edge of your stitching.
I measure out where the board is going and draw marks on the back of my cross stitch to help me line it up so that it’s straight.
Unpeel the protective paper and stick the board onto the back of the fabric.
Check the front to make sure that your stitching is perfectly positioned, making sure the fabric is flat, before you press it down.
Trim the extra fabric down to ½ inch bigger than the sticky board
Cut the corners. This will make the corners really crisp and pointed.
Fold over the flaps and use hot glue to secure the back of the fabric to the back of the board.
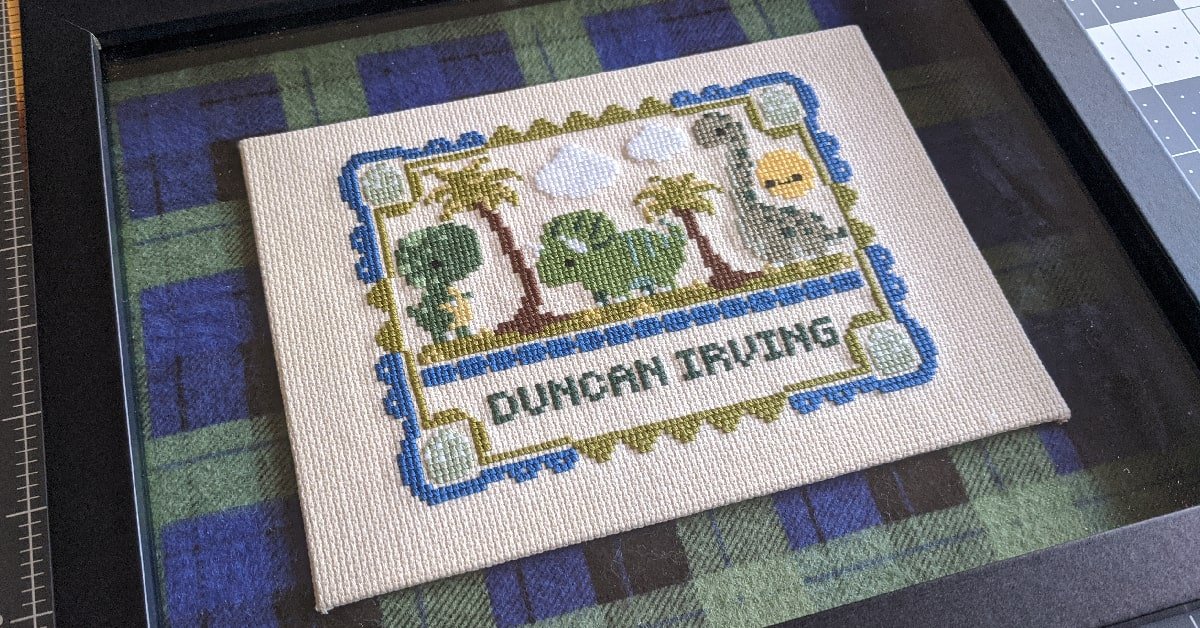
Lacing on Backing Board
For small to medium-sized projects that I want to put in a shallow frame, I will mount to the backing board. Backing board is similar to mat board, but it goes behind the picture. It is the same quality as mat board but less expensive.
Cut your backing board to size if need be. I bought bulk backing board in standard frame sizes.
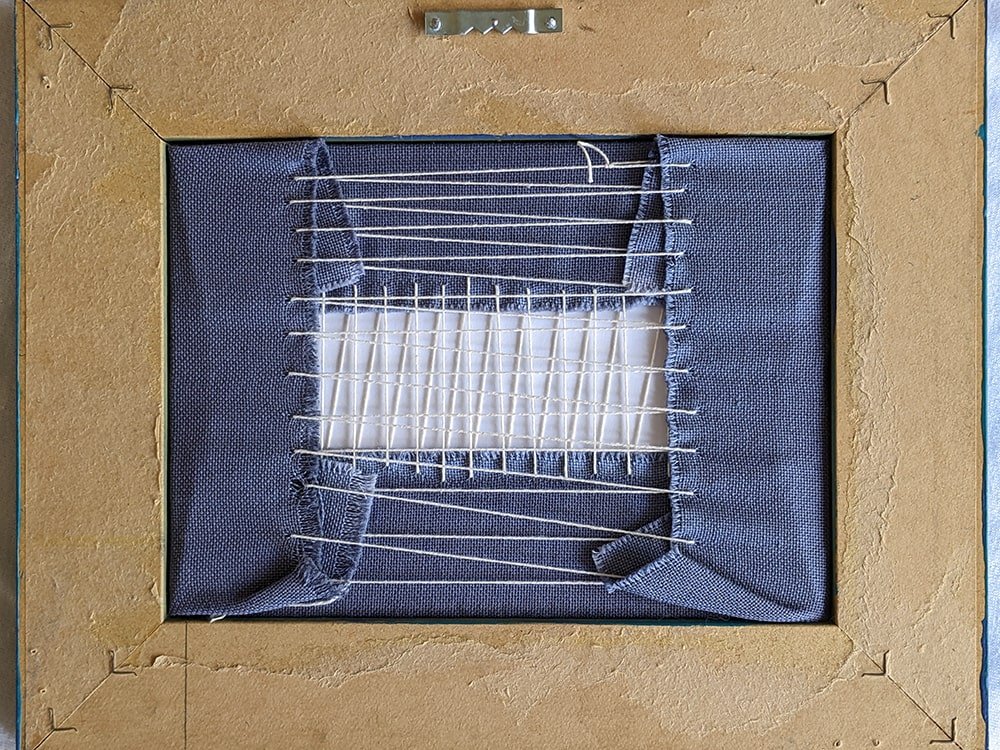
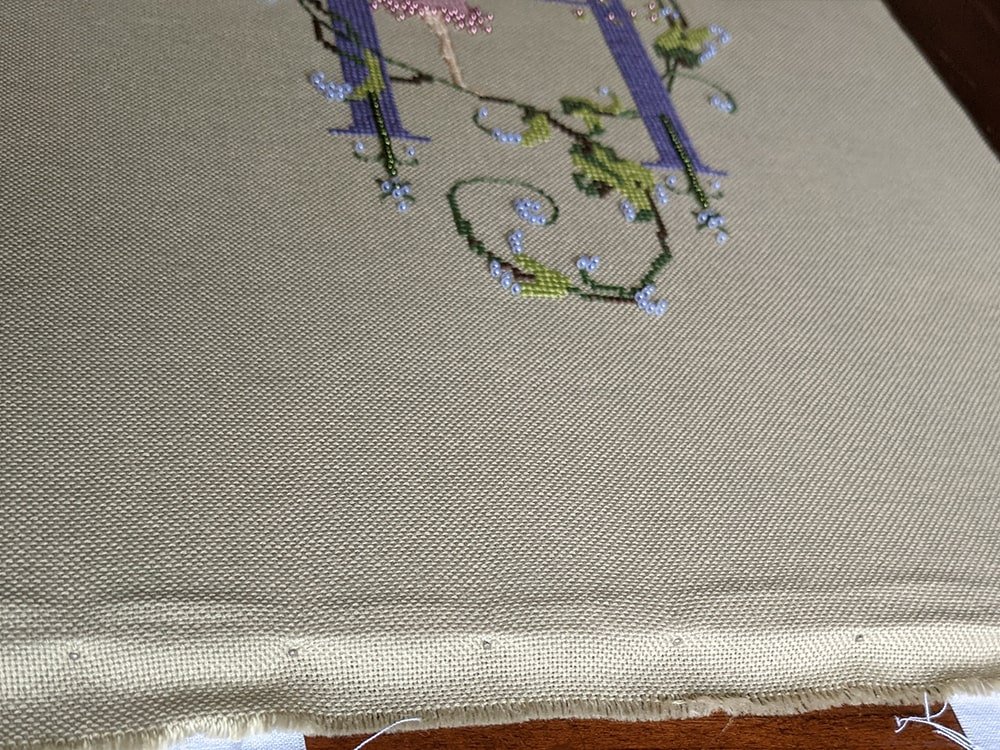
Clip or pin your project into place, folding the excess around the backing board. I like to keep my fabric on the longer side so that I am not using as much thread.
Check that it is even on the front.
Zigzag your thread to hold the cross stitch in place. Do this slowly while constantly checking that it is in position in the front. Additionally, keep the tension taut.
Feel free to clip your corners, or miter or however you deal with corners, and whip stitch them together. Personally, I just like cutting to eliminate bulk.
It may take a few tries to get it right.
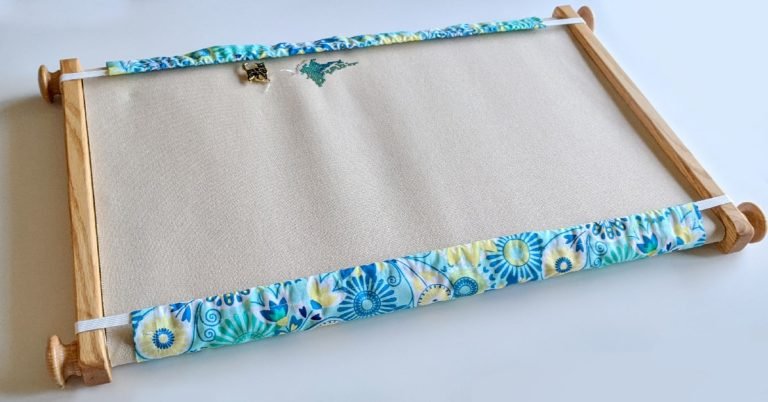
Pinning on Foamcore
Use pinning for bigger projects or with frames that have a deep rabbet. The bigger rabbet depth the more space you have to add layers to your finishing, such as glass and spacers.
I use rustproof silk pins. Pins being rustproof is important because you don’t want the pins rusting and discoloring your piece.
I use the flathead type, but if you were just mounting them on the foamcore as if you were stretching canvas, you can get creative and use decorative pins.
Place a pin in the centers of parallel sides first. Don’t push them all the way in until the end.
Continue down one side of the pins alternating the sides of the foamcore. Make sure our project is aligned and centered.
Try to use the same holes on the fabric for even tension.
Once you are done and you are happy with the result, do the same thing on the remaining, opposite two sides.
When you are satisfied press all the pins down. Try to push the pins down as evenly in the middle of the foamcore as you can. They may poke through the back and prick you so be careful!
You also don’t want your pins accidentally poking through the front of your project.
Use a thimble so that it’s easier to push all the pins down.
Final Thoughts
Lacing and pinning are less permanent ways of mourning your stitching. Although sticky board isn’t permanent, I did find it hard to take my piece off once I pressed it firmly. The hot glue isn’t going to be easy to remove either.
Once I stick my stitching onto sticky board, I just commit to it.
Lacing can be very time-consuming.
None of these options are really better or worse, they are just different. However, I prefer pinning whenever I can. There’s something really satisfying about it to me. Plus it’s easy to redo if I mess up which is a big bonus.
Happy Stitching!