How to Make Grime Guards for Scroll Frames
A grime guard for scroll frames requires two pieces of fabric. One will go around the top scroll and one the bottom scroll. This requires 2 pieces of elastic. One will be a loop for the top and the other will be looped around the bottom.
Many of my tips will be the same as the grime guards for hoops and q-snaps, but the process is slightly different because we will not be creating a loop with our fabric.
WANT FREE CROSS STITCH PATTERNS?
Sign up for my newsletter to get access.

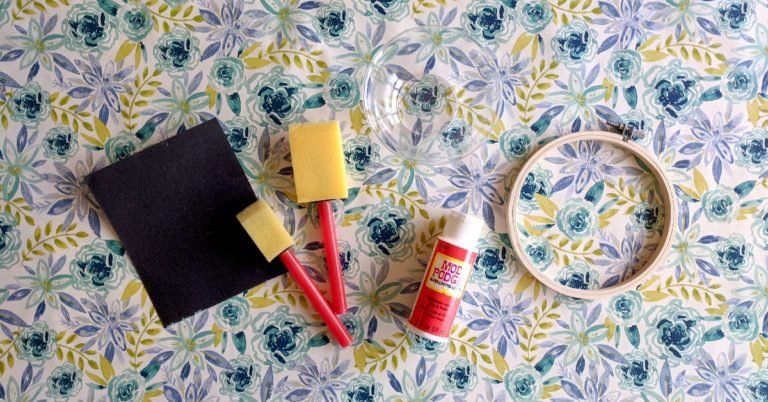
Supplies
- Cotton Fabric
- Measuring Stick/Ruler/Tape Measure
- Elastic – Dritz ⅜” Braided Elastic
- Rotary Cutter/Self Healing Mat or Scissors
- Sewing Machine
- Iron/Ironing Board
- Safety Pin
- Magik Clip or Binder Clip
Step-by-Step Instructions
Start by ironing your fabric so that you have a smooth surface.
1. Measure the Scroll Rods
Add an additional 2 inches to that number for the seam allowance and cut 2 strips of fabric.
I will be using my 20” EZ Stitch scroll rods as an example. The reason I mention this brand is because the scroll rods are thinner at ⅝”. Therefore, you may want to not have as much fabric width.
I decided that as a result I wanted 3 inches of width so that there wouldn’t be too much fabric on my stitching. 3 inches of width plus the 2 inch seam allowance gives me 5 inches.
My two strips of fabric are 22”x5” each.
The measurements will vary depending on your preferences. For example, maybe you want a smaller seam.
2. Fold the Ends of the Strips
Fold the seam over ½ inch twice and press the seams flat with your iron.
If you don’t mind seeing the raw edge of your fabric, fold over once and adjust your measurements accordingly.
Folding twice conceals the raw edge of the fabric. It will appear a little neater as well as you won’t have to deal with the frayed fabric.
3. Create the Casing for the Elastic
Fold the fabric over twice 1/2 inch along the with to create the casing. Press and sew. For the scroll frames I recommend using 3/8 elastic so that the elastic is more substantial and durable.
4. Measure Your Elastic
Cut 2 pieces of elastic. For my 20” scroll rods the length of elastic came to 30”. This took some trial and error. You want the elastic to be tight on the frame but not so tight that it’s a struggle to get it on. Add 2 inches for the overlap.
Test the length by safety pinning the ends together. Make sure that there is enough clearance to get over the knobs of the frame and that the elastic can be pulled on easily. You also don’t want your elastic to be too loose either.
5. Adding the Elastic
Put a safety pin on one end of the elastic and thread through the casing. Once one side is completed go through the other side of the casing, creating a loop.
Use a clip to hold the other end so that the elastic doesn’t get pulled through.
The fabric will get bunched up but just keep pushing it down the elastic.
6. Secure the Elastic
Overlap the ends by an inch and zigzag stitch them in place. You’ll want this to be extra secure so I would go over it a few times.
Once done I would shuffle it around so that the seams of the elastic aren’t exposed.
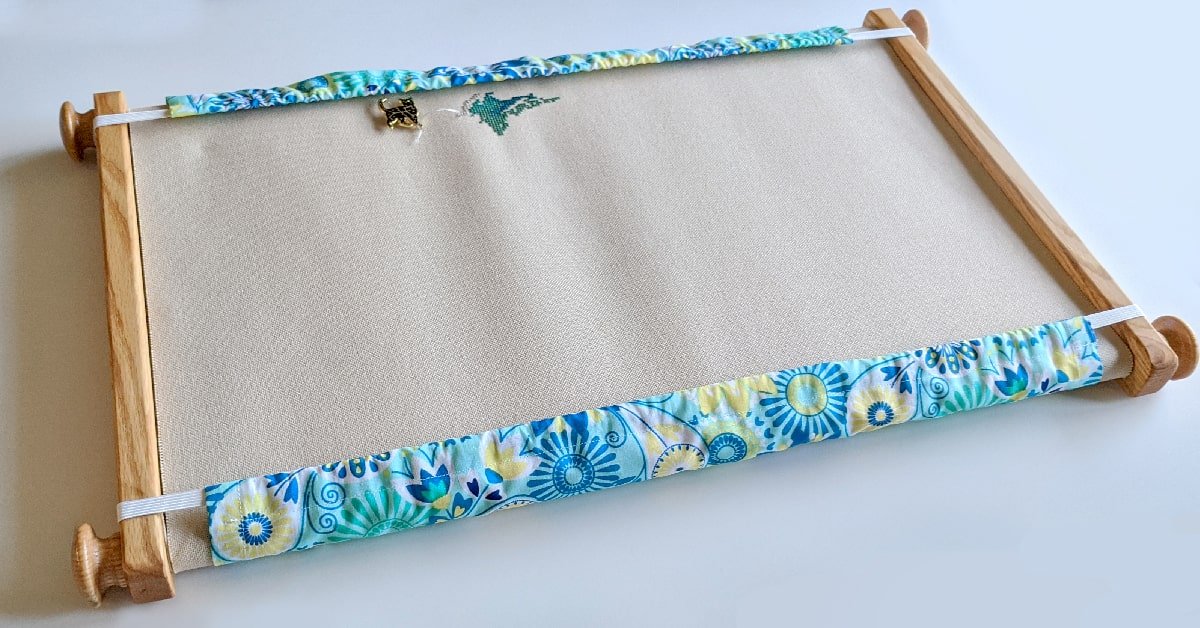
7. Finishing the Scroll Frame Grime Guards.
Repeat the steps for the second one and you’re done!
Don’t forget to make a matching needle minder with any extra fabric.