How to Decoupage an Embroidery Hoop for Finishing Cross Stitch
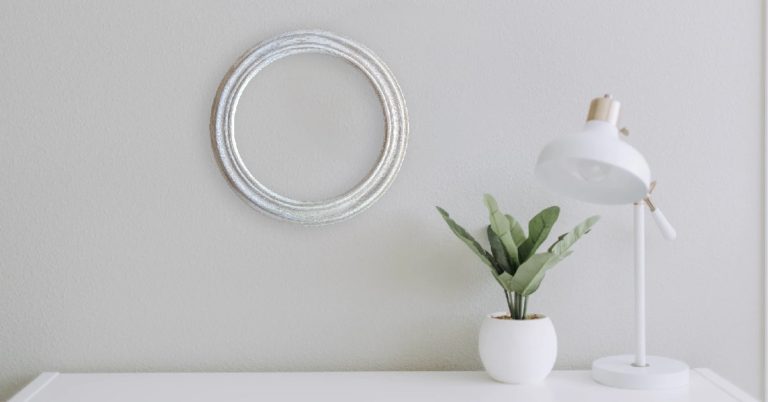
Deciding how you want to finish your cross stitch project? I recommend finishing your project in a hoop as a cost-effective alternative to framing.
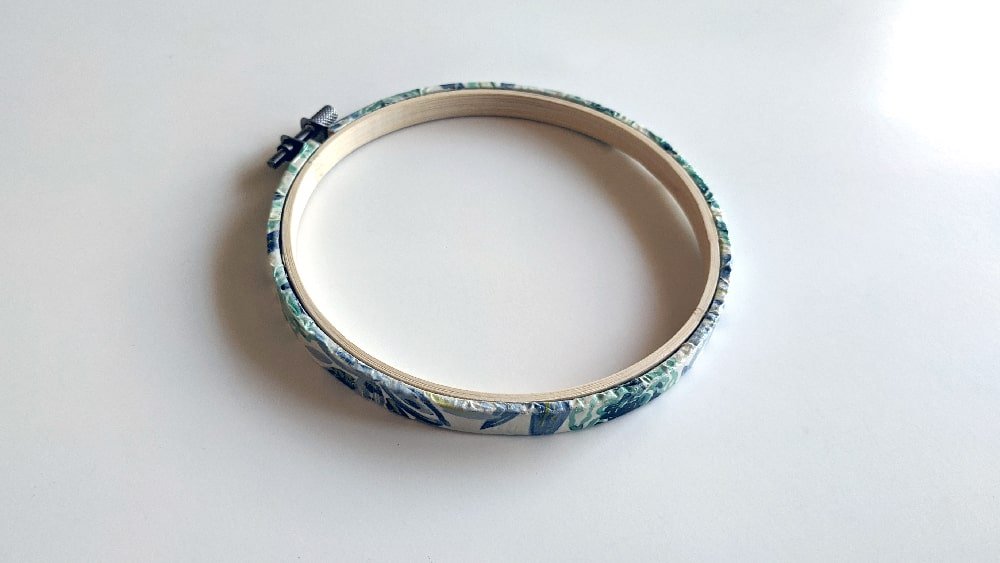
One of my favorite ways to decorate an embroidery hoop is by decoupaging it. Decoupage is a great method because it is so cheap.
I had some pretty wrapping paper that I bought at Dollar Tree. Thinking about it, all the supplies, except the hoop, can be bought at Dollar Tree. I found this small bottle of Mod Podge there as well.
There you go…inexpensive crafting!
WANT FREE CROSS STITCH PATTERNS?
Sign up for my newsletter to get access.

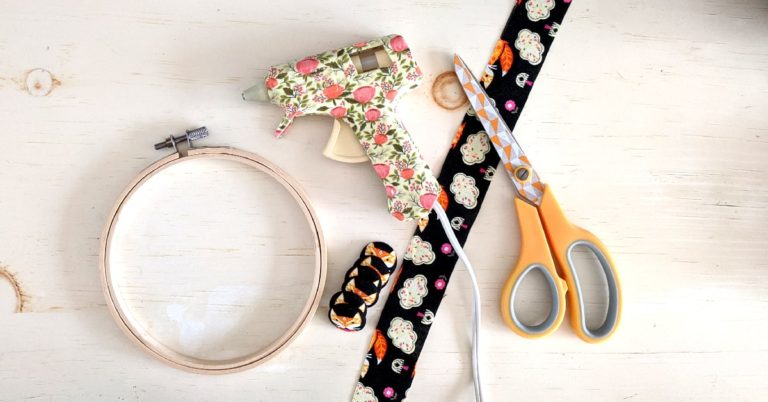
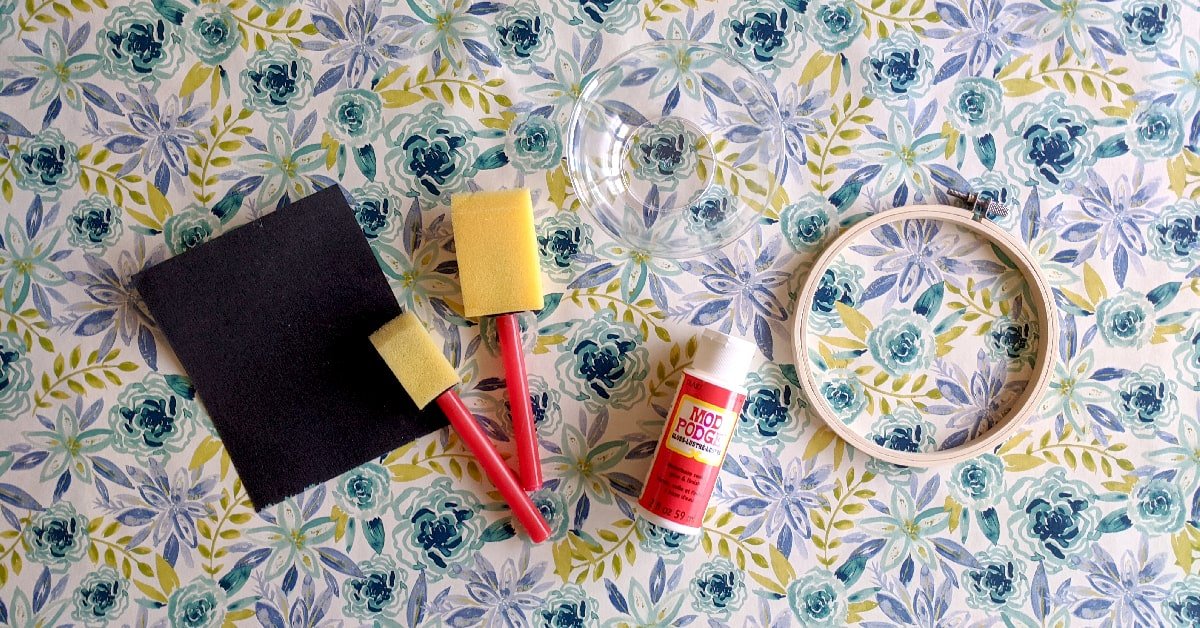
Supplies You Will Need to Decoupage Your Embroidery Hoop
- Mod Podge (or as I thought for many years Modge Podge – I know I’m not alone lol. In fact, I just learned that’s what my husband calls it as well.)
- Cup/Bowl/Container
- Sponge Brushes
- Fine-Grit Sandpaper
- Paper (wrapping paper, napkins, tissue paper, etc.)
- Wooden Embroidery Hoop
If you don’t know what Mod Podge is…it’s AMAZING! This stuff is essential when decoupaging. It’s a sealer, glue, and finish all in one!
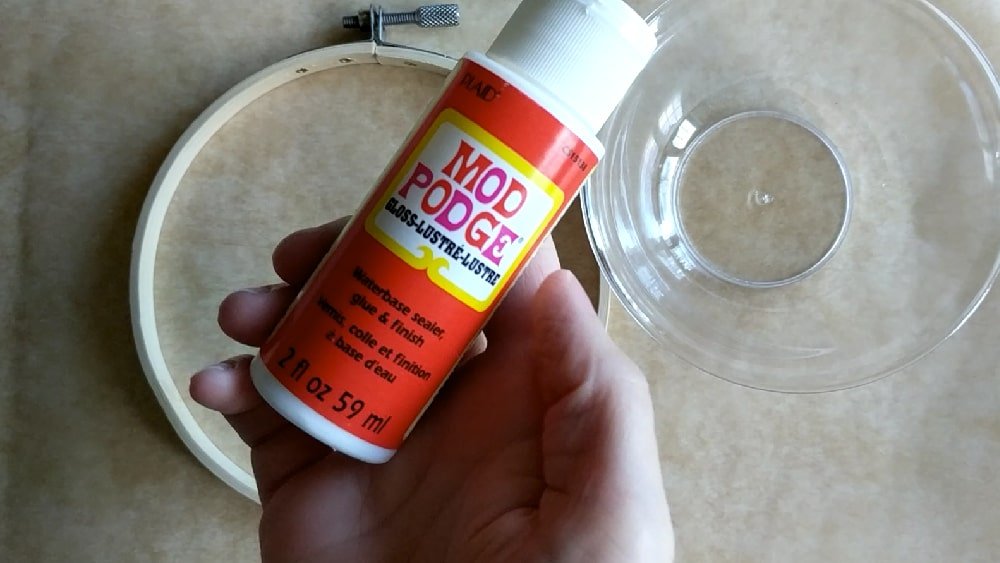
In my case, I have the gloss finish Mod Podge. However, there is also a matte option and other finish alternatives.
You will need some sort of cup or bowl to hold your Mod Podge and sponge brushes to apply it to your hoop.
I am using a 400 grit waterproof sandpaper. It’s very fine and good at wet-sanding for an ultra-smooth finish.
Choose whatever paper you’d like. However, you want something on the thinner side that will be pliable. I recommend cutting the paper at 1-inch width. The length will depend on the size of your hoop.
An easy way to measure around your hoop is to place the paper at one edge and as you work the paper around the hoop, cut off the excess. You can also just use a flexible measuring tape to measure around the hoop.
Instructions for Decoupaging Your Embroidery Hoop
Disassemble Your Hoop
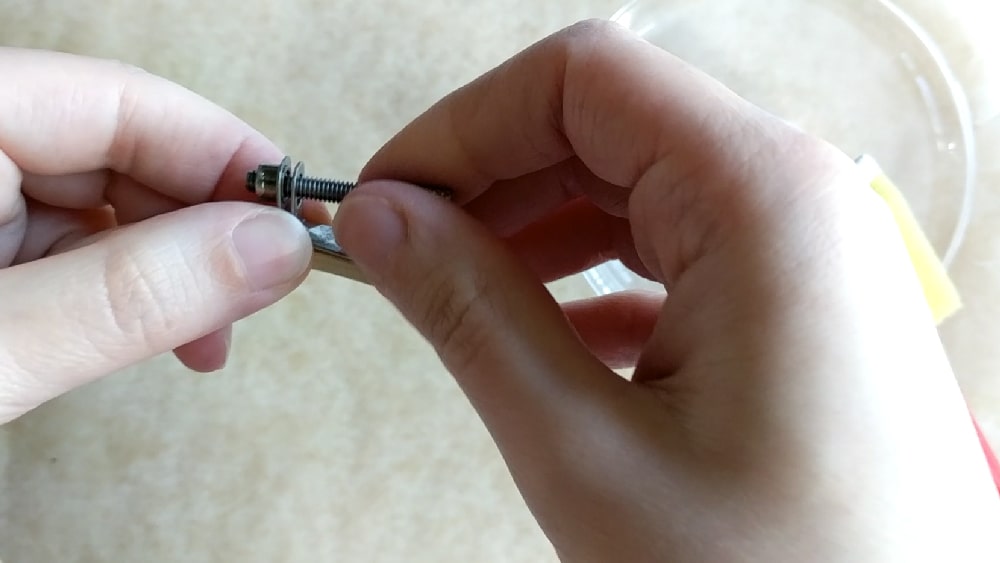
It would behoove you to take not only the middle ring out, but also to take the screw out to easily maneuver the paper and to prevent the two sides from sticking together.
Prep the Hoop
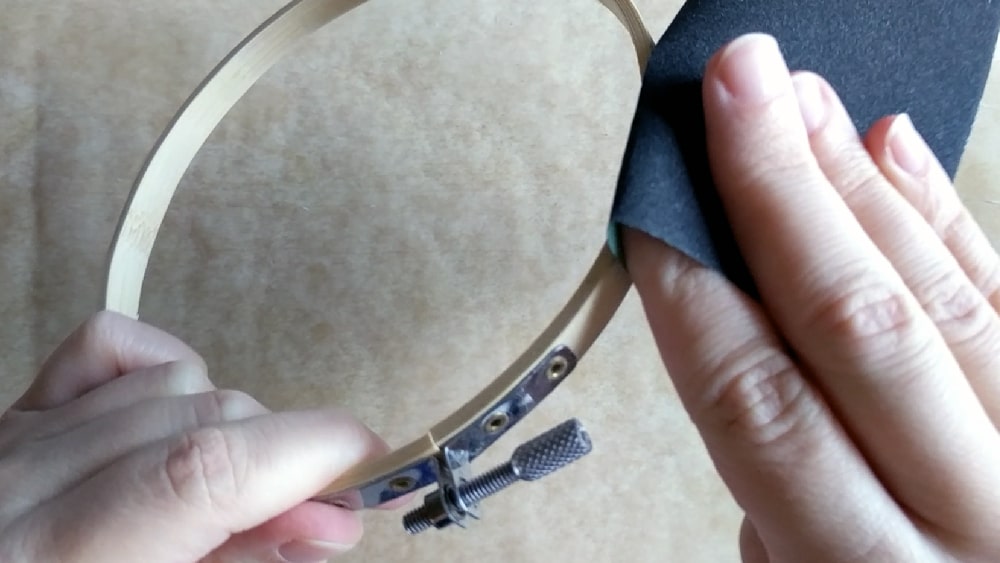
We are going to start by preparing our hoop. This will be done by sanding the surface of the hoop. This will create a smooth base to work on.
Use a damp paper towel to wipe off the debris.
If you wish, you may opt to paint the surface of the wood so that the wood doesn’t show through your paper. Acrylic paint works best as a base coat.
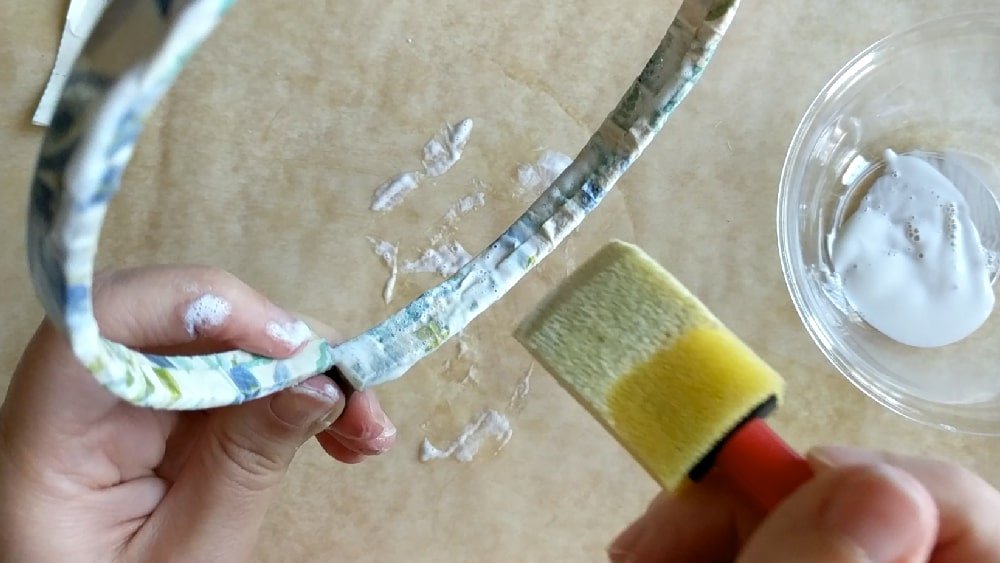
Adhering the Paper
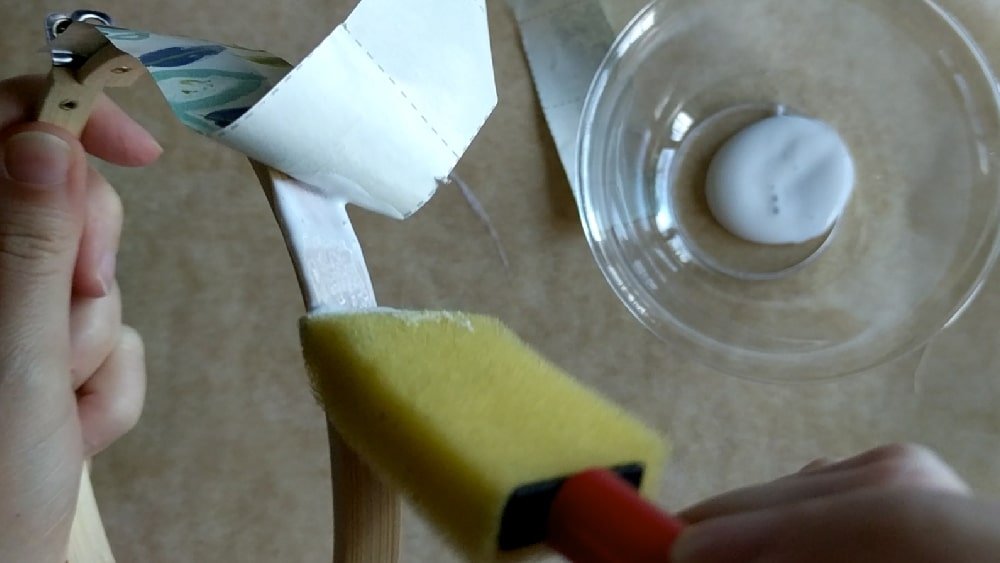
I started by adding Mod Podge to the wood on the top of the hoop then wrapping the edges around the sides.
You want to fold the paper from the front side of the hoop first, then overlap with the fabric from the back of the hoop. This way when you put your project in, the paper won’t get caught and torn.
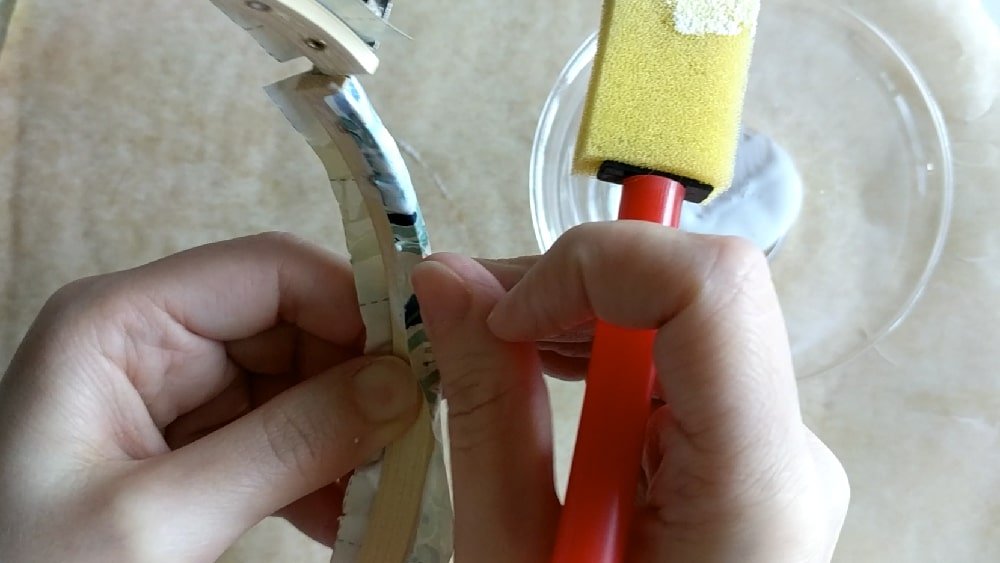
The better option might be to add the Mod Podge to the paper then stick it to the hoop. Experiment with different methods to discover your preference.
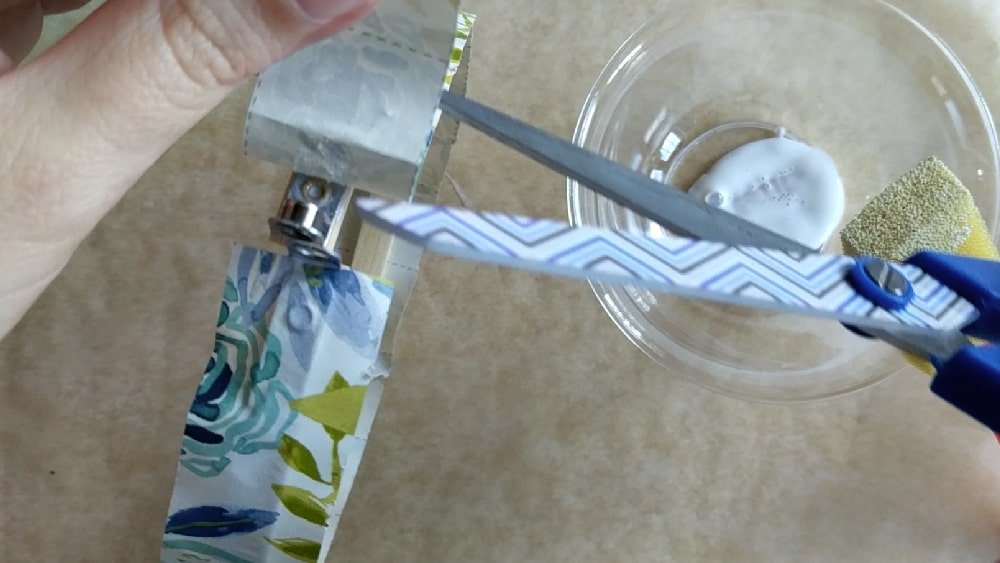
Cut notches on the back of the paper as the hoop curves to minimize wrinkles in the paper. Alternatively, you can cut the paper into smaller pieces and attach them individually.
Take your time as you press out the creases, allowing the paper to fold nicely around your hoop.
Add additional Mod Podge as you work the paper the whole way around the hoop. If you didn’t measure the paper at the beginning, you can now cut any excess off.
Seal Your Hoop
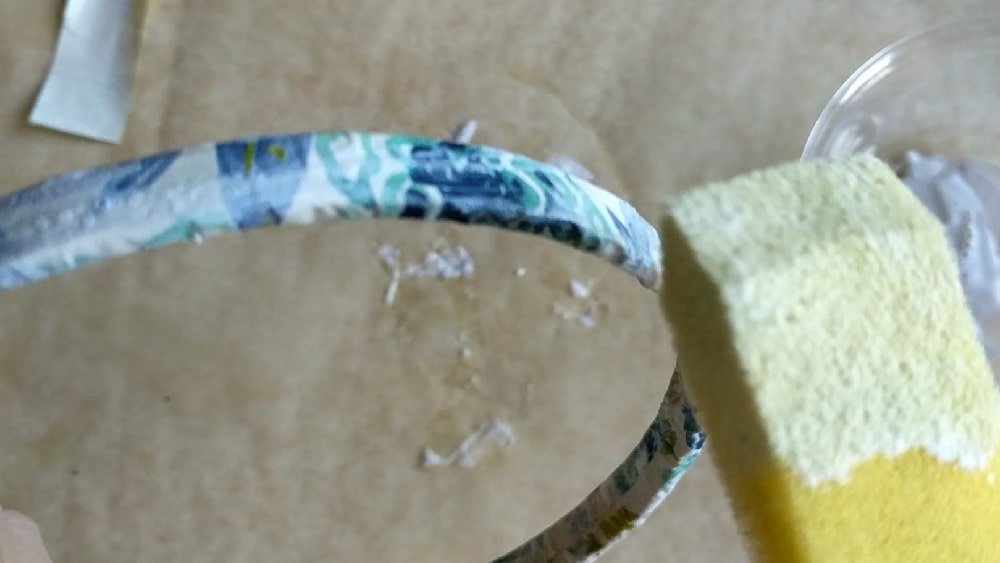
Add Mod Podge to the top of the paper, as well as the sides and inside.
Build Layers
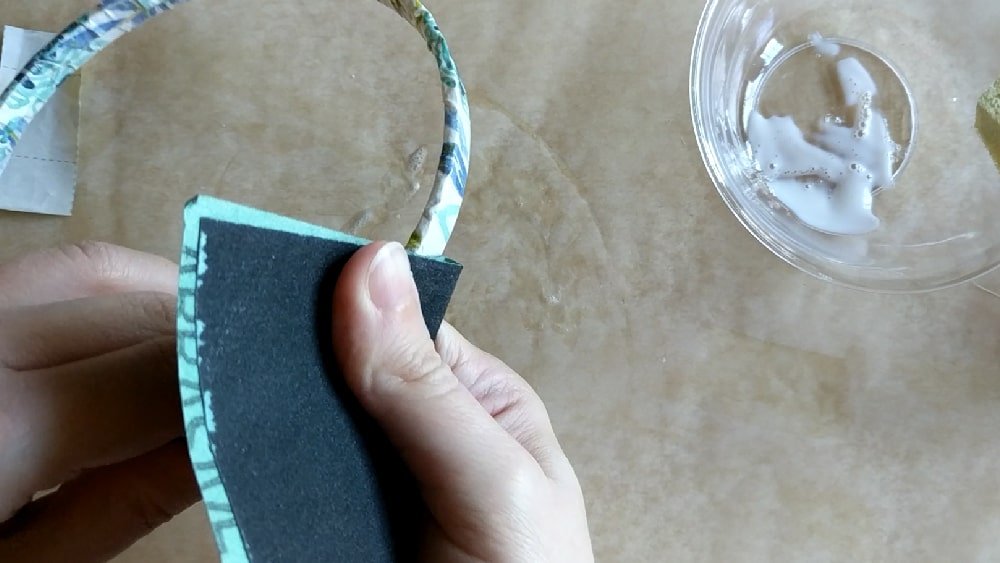
After 20 minutes or so you can use your fine-grit sandpaper to sand the Mod Podge to a smooth finish. In addition, you can add more coats for extra durability and depth, giving each coat 20 minutes to dry then sanding in between.
Add Your Cross Stitch
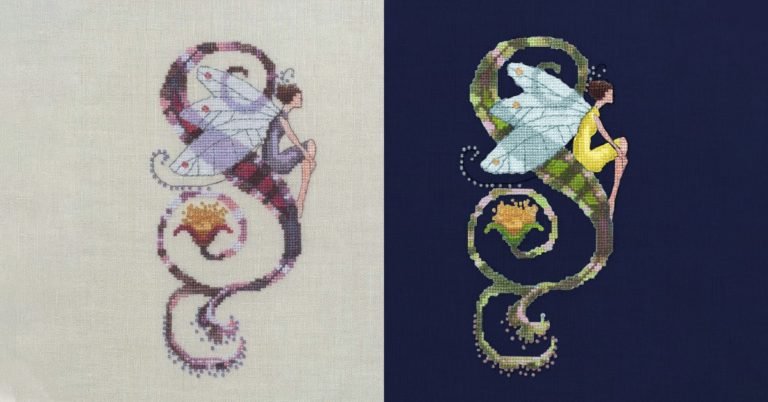
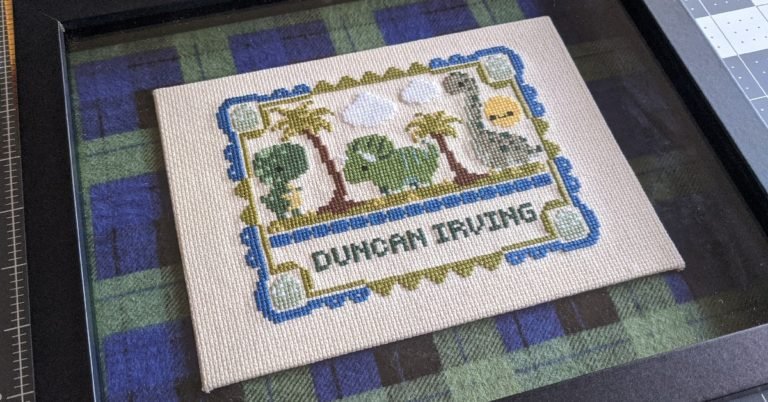
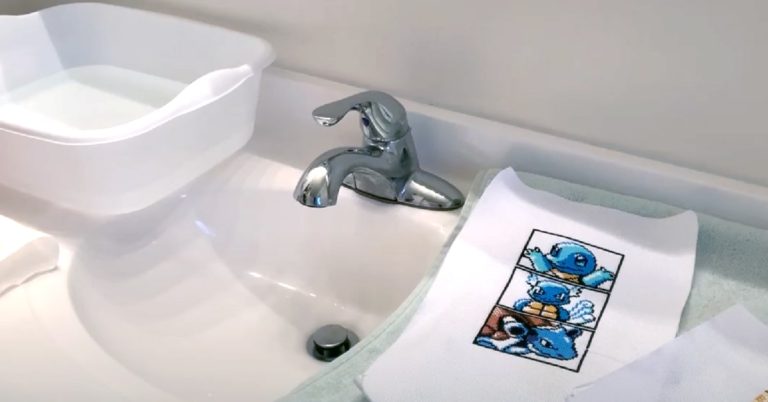
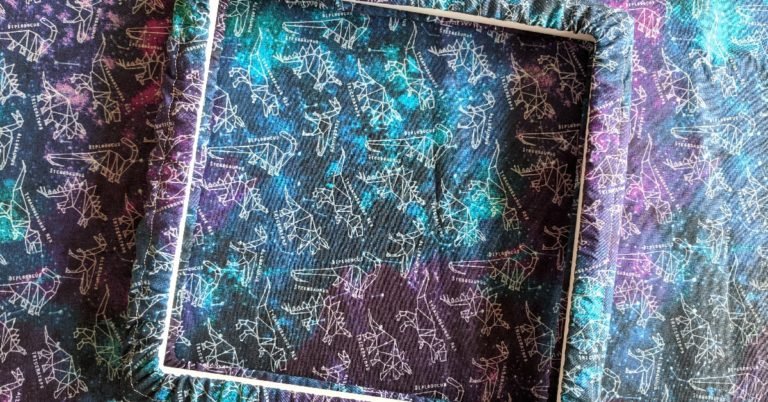
Wait 24-48 hours for your hoop to completely dry then you can add your project. By adding a pattern that complements your project, your subject should now pop from the contrast.
Final Thoughts
Hoops are not only a great way to save money on finishing your cross stitch, but there are so many different ways you can decorate them.
Decoupage is a beginner-friendly way to make your hoop look extra special without breaking your budget.
With some patience and practice, you will have an easy way to decorate many hoops. There are so many patterns and prints to choose from.
Happy Stitching!