
How to Make Grime Guards for Hoops and Q-Snaps
When making a grime guard for hoops and q-snaps, you will use a strip of fabric that you will stitch together to create a circle. This will be different from making grime guards for scroll frames.
WANT FREE CROSS STITCH PATTERNS?
Sign up for my newsletter to get access.

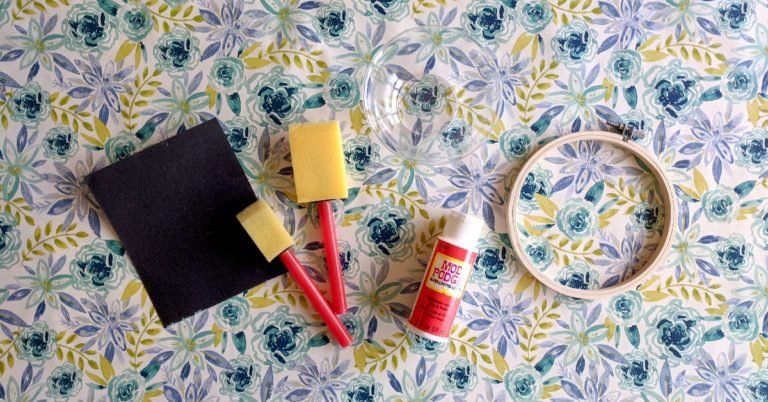
Supplies
- Cotton Fabric
- Measuring Stick/Ruler/Tape Measure
- Elastic – Dritz ⅜” Braided Elastic
- Rotary Cutter/Self Healing Mat or Scissors
- Sewing Machine
- Iron/Ironing Board
- Safety Pin
- Magik Clip or Binder Clip
Step-by-Step Instructions
Start by ironing your fabric. Your measurements could be off if your fabric is wrinkled.
I also like to square off my fabric by making sure the cut line is perpendicular. This will ensure that the cut of my fabric is straight.
1. Measure Your Fabric and Elastic
You can adjust your measurements based on your supplies and preferences. For example, if you are using 1/4 elastic, you can use a smaller seam allowance.
Instead of folding over twice to conceal the raw edge, you may want to just fold over once. This will give you a less polished finish, but be a little easier to work with.
I usually use 3/8 elastic to be more substantial, but I think that using smaller elastic would work better for these looped grime guards versus the ones for scroll frames. Again, it’s based on preference and trial and error.
My seam allowances for the casing ended up being slightly bigger than anticipated, leaving me less room around my q-snap. I may try a wider width of fabric and using thinner elastic.
Finding the Measurement for a Hoop
If you have a flexible tape measure you can measure the circumference of your hoop. Or, we can do some math. Multiply the diameter by pi and that will give you the circumference.
Let’s say I am using an 8 inch hoop. 8 is my diameter. Multiply 8 x 𝛑 ≈ 25.13. Then add 2” for seam allowance. I am just going to round my number to 27 inches of fabric.
The width of fabric is mostly personal preference. This number depends on if you want to be able to stuff a lot of fabric under your grime guard. I recommend the width being 5.5-6 inches. Again, this number will change according to your liking.
That number is including the 2 inch seam allowance resulting in a 3.5-4 inch cover width.
Finding the Measurement for a Q-Snap
The most common size q-snaps that I use are 8”x11” and 11”x11”.
Add up the sides of the q-snap then add 2 inches for extra seam allowance.
Let’s do the measurement for the 8”x11” q-snap.
8 x 2 + 11 x 2 = 16 + 22 = 38 + 2 = 40 inches of fabric.
Similarly, the measurement for the 11”x11” would be…
11 x 4 = 44 + 2 = 46 inches of fabric.
The width will be 5.5-6 inches.
Finding the Measurement for the Elastic
The length of the elastic will be roughly half of the fabric length. Then add 2 inches to sew a 1″ overlap. We need 2 pieces of elastic.
44 / 2 = 22 + 2 = 24 inches of elastic
2. Cut Your Fabric with a Rotary Cutter or Scissors
I will be using an 11”x11” q-snap for this example. The strip of fabric should measure 46”x6”. I happened to have a yard and a half of fabric so I was able to cut one strip.
If you are working with smaller pieces of fabric, you may need to sew multiple strips together. You will also need to add additional seam allowances.
3. Create a Loop
Press a ½” seam on the ends of the fabric first. Then sew these two ends together.
After sewing the seams together I pressed the seam open. You can sew these flaps down, but I found it unnecessary.
4. Create the casing for the elastic
Fold over a ½” seam then another ½” seam so that the raw edges are tucked under. Press with your iron. Do the same for the other side.
Sew down the seams. Don’t forget to leave an opening so that you can put in the elastic.
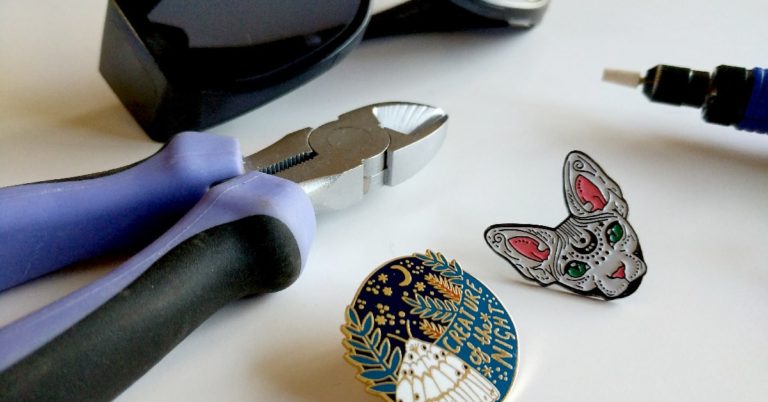
5. Threading Through the Elastic
Put a safety pin on one end. The safety pin will make it easier to push the elastic. This will take some time and patience.
Add your Magik Clip or binder clip to the other end so the end doesn’t get stuck in the middle of the casing. It can be annoying when all your hard work becomes undone. The fabric will scrunch up and you will need to keep pulling it down as it bunches.
6. Secure the Elastic Ends Together
Make sure that elastic is not twisted. There are a few different ways you can sew the ends together. I have had the best results with an overlap. This way the elastic is flat. Overlap the edges by 1” and sew a zigzag stitch back and forth.
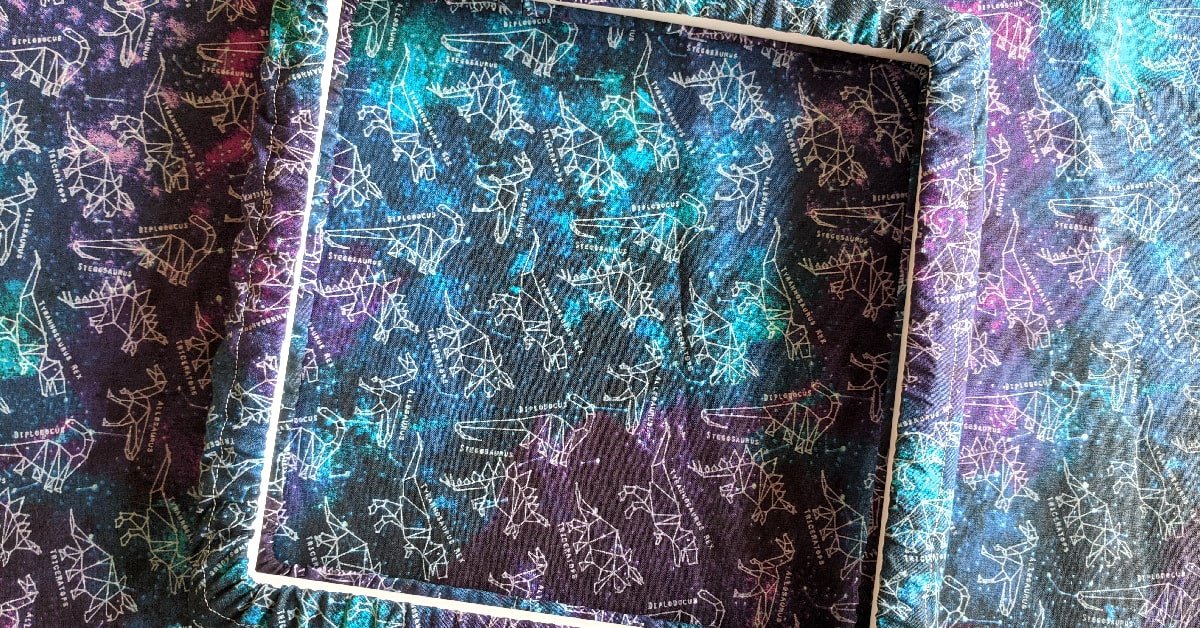
7. Finish Up the Hoop or Q-Snap Grime Guard
Sew up the hole, repeat on the other side, and you’re done!
Thank you! So easy!
Thank you … a big help