
How To Dye Cross Stitch Fabric
Ready to add some color to boring cross stitch fabrics? Do you want to start stitching on gorgeous mottled fabrics?
Why not try dyeing fabrics yourself at home? It isn’t as complicated as you may think. You don’t need that many materials and they aren’t too expensive either.
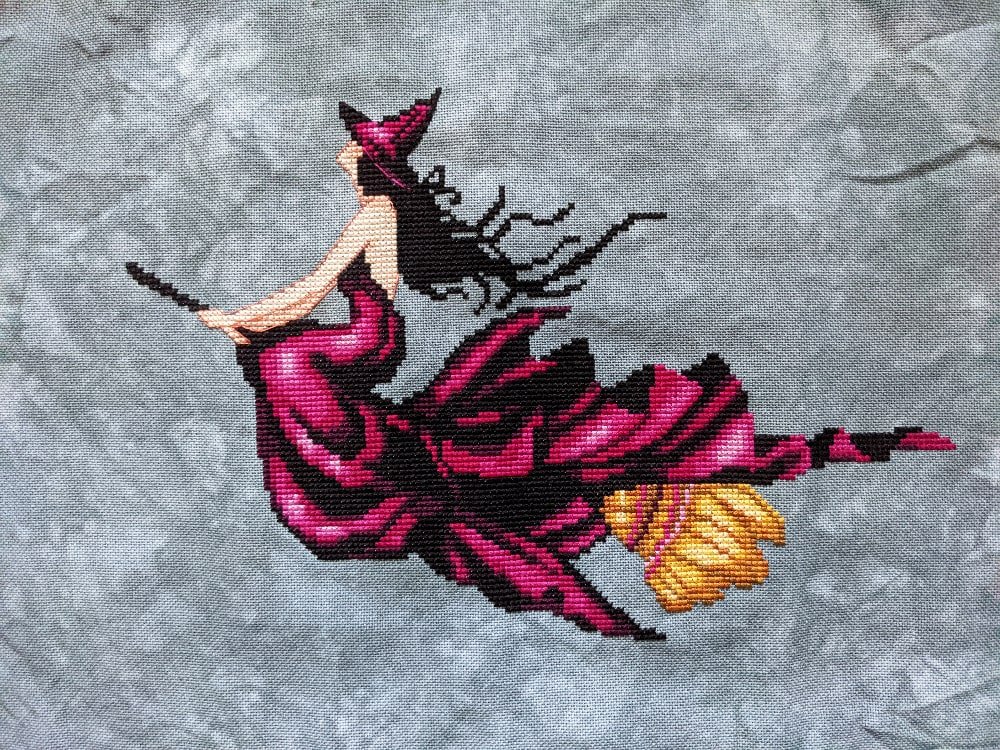
There are a few different methods to dye fabric. In this tutorial, I will be showing you how to dye cross stitch fabric with the low water immersion technique. This technique is popular among stitchers to give a soft, mottled appearance.
WANT FREE CROSS STITCH PATTERNS?
Sign up for my newsletter to get access.

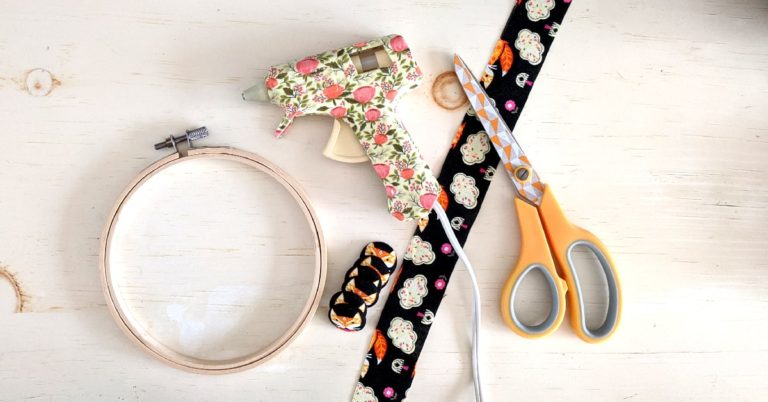
Supplies for Dyeing Cross Stitch Fabric
- Aida, Evenweave, or Linen
- Rit All-Purpose Dye
- Rit ColorStay Dye Fixative
- Dishwashing Liquid
- Hot Water
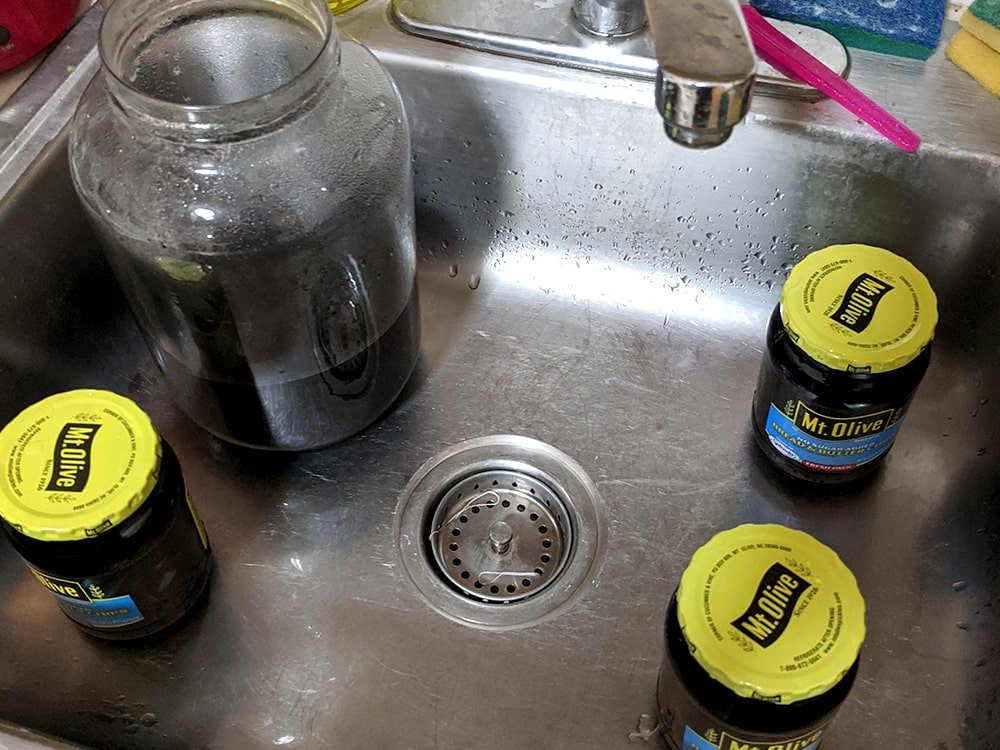
- Mason Jars
- Measuring Cups/Spoons
- Stirring Tools
- Salt
- Gloves
I will be using Rit because it is readily available for me but feel free to experiment with other brands of dye. Make sure that whatever dye you use is compatible with your fabric and that you follow those instructions.
The liquid Rit All-Purpose Dye will work best with our cross stitch fabrics because they are made of natural materials, such as cotton or linen. The pureness of the fibers will be a factor in determining the intensity, hence why aida or linen usually dye darker than evenweave.
I reuse old pickle jars because, in my household, we love pickles. The jars are free so why not reuse them? They are a good size for my small batches of fabrics so it’s what works for me.
You can use whatever you have on hand, just don’t use the same kitchenware that you eat with for dyeing. Although Rit’s dye is non-toxic, it isn’t a good idea to use the same equipment you use to eat. I use separate materials for crafting.
Please use gloves unless you don’t mind having dyed hands for a while. You might also want to put down a plastic bag or tarp to protect your work surface. The dye will get everywhere.
Before you start, it is a good idea to serge or zigzag stitch the edges of your fabric to prevent them from fraying. If my edges aren’t already serged, I will usually forgo this step as I don’t mind a little fraying.
Step #1: Pre-Rinse Your Cross Stitch Fabric
Pre-rinsing your fabric is so important!
Cross stitch fabrics are starched to add stiffness, which may be great for stitching, but not so great for dyeing.
To start, we are going to remove any starch or other additives so that the fabric is ready to accept the dye.
I run the fabric under warm water and add Dawn dish soap. I don’t mind there still being soap on the fabric when I dye it because the soap can also help the dye absorb into the fabric.
Wash the fabric until it is nice and soft.
If you do not pre-wash your fabric, you may end up with an undesired result, such as your fabric being too light due to the barrier.
Step #2: Mixing Your Dye
For the best results, your water needs to be hot. Although you could heat up your water in the microwave, I prefer to use the stovetop. This is what I have found to work the best.
According to the label, the ideal temperature is 140℉ or greater.
I add salt to the water and stir until it dissolves. I usually don’t measure but if I had to guess, I would say it’s about a teaspoon.
After the water is boiling, I pour it into the jar. I leave a little bit of room at the top so that it doesn’t overflow when I add the fabric.
Next, add your dye. Don’t forget to shake the bottle! Then pour in about a teaspoon to a tablespoon depending on the intensity of color that you want.
The vibrancy will depend on your water-to-dye ratio. You are going to have to experiment with this to get the right color. My pickle jars are 16 fl oz.
Stir until the color is completely mixed.
Step #3: Dyeing the Cross Stitch Fabric
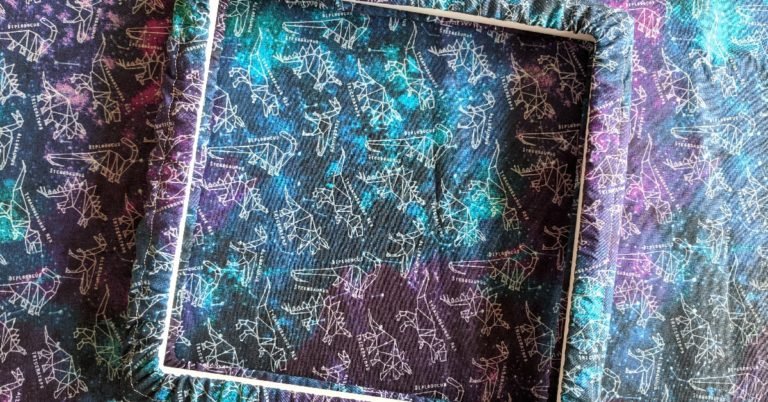
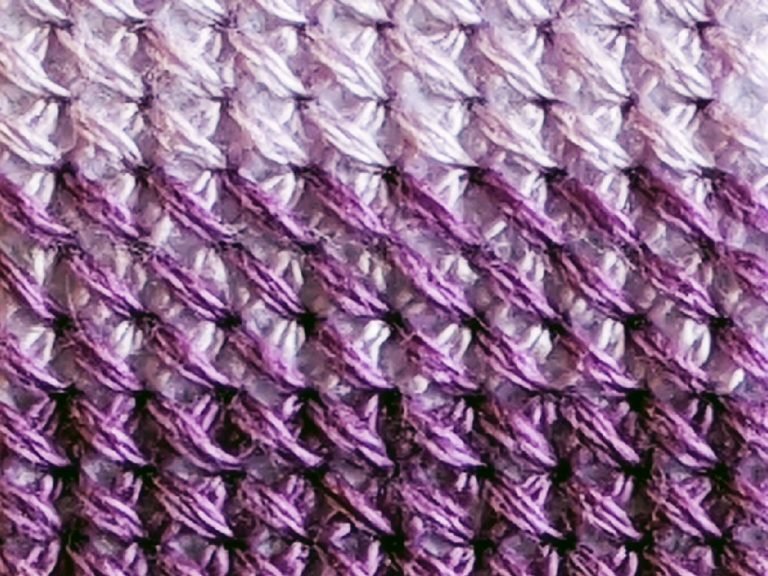
Scrunch your fabric up and add it to the dye bath. This will create a pleasant mottled pattern. The areas that have the most access to the dye will be darker, while the areas that are scrunched in the center will be lighter.
If some areas are still white, you can reposition the fabric to allow the dye to access those areas.
If you want a solid color, use a bigger container so that the fabric can move around freely. You will want to mix this frequently. Alternatively, you can use the washing machine to attain an even color. This is the immersion technique because the fabric is fully submerged.
Allow your fabric to soak for 30 minutes to a maximum of 60 mins to achieve the most saturated color.
For a lighter tint, use less dye and soak the fabric for less time.
If you would like to add multiple colors, use separate jars for each color.
To create distinct colors, fill a very small amount of the jar with another color so that more fabric is above the fill line. In contrast, you can fill a majority of the jar with the secondary color and overdye your fabric to produce a different outcome.
You can try different folding techniques, called shibori, to create unique patterns.
Step #4: Preserving the Color
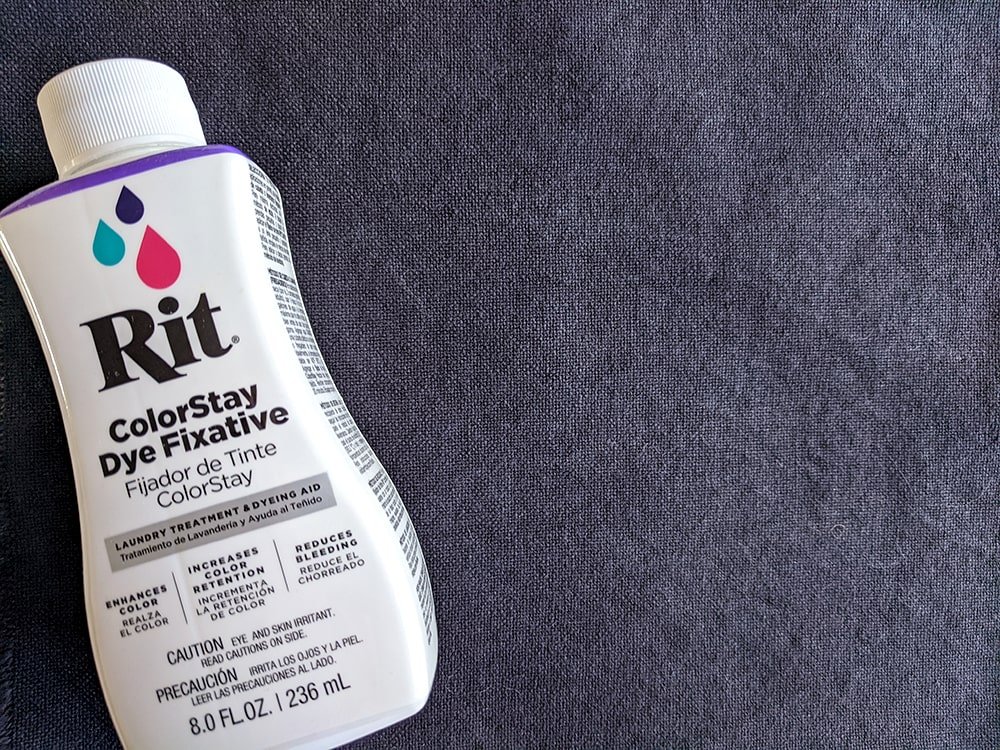
Many of you will skip this step and that’s fine, but a lot of the dye may wash out.
According to the dyeing instructions on the label, you should dunk the fabric in a bath of the Rit ColorStay Dye Fixative.
The fixative will lock in the dye, retaining the color. After all, you just worked so hard to get that beautiful color. Don’t watch all that hard work go down the drain when you rinse your fabric.
Using the ColorStay will ensure that your fabric will stay vibrant. This is particularly important if your fabric will be washed repeatedly.
You will notice that very little color rinses out after using the fixative.
Use warm water until the fabric rinses clear, then you can switch to cold.
Step #5: Drying the Fabric
Your fabric will look darker when wet. I assure you that it will lighten up significantly once it has dried. Do not be alarmed if you think you have dyed it too dark.
After rinsing, I like to hang dry my fabric.
While the fabric is still slightly damp, I iron out all the creases.
The heat will also help to retain the color.
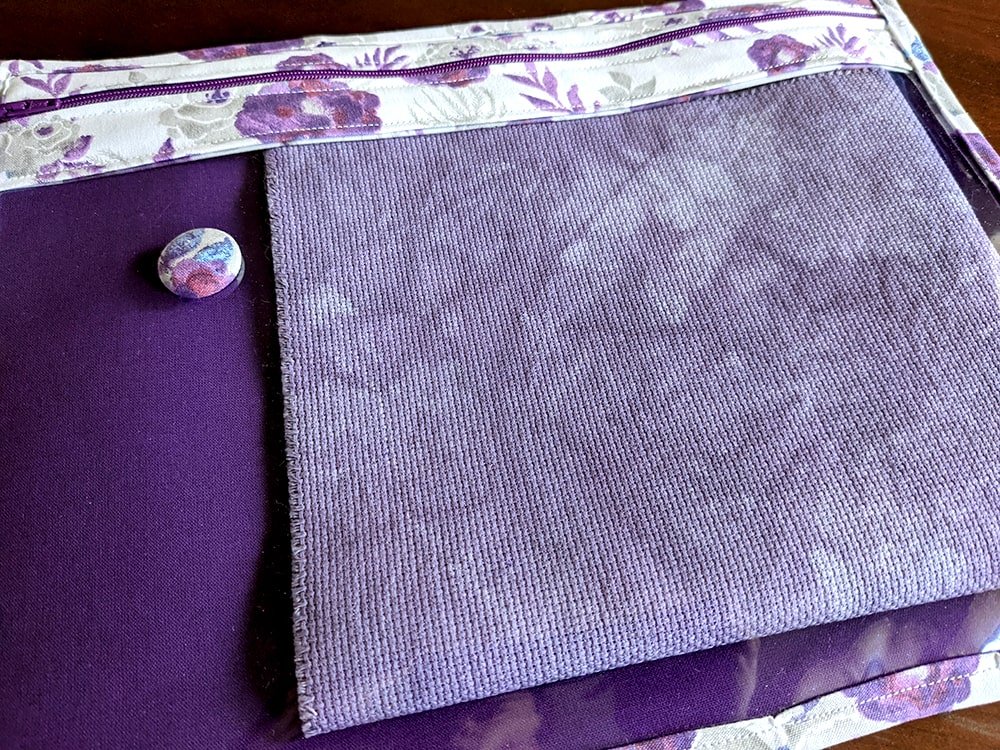
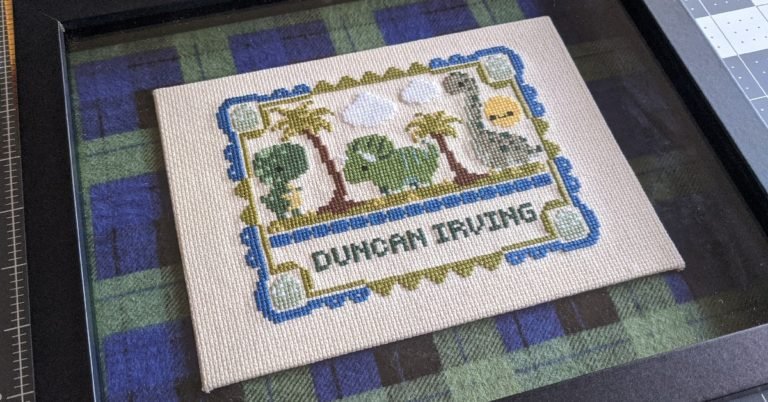
Congrats! Your beautiful hand-dyed fabric is now ready for stitching!
Final Thoughts
The reason I prefer dyeing my fabric this way is that the technique is simple and it’s easy to clean up!
To create specific colors, you can visit the Rit website to find over 500 color formulas. This is always fun to browse but for the most part, I just wing it.
The biggest factors that will affect your color results include your fabric type, the amount of dye used, the water temperature, and the amount of time in the dye bath.
Have fun and get creative. Try experimenting with different techniques and dye brands. I have even tried using natural dyes like avocado pits and beet juice. Sounds crazy, I know. They create lovely shades of pink!
Happy Stitching!
Thanks for the tips on dying using Rit. I have bought some rit all purpose dye but do not know if I would be better to dye pure white linen or to bye unbleached linen. I want to achieve a navy colour after dying. I really would be happy if you could let me know as I would like to get started on my project.
In my opinion, white would give the best color because you are working with a pure base. Whatever the base color is will impact the final color. However, because it is a dark color, it may not make a huge difference.
I have bought a raw tan linen aida kit to make a cushion and when I undone the aida I found the needle that was pinned on to the material had left a rust mark. I thought if I dyed it it would cover the rust or if I just washed it would it come out. Also I tried to iron out the folded creases with a little of steam but not all came out. If I washed it would the creases come out?
Sometimes I have to wash my fabric several times to get the creases out. I iron the fabric over and over until the creases are gone. If there are still some stubborn creases they should not be noticeable when the fabric is stretched during the mounting process for framing.