How to Make a Needle Minder from a Fabric Covered Button [Includes Video Tutorial]
Have scraps of fabric that you don’t know what to do with? Waste not! These fabric-covered buttons are the perfect way to use up any leftovers you have.
WANT FREE CROSS STITCH PATTERNS?
Sign up for my newsletter to get access.

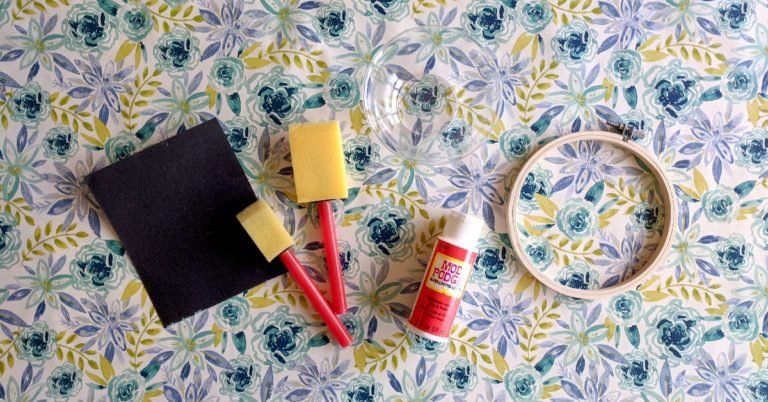
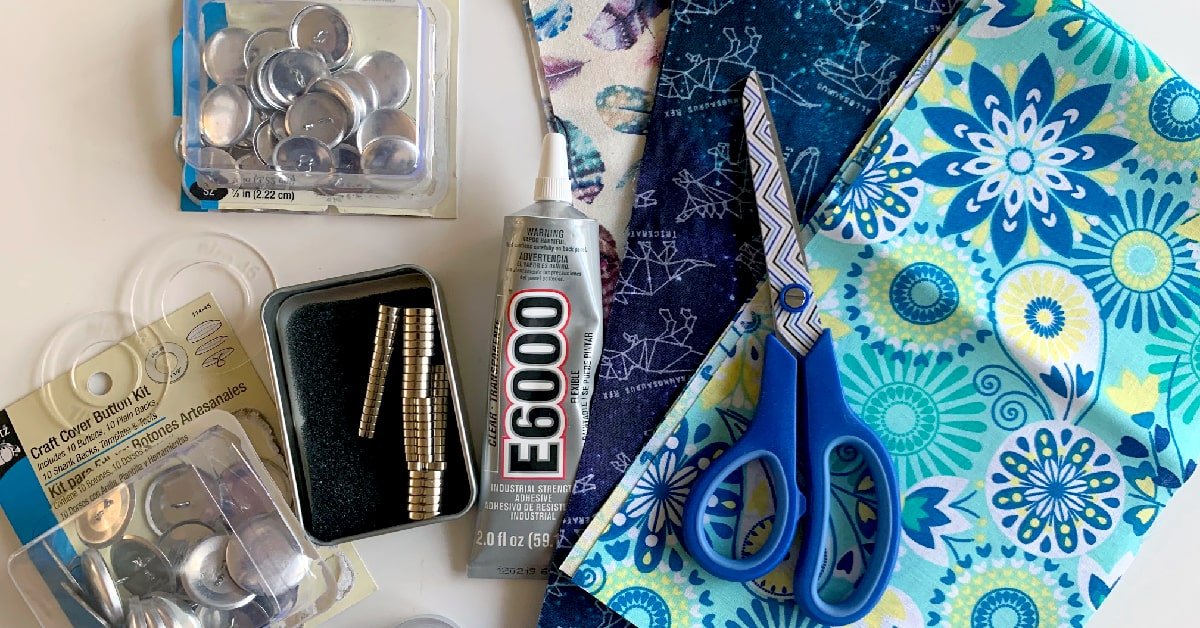
The Supplies You Will Need
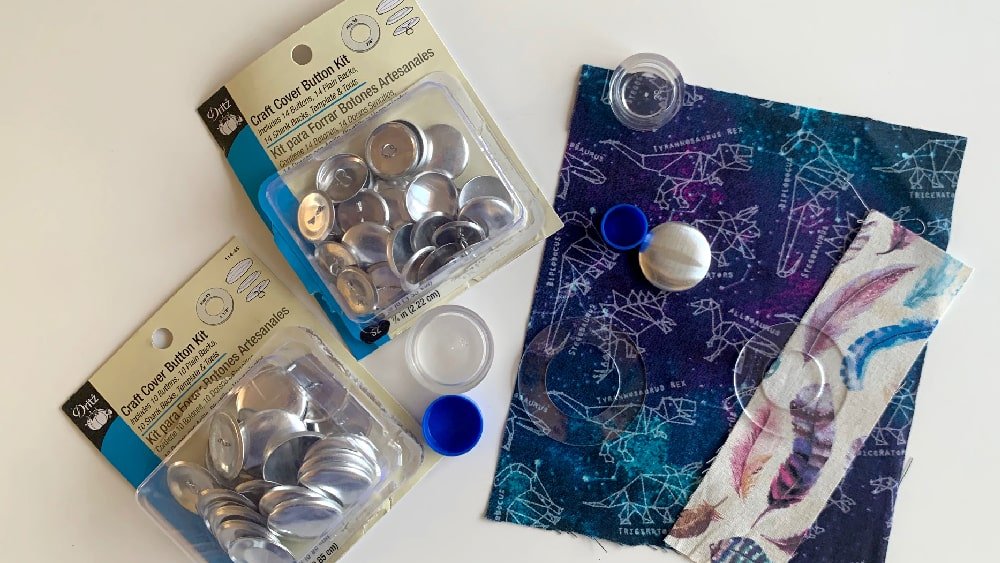
- Dritz Craft Cover Button Kit (size 36 or 45) or
- Flat Back Button Replacements
- Scrap Fabric (roughly 2”-3” square)
- 2 Neodymium Magnets
- E6000 or another permanent glue
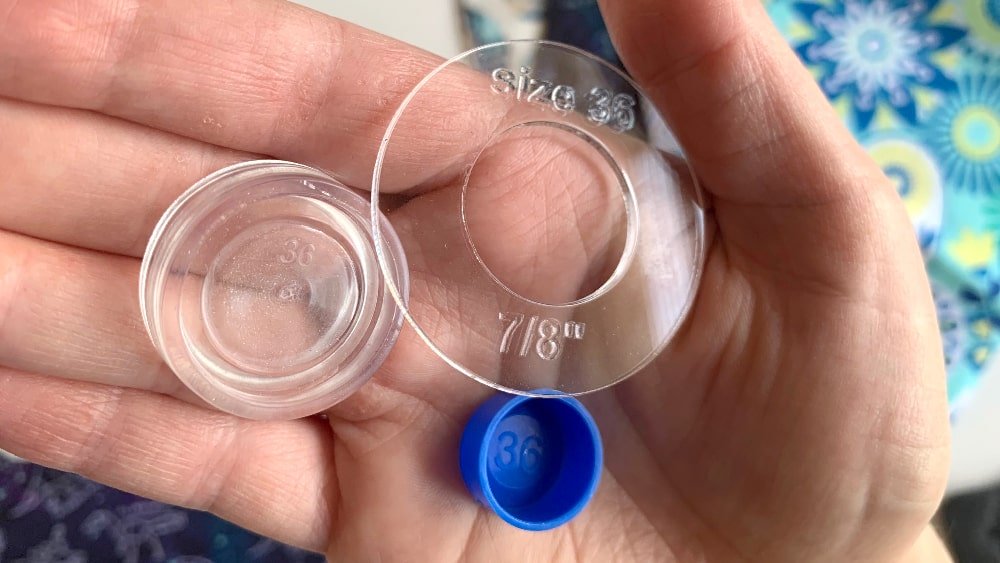
My favorite button fabric button kit is by Dritz because it comes with a hard plastic template. If this is the first time you are making fabric buttons, I would go with this kit.
The Dritz kit is the only kit I’ve seen that has the hard plastic template. I also like that the template, pusher, and cover holder all are labeled with the size. This is useful for me because I have 2 sizes and keep them in a drawer together.
The annoying thing about this kit is that it comes with 14 covers, 14 shank backs, and 14 flat backs. Wouldn’t it make more sense if there were 28 covers? It doesn’t matter for our purposes but the shank backs are a waste.
After the initial purchase, I would buy bulk flat back buttons. I like this brand of flat backs because the backing is slightly indented, making a perfect spot for your magnet to go.
Other flat backs are flush with the cover. This causes the magnet to stick out more from your fabric and allows for your floss to get wrapped around it. Not a huge deal, just something to think about.
I prefer the size 36 button covers. These equate to ⅞”. I also have the size 45 ones and they seem a little too big for my liking. Try different sizes and find out which you like.
Lastly, you will need scraps of fabric about 2 to 3 inches square. This is the perfect stash buster project for all those tiny pieces that you don’t know what to do with.
Keep in mind that these suggestions will depend on your fabric. If you have a fabric with a small pattern it really doesn’t matter because any spot will look good. However, if you have a subject or spaced out design, you will want that to be the center of your button.
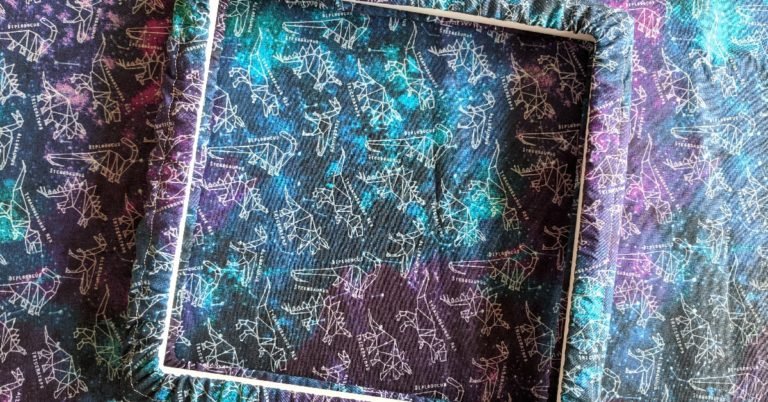
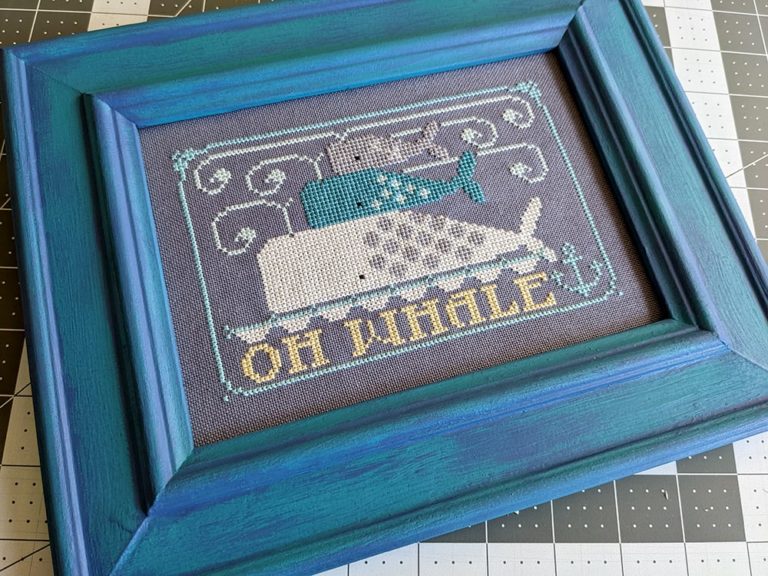
I use fabric as backing for my projects and for grime guards.
I always have a little bit of excess fabric when I make my grime guards. You can make a matching set by reading my tutorial on creating your own grime guards.
Step-By-Step Instructions
- Use the template to cut a circle from your scrap fabric
- Put fabric into the holder along with the button cover
- Squish the edges into the button cover
- Put on the flat back and use the pusher – This may take a couple of tries to get right. Sometimes starting to close it with your hands will help it snap into place.
- Glue on your magnet