25 Must-Have Cross Stitch Accessories, Notions, and Tools
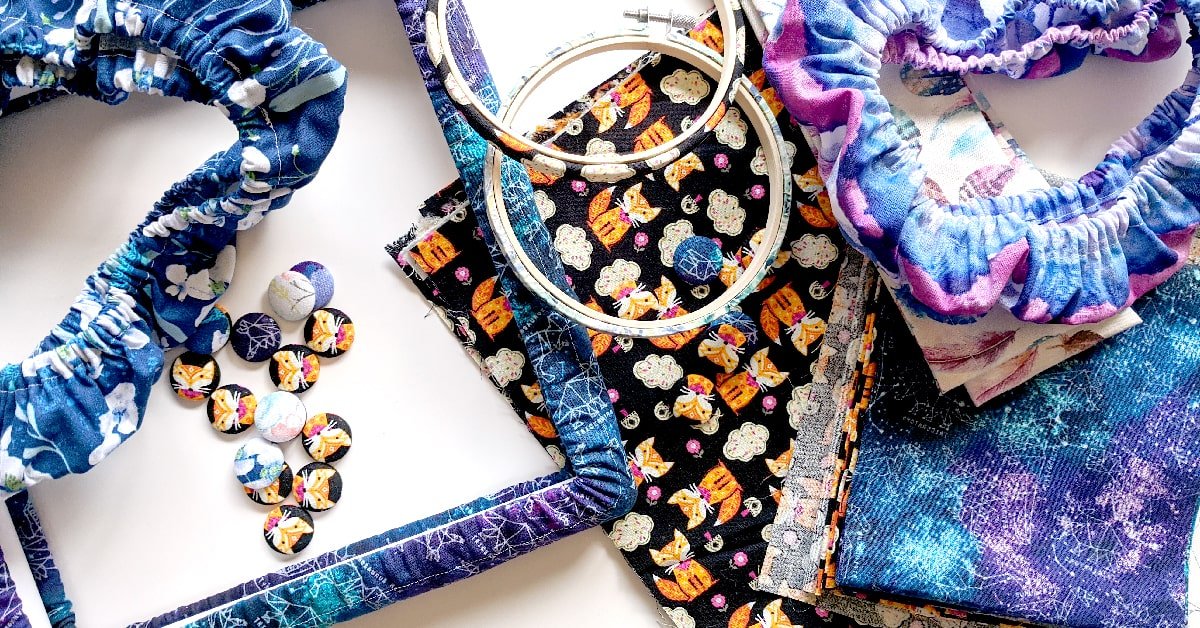
There are some materials for cross stitching that are necessities like your pattern, fabric, thread, and a needle.
For a long time, I just stitched with the basics. These are the essential supplies you need. No frills or fuss.
Then there are accessories, which you don’t necessarily need. However, the longer I have stitched the more I have come to realize the importance of non-essential stitching tools.
Some of them just make stitching so much more enjoyable.
WANT FREE CROSS STITCH PATTERNS?
Sign up for my newsletter to get access.
1. Embroidery Hoops
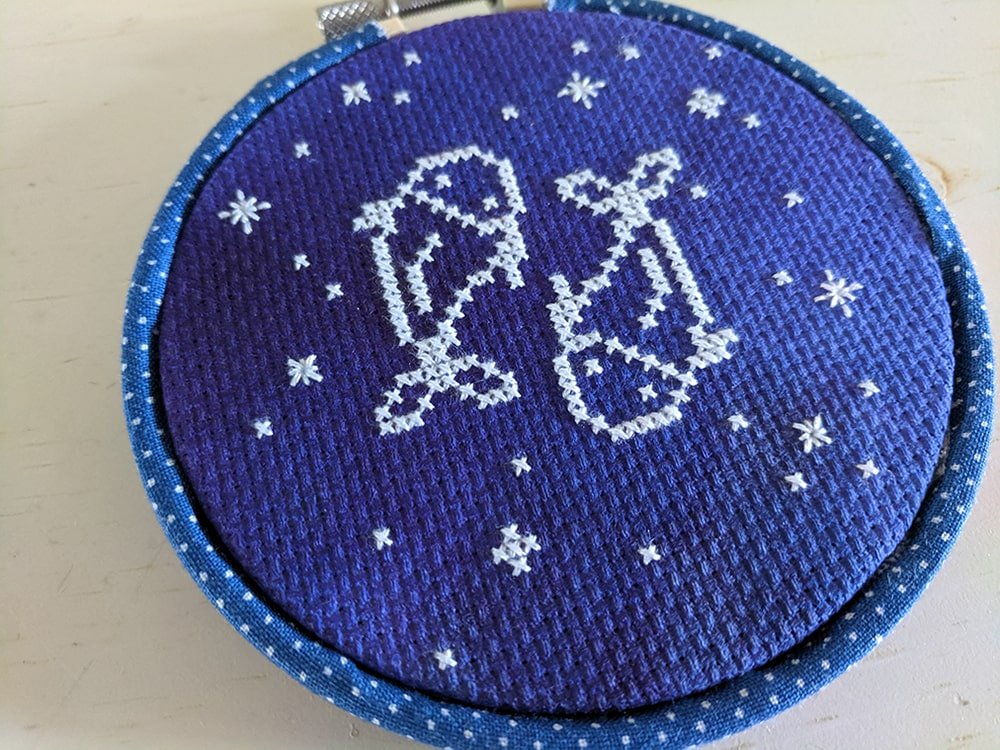
Embroidery hoops hold your fabric tension so that your stitches are even. Hoops come in a variety of sizes and shapes to accommodate your cross stitch project.
Some hoops hold tension better than others. I used to stitch in wooden hoops. In my opinion, I liked them better than plastic hoops.
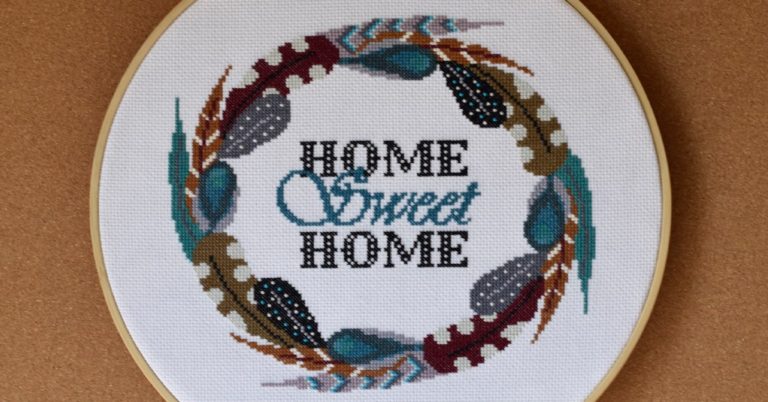
You could also find creative ways to finish your project in an embroidery hoop after you are done stitching.
2. Q-Snaps
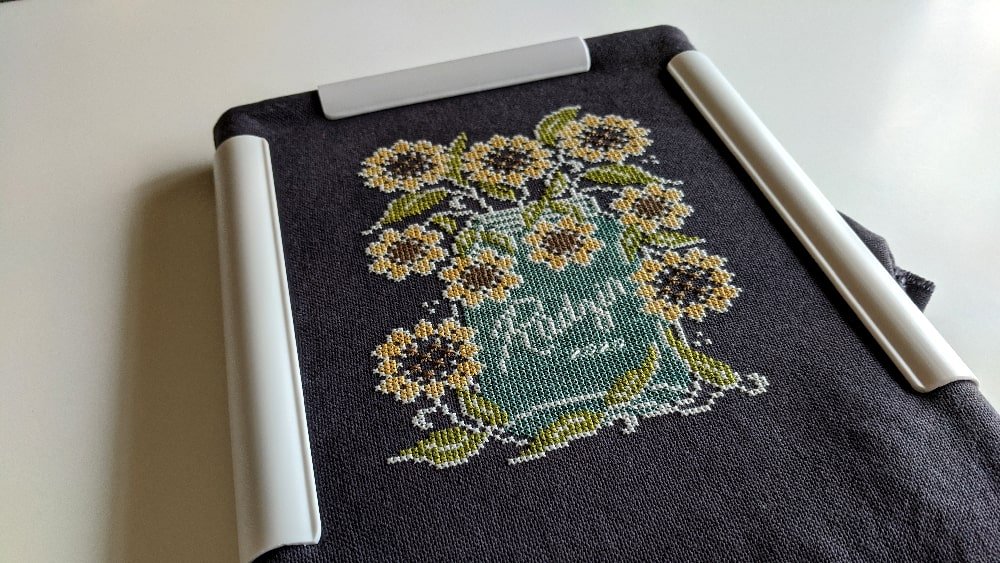
Q-Snaps are the original brand name of snap frames. They are square and rectangular plastic frames that use clamps to hold the fabric taut on all sides.
Q-Snaps have become my new favorite way to stitch. In my experience, they hold the tension very tightly, which I like, and evenly.
The frames are lightweight, highly portable, and easy to hold. Because of their shape, they also allow for a greater stitching area.
Craft stores have since created their brands of snap frames, but many stitchers prefer the originals. There are slight differences and the off-brand frames may not hold tension as well.
3. Scroll-Frames
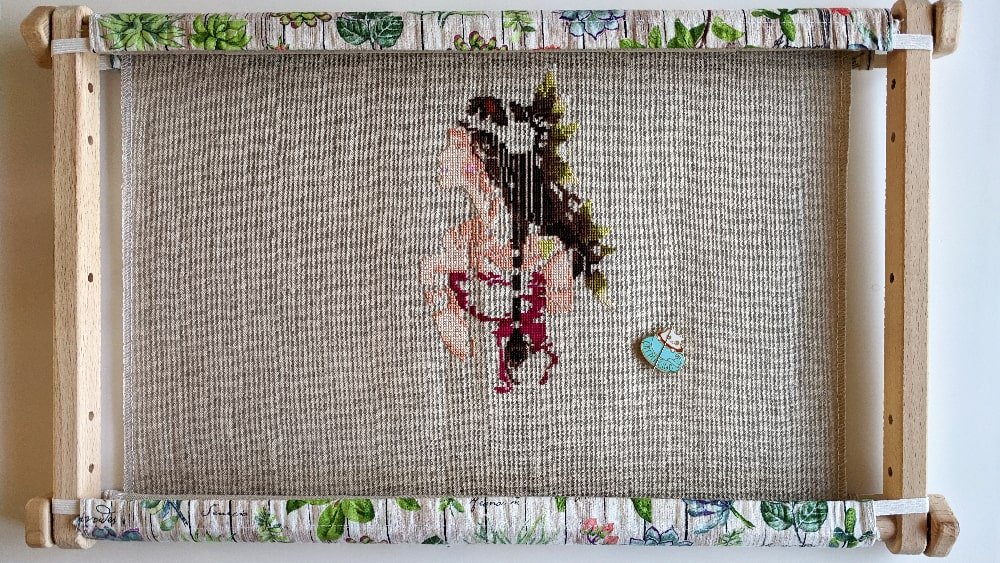
Scroll-frames are great for holding the tension of your larger projects.
Because of the way a scroll-frame works, you don’t need to worry about what to do with excess fabric because it just rolls around itself. You also won’t have to undo the frame every time you want to move your project.
Simply untighten the knobs and “scroll” your project to a new section.
4. Cross Stitching Stand
If you like to work on bigger projects, investing in a good floor stand or lap stand is a good idea. Holding your cross stitch frame can be exhausting. The really good ones are solid wood.
Getting a stand can also help with your posture and other aches and pains that you are experiencing if you hold your frame.
Even if your frame isn’t heavy, sometimes it’s better to have BOTH hands free so that you can stitch faster with the double-handed method.
5. Needle Minders
Have you ever lost your needle in between the couch cushions or in your bed?
Thankfully, I have only lost needles in my stitching bag when it falls out of the holes of the fabric. Weaving your needle into the fabric is not as convenient.
It terrifies me when I see posts on social media of people losing their needles. I don’t want to even think about it.
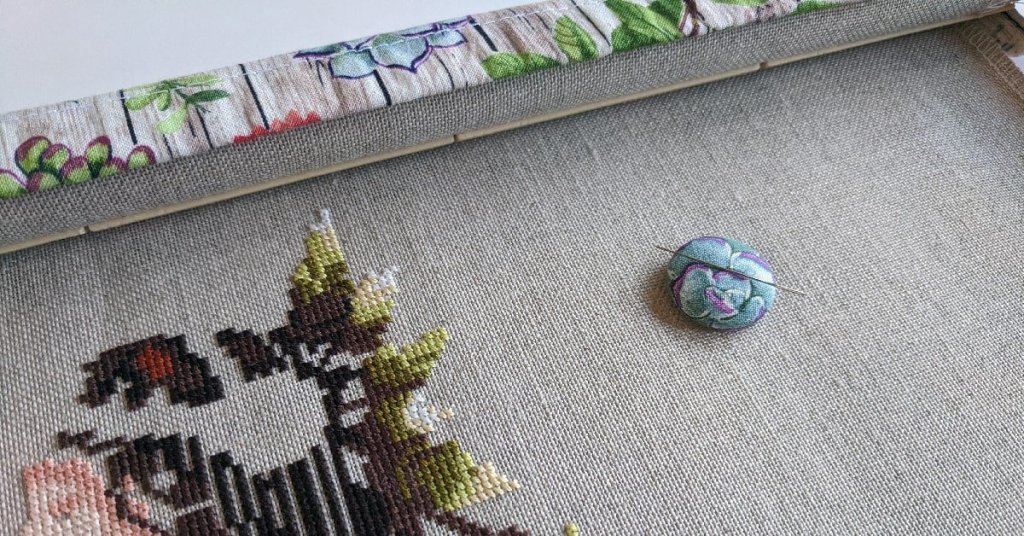
You can easily prevent losing your needle with a needle minder. A needle minder is an object that sticks to your fabric with two magnets (one on the front of your fabric attached to the front object and one on the back of the fabric).
Because tapestry needles are made of metal the needle will magnetize to it. The bonus is that it can easily be moved around your fabric depending on the length of your working thread.
Your needle is never far so you can just pick up your project and start stitching, then put it on the needle minder when not in use.
Needle minders are fun and addictive to make yourself. I have created tutorials to make an enamel pin needle minder and a fabric-covered needle minder.
6. Grime Guards
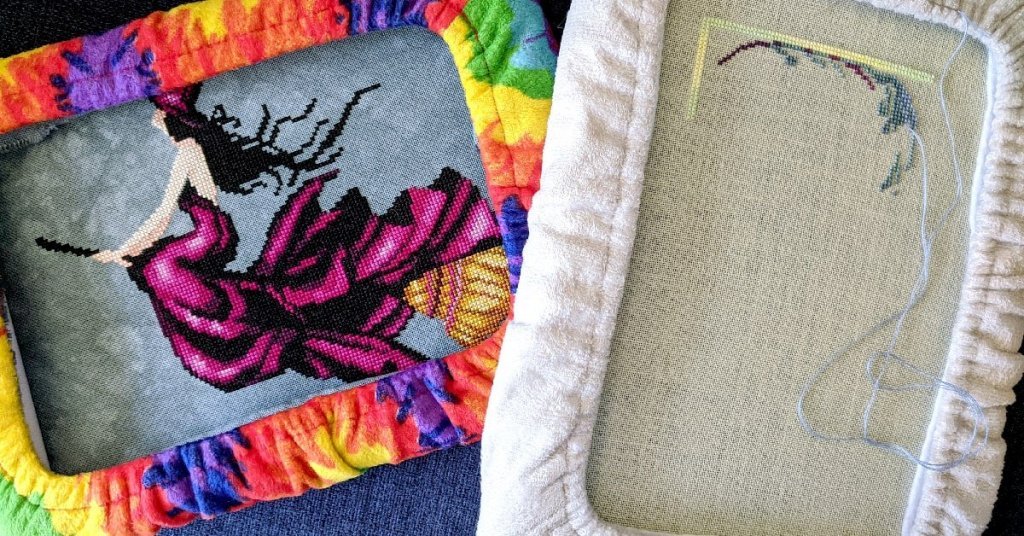
Prevent stubborn stains on your fabric with grime guards.
After using a hoop or Q-Snap for an extended period, you may notice stains developing on your fabric where your hand holds the frame. In my case, I didn’t realize until after the damage was done.
These stains were hard to get out even after washing the project several times.
That’s where grime guards come in. Grime guards are pieces of fabric with elastic in them to grip onto your hoop, Q-Snap, or scroll frame.
Not only do they block your hand oils but they keep your fabric cleaner from other debris as well. This is particularly big news if you are working on a project that cannot be washed.
Grime guards are another fun do-it-yourself project if you are crafty. Pick your favorite fabric to match your stitching.
I created tutorials for hoop/Q-Snap grime guards and scroll frame grime guards.
You can use scrap fabric from your grime guard to make a matching needle minder!
7. Needle Threaders
Sometimes threading your needle can seem impossible. Use a needle threader!
I usually lick my thread to get it through the needle, but a needle threader comes in handy when I’m playing a game of floss chicken and my floss is short.
Many break easily but luckily they don’t cost much. Find one you like and stick with that because it will become a useful tool in your arsenal.
8. Laying Tools
Want perfectly neat, Instagram-worthy stitches? A laying tool might be what you need.
A laying tool is a smooth, pointed tool that helps your stitches to lay flat. This tool is meant to assist you with railroading stitches.
9. Scissor Fobs
Scissor fobs are decorative embellishments that attach to the handle of your embroidery scissors.
They are usually made from beads and charms, but can also be made from a small stitched tag.
Scissor fobs help you find and grab onto your scissors easier.
10. Scissor Cases/Sheaths
A good pair of stitching scissors should be sharp. You don’t want those just floating around in your bag so they can stab you. You also don’t want them to poke a hole in your bag.
Cover those babies up with a scissor case or sheath. You can buy one or stitch one up yourself.
You can even get a pendent scissor holder and wear it around your neck for easy accessibility.
11. Floss Organizer/ Thread Keeper
I first noticed a pretty wooden thread keeper by The Primitive Hare and fell in love. They are so beautiful.
They only have a few holes but these are perfect for Classic Colorworks or Gentle Arts Sampler Threads where you aren’t using a lot of colors.
For patterns with a lot of colors, I usually keep my threads in baggies by color groups. However, I have made a simple thread keeper by using an index card and a hole punch to organize the strands that I cut off the skein.
I would like to try to make a beautiful wood one and create a tutorial for it.
12. Project Bags
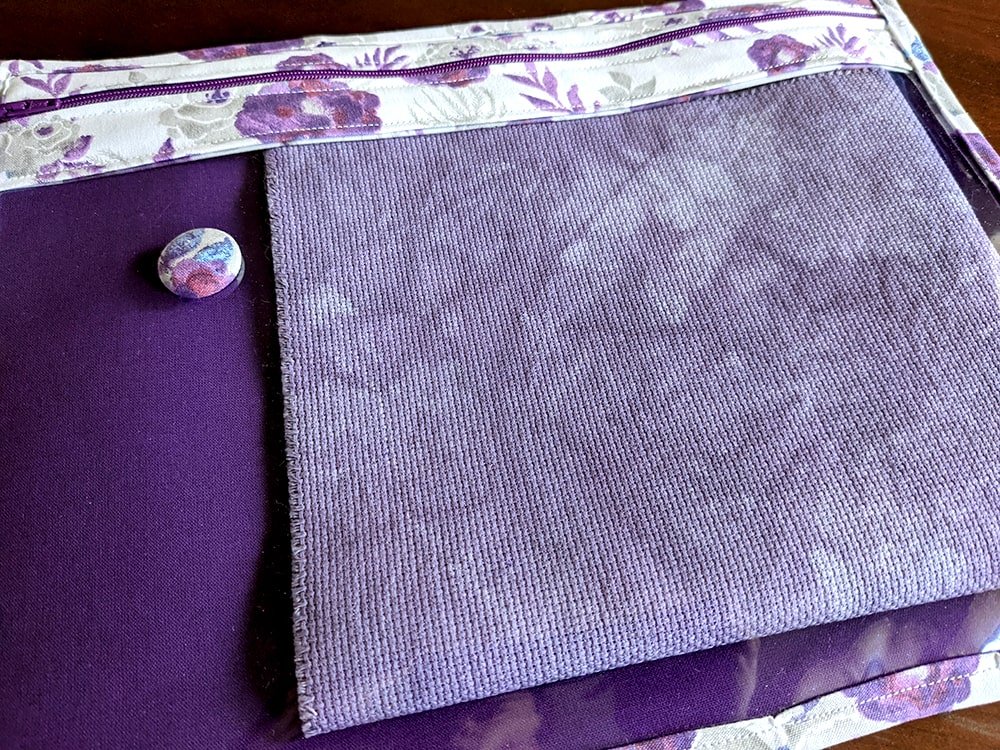
Keep all your WIP supplies together in a project bag. Project bags will prevent your stitching from becoming dirty and make your project easily portable.
I prefer the project bags with the clear vinyl window so that I can see what’s inside. Although, you will probably begin to memorize which project is in what project bag.
You can have all your fabric matching from the project bag, to the grime guard, to the fabric-covered needle minder.
13. Floss Boards/Design Boards/Bitty Boards
Floss boards are boards made of batting, foam core, and some strips of fabric. The batting holds your floss, preventing it from becoming lost in your project bag.
They were created by Lori Holt from Bee In My Bonnet for quilting, but they have become a cross stitch favorite accessory as well.
14. Stitching Scissors
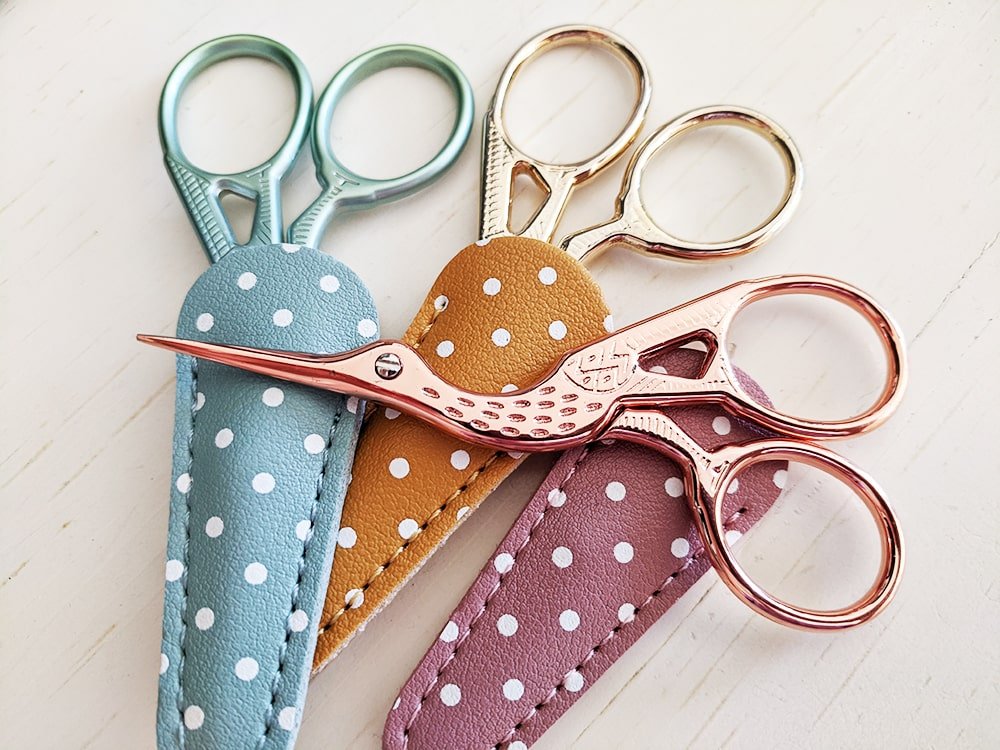
I finally caved and bought a good pair of classic stork scissors and I can’t express how amazing they are.
Previously, I was using regular scissors. Whatever I had laying around was good enough.
Sometimes, I needed to cut a thread that was close to my stitching. The stork scissors are perfect for being precise.
15. Needle Books
Keep all your stitching needles in one place with a needlebook. Many designers have patterns to cross-stitch your needlebook for a cute keepsake.
I can’t tell you how many times I brought a cross-stitch project someplace then lost my needle. If only I had extra needles with me.
Put your needlebook in your project bag for easy portability. Never be without a needle again.
16. Stitching Lights
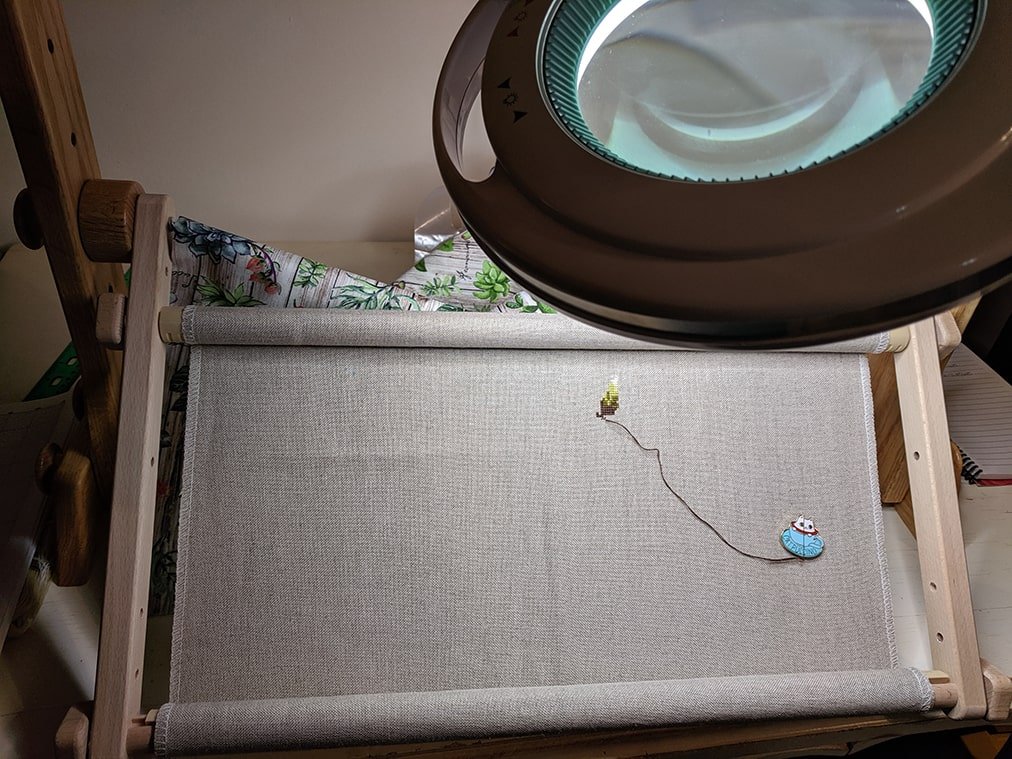
My favorite lighting to stitch in is daylight. However, once there’s that transition into dusk it can get more difficult to see the tiny holes of your fabric.
Good lighting is crucial! An ordinary table lamp will not do.
You want the light to be aimed directly at your project for optimal accuracy while stitching. Also, these lights come in different strengths and temperatures for the best stitching experience.
17. Magnifiers
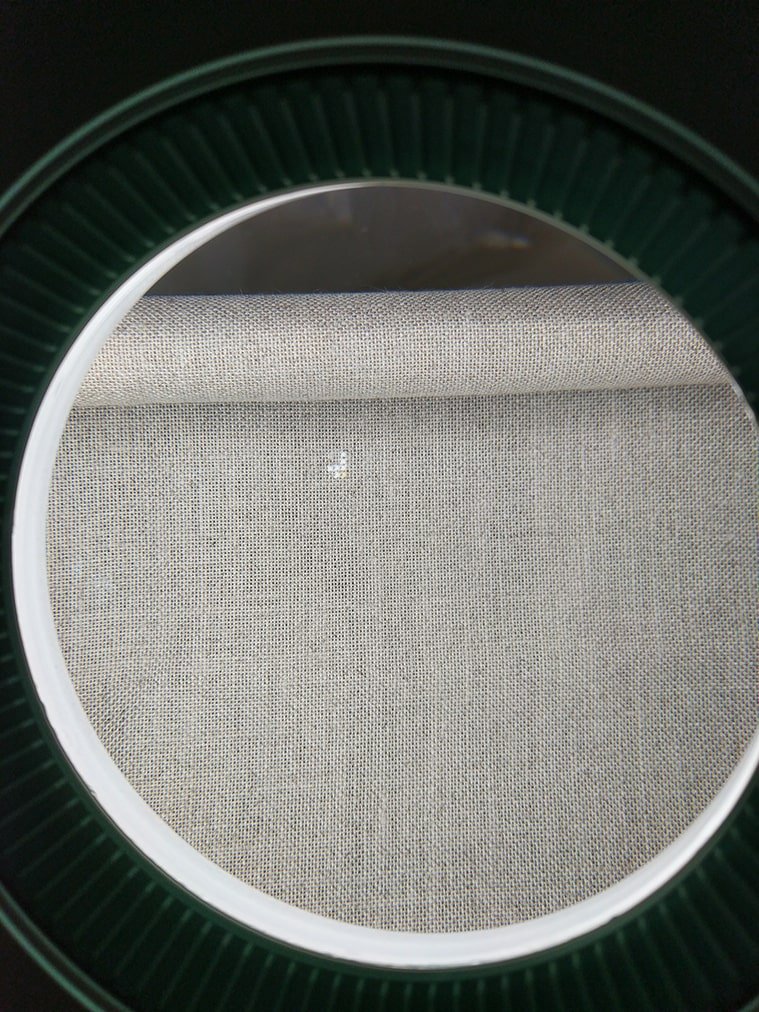
Magnifiers are huge life-savers when it comes to reducing eyesight strain. Nothing can make cross-stitching more unenjoyable than constantly squinting at your project.
Invest in a good magnifier to make stitching easier. Magnifiers come in a range of strengths. Choose the one that works best for you.
18. Waste Canvas/Water-Soluble Canvas
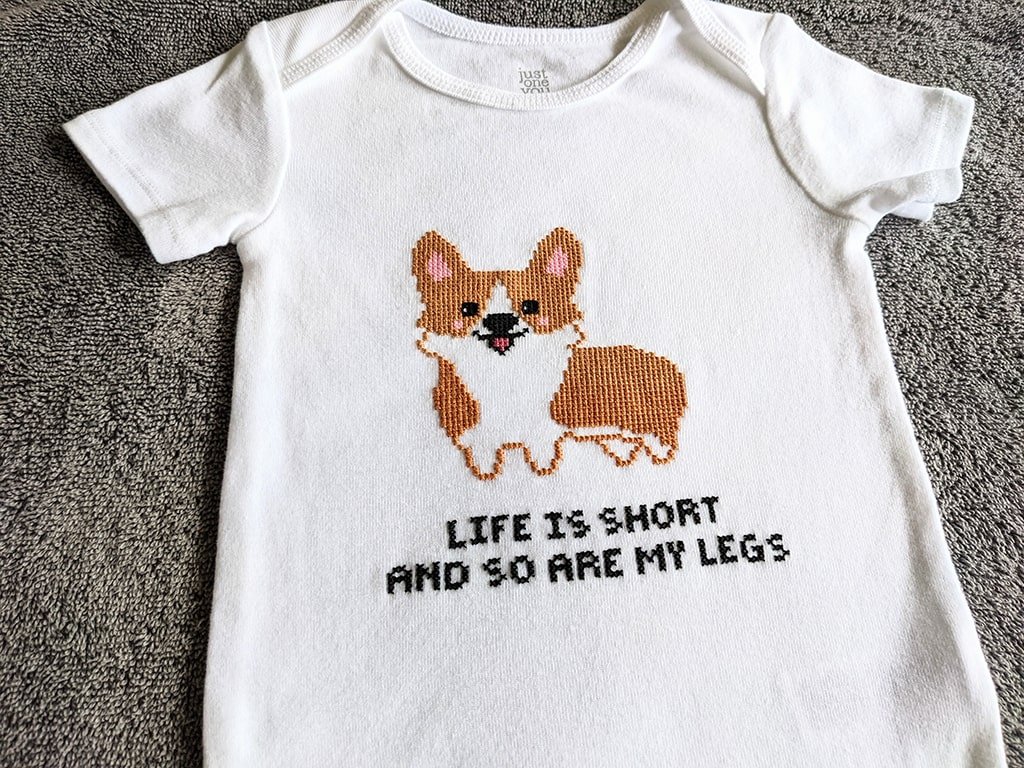
Want to be able to stitch on any fabric? You will need to get some waste canvas or water-soluble canvas.
They are slightly different but achieve the same result. That is to be able to stitch on other materials like shirts and denim jackets.
Once finished, you have to dampen the waste canvas to soften it. Then pull the strands out until just your stitching is left on the fabric.
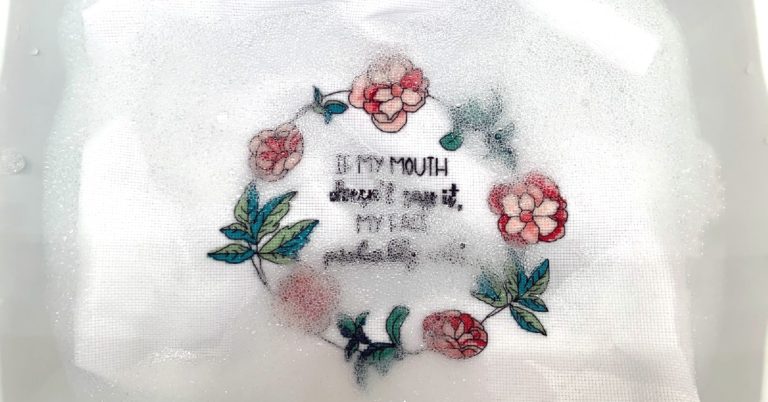
Water-soluble canvas just dissolves in water when your project is washed.
For more information, you can check out this tutorial on waste canvas.
19. Thread Conditioners
Use thread conditioners if your thread gets fuzzy to help it glide through your fabric. Thread conditioners make working with metallics way easier to manage.
Stitchers swear by Thread Heaven but it has been discontinued. Like anything else that gets discontinued people are selling it for a ridiculous amount of money. However, if you do find some for cheap, it might be worth picking up.
Thread Magic is the next best thing. It’s no Thread Heaven but many stitchers like it as a substitute.
Some people prefer to use beeswax.
20. Thimbles
Sometimes your needle can be hard to push through when you are weaving in the ends. Get a thimble and problem solved!
Thimbles also come in handy when framing your work if you prefer the pinning method. Pushing all those pins in with your fingers can start to hurt.
21. Magnetic Boards
Magnetic boards are useful for so many reasons. I use mine to display my needle minders when they aren’t in use.
You could use them to hold open your pattern while you are stitching.
22. Lightboxes
Do you have trouble stitching on dark fabrics? Lightboxes are so essential so that you get that light from underneath your fabric and highlight the holes.
There are many tips and tricks to stitching on darker color fabrics, but a lightbox is necessary to save your eyes and make your stitching enjoyable.
23. Thread Picks/Seam Rippers
Make a mistake? Thread picks and seam rippers allow you to fix your mistakes with ease.
While you are taking out stitches just be careful not to rip a hole in your fabric. Take your time and be patient.
Frogging is a frustrating process for everyone.
24. Beading Needles
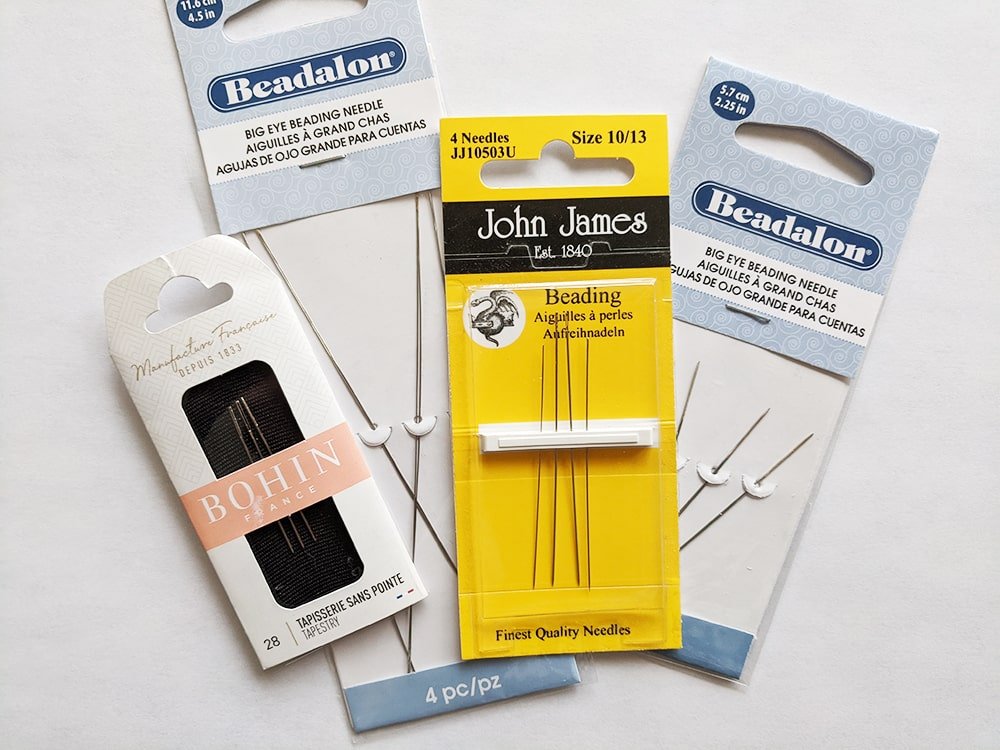
Beading needles are useful if your project has beads. I learned that if you are using the size 11/0 beads then you could get away with using a size 28 tapestry needle.
However, if you are stitching with petite beads, which are size 15/0, or bugle beads then you will need beading needles.
Because beading needles are so slim, they can be hard to thread. I like the Big Eye Beading Needles by Beadalon.
25. Invisible Thread
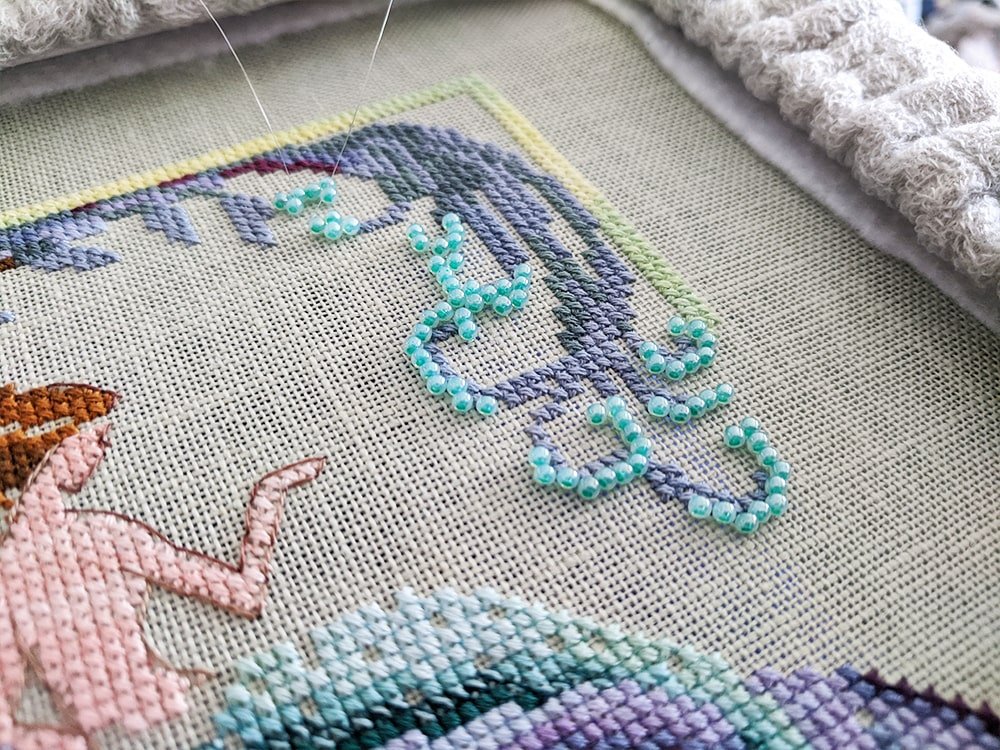
In my opinion, the best thread to bead with is YLI Invisible Thread. You can’t even tell it’s there! Which can also be a disadvantage.
Using invisible thread might be a little tedious, but I think that the payoff is worth it.


This is such a helpful page for both new and experienced stitchers! I was curious, however, if there is a certain type of needle you have found to be superior to others? I know different needle types/sizes/etc are needed for different fabric types/count/etc. but I wondered if you had come across a needle you particularly liked to work with. Also, I store my extra needles in an empty magnetic eyeshadow makeup case (which can be found in all sorts of shapes/sizes/design on Amazon or in any beauty supply store) and I’ve found it does a great job of keeping them organized and, more importantly, safely stored!
The magnetic eyeshadow case is a great tip! Thanks for sharing.
I prefer to use 28 Bohins. My oils break down the coating on DMC needles way too fast and irritate my skin. There are plenty of great tapestry needles out there. I really like Bohin because they don’t irritate my skin. Once I became used to the size 28 it’s all I ever use now. It’s perfect for beading as well so I never need to switch needles.
I had a cross stitch piece framed…..during the process, the framer used an item for touch up on a smudge. Do not know if it was Tide to Go or some other stain stick.
What do you recommend?? Thank you, J
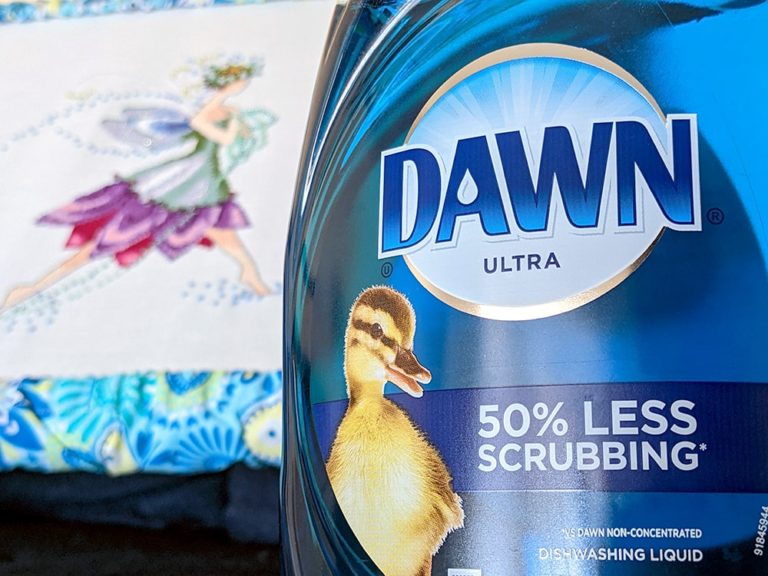
Hi. I’m not sure what your framer used, but I like to spot treat stains with Tide to Go. You can also treat it with OxyClean or baking soda. Whatever is easiest for you :). I like to wash my pieces when I’m finished to get rid of all the grime. I use Dawn to get rid of oils. There’s a lot of buildup that we don’t necessarily see right away. Here’s my tutorial for washing your finished project.
Hi Stephanie!! I am new here and haven’t read through everything, but I have been looking at a “thread counter” on Etsy. It is basically 2 needles with a thread that connects them. The thread length is supposed to be 10 cross stitches to easily count on big pieces. Have you seen these? Do you have one? I would like to make my own and I think you could help. Thank you!!
Hmm. That sounds interesting, but I have never heard or seen them. Good luck with your search.
Hi, I was wondering if you know where I can purchase the rods used to roll up the ends. It looks like a scroll when the ends are rolled up, plus the tapes used to tack down the rods, etc. I tried searching Amazon, The Stitchery, but they don’t carry it. Is it a Chinese product? Could you give me the website info.
Thank you,
Lana
Hi! They are called scroll frames. I have two different kinds that I bought from Amazon. One uses velcro https://amzn.to/3LjGzzG and the other uses plastic clamps https://amzn.to/3PCPvTr. I hope this helps 🙂