
What are the Different Ways to Hold Fabric for Cross Stitch
When I was younger, I cross stitched in hand. As I became more experienced with cross stitching, I ventured out and learned different techniques of holding my fabric to figure out which method I preferred.
You may be currently stitching in hand and are ready to try other tools for keeping your fabric taut. There are different options depending on the size of your projects. However, each method will come down to personal preference.
As someone who has tried different solutions, listed below are some of my tips, and pros and cons for holding the fabric in hand, using hoops or q-snaps, and stitching with scroll frames.
WANT FREE CROSS STITCH PATTERNS?
Sign up for my newsletter to get access.

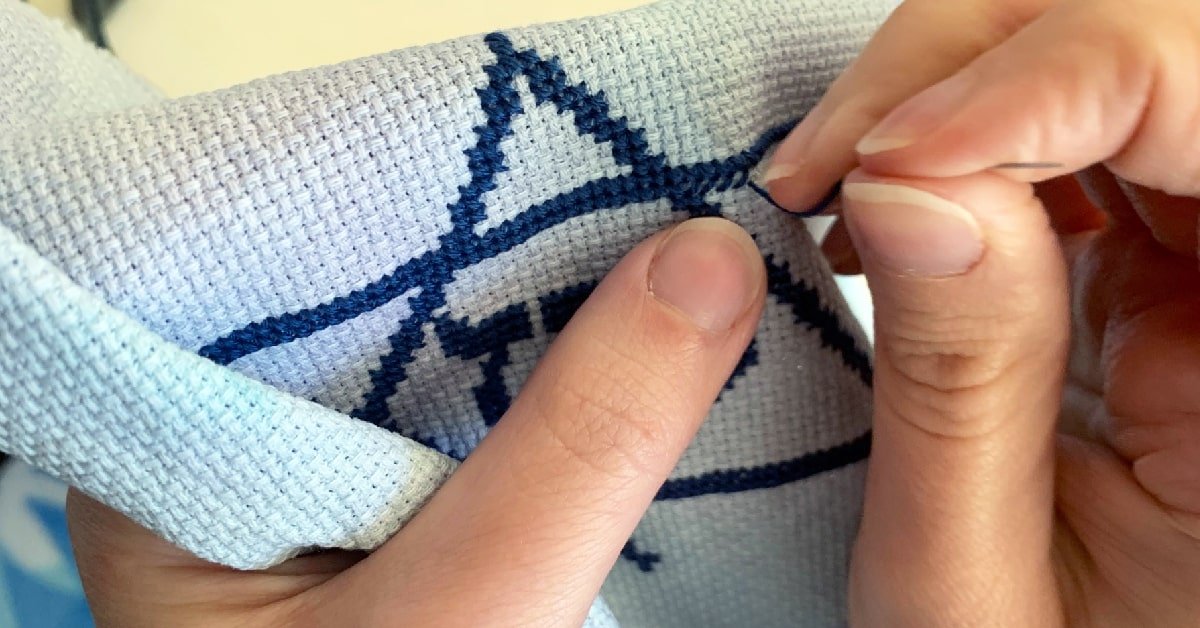
Hold the Fabric in Hand
When I first learned to cross stitch, I didn’t have any fancy tools. I stitched in hand. The best part of this method is that you do not need to purchase any extra accessories.
What are the Benefits of Stitching in Hand?
Stitching in hand is favored by beginners and more advanced stitchers alike. This method is cost-effective and allows you to stitch faster using the sewing method
Stitching in hand is a great option for beginners who are unsure if they want to pursue this hobby. There’s no need to buy additional materials.
It is also an inexpensive option for more advanced stitchers who want to spend their money on necessities such as patterns and fabric.
You can use the sewing method to stitch faster! Because you aren’t using anything to hold your fabric, your fabric has more drape. The drape allows you to weave your needle into the fabric so that you can increase your speed.
What are the Drawbacks to Stitching in Hand?
Because you are stitching in hand, your fabric has a greater chance of getting dirty, your stitching can be uneven, and you may experience stitching fatigue.
Your fabric and stitching is coming into direct contact with your hands and their oils. This is fine if you plan on washing your project once you are finished. However, if you don’t plan on washing your project, this is something to take into consideration.
I also recommend washing your hands thoroughly before you handle your cross stitch piece. You do not want lotions or other dirt or grime to get on your project.
The fabric will tend to become more wrinkled when stitching in hand because you will be bunching the excess fabric so that it’s not in your way.
If you aren’t using a hoop, q-snap, or frame, the tension of your stitches may be uneven. There’s nothing keeping the fabric stretched to keep your stitching even.
Depending on how I’m holding the fabric, my hands tend to get achy and tired. This unfortunately means less stitching time. Try holding the fabric in different ways to prevent stitching fatigue.
If stitching in hand isn’t for you, don’t worry. You can try stitching using a hoop.
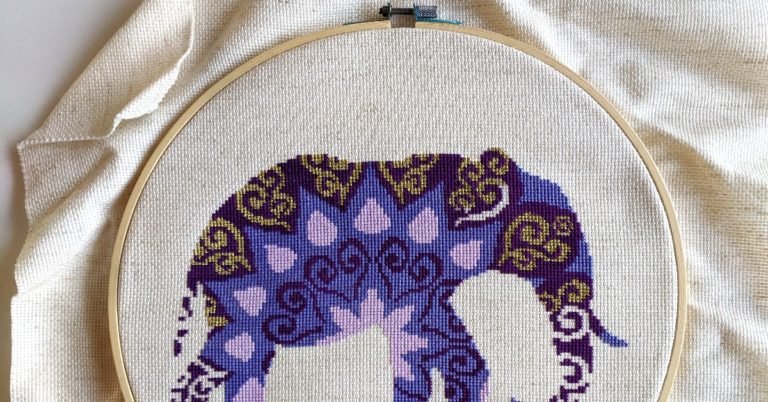
Keep Fabric Taut in an Embroidery Hoop
Hoops come in a variety of materials and sizes. I started out using wooden ones, but you can also buy plastic, and plastic and metal ones. You can even use hoops for finishing your project. The most common embroidery hoop sizes are 3”-12”.
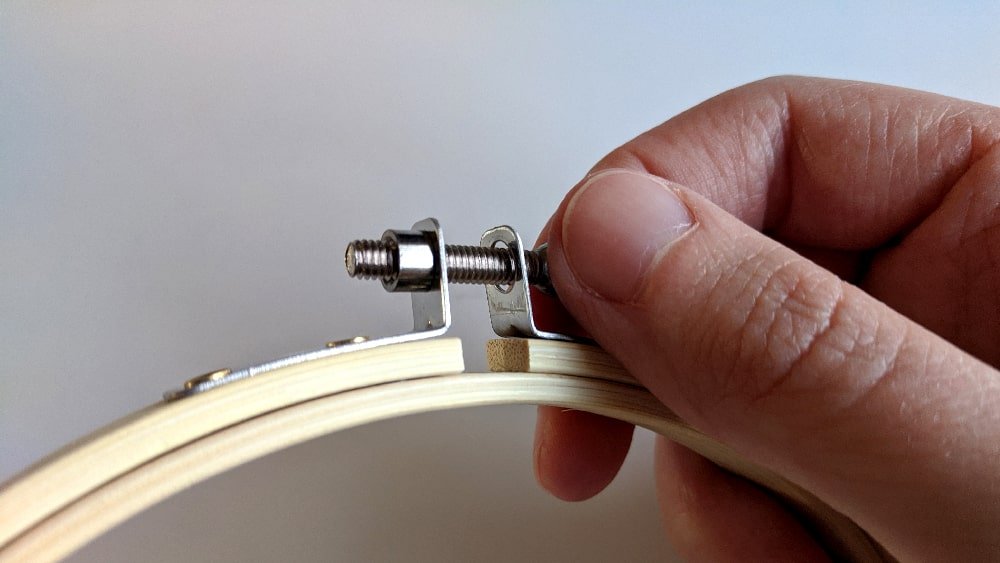
How to Use an Embroidery Hoop
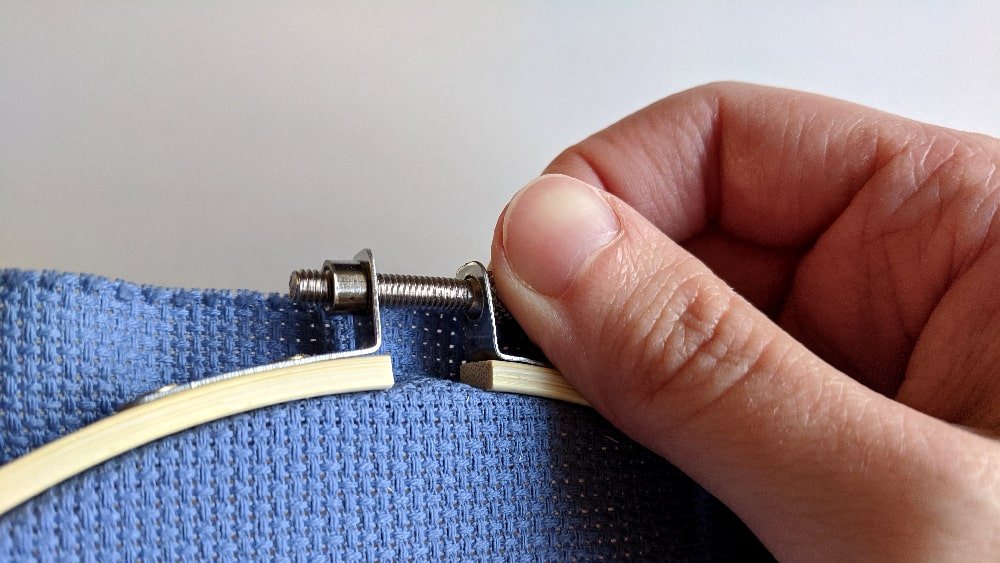
First, untighten the knob at the top of the hoop to release the tension and take off the outer hoop.
On a flat surface, align your fabric on the smaller ring.
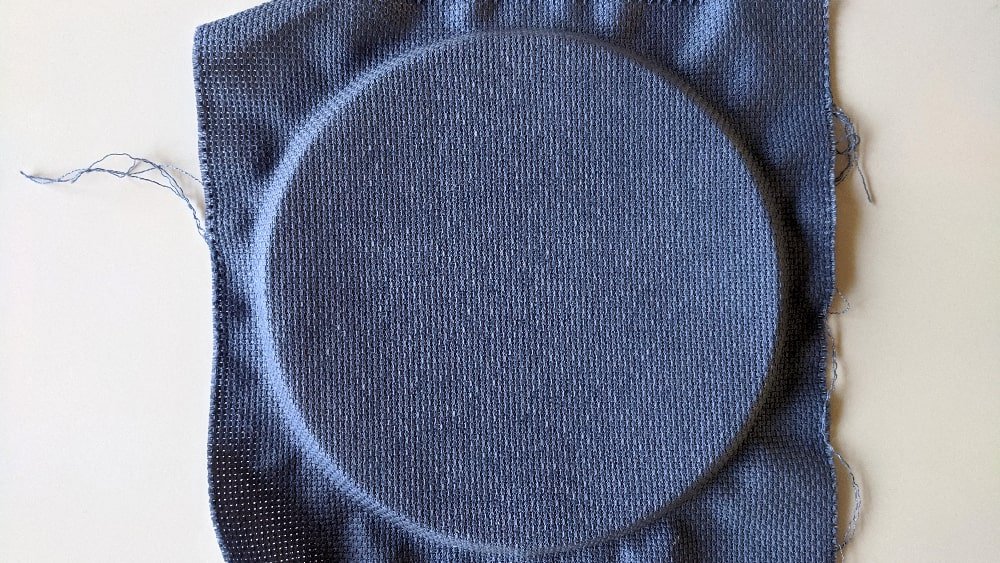
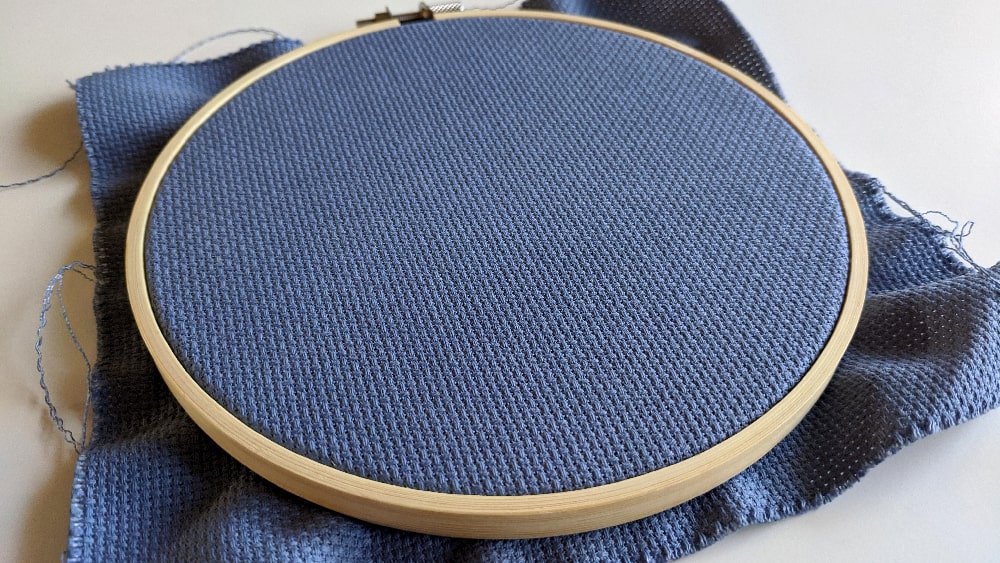
Replace the outer hoop by pressing down on the smaller ring. This will stretch your fabric and keep it secure between the two hoops.
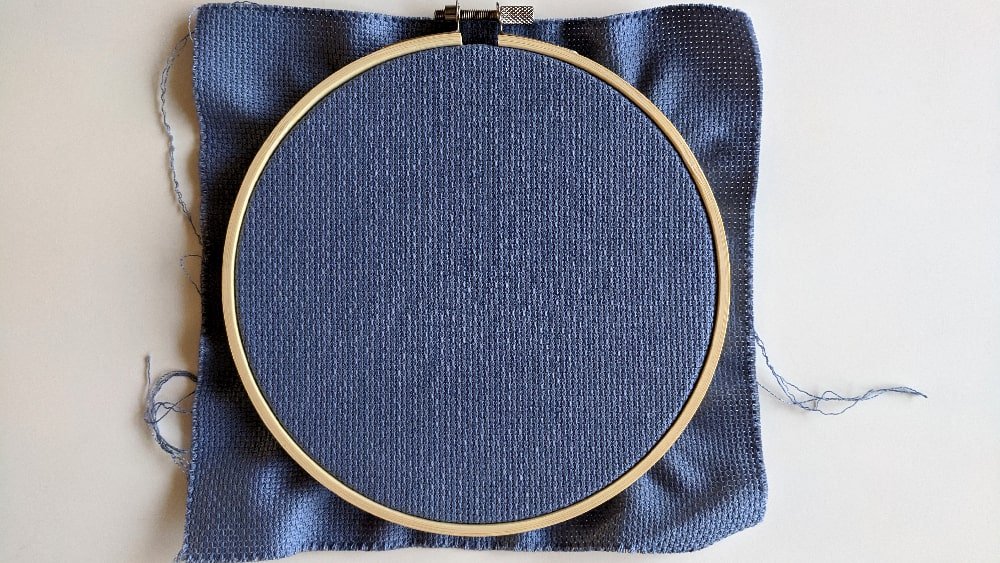
This can be somewhat difficult and may take several tries depending on the stiffness of your fabric. You can wash your fabric before starting so that it removes any starch, and becomes softer and easier to work with.
What are the Advantages of Stitching in a Hoop?
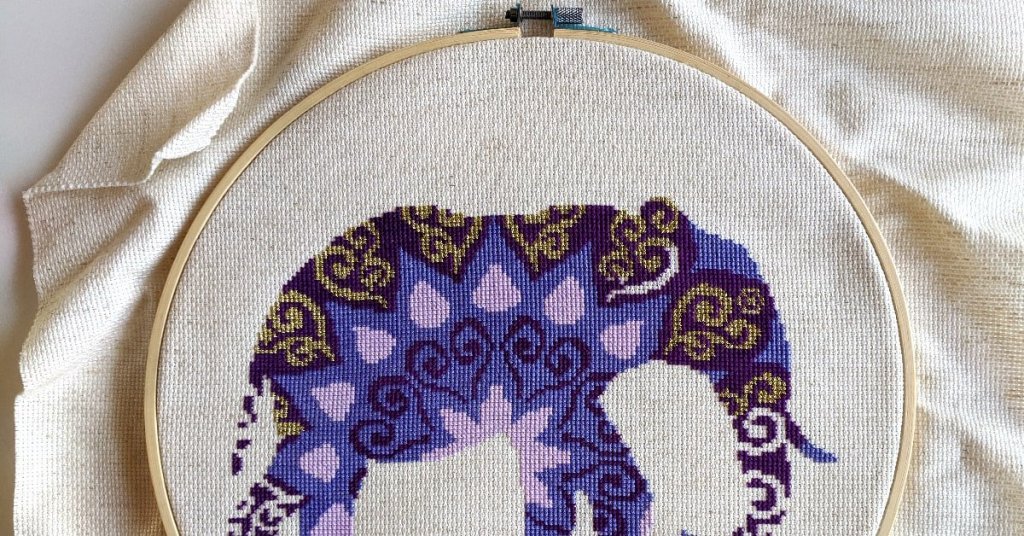
Embroidery hoops are a great option if you want to be able to transport your stitching, keep your fabric tight, and be able to decorate the hoop for your finished project.
Hoops are usually smaller and more compact, making them easy to bring along for stitching on the go!
I bring my stitching with me to places that I know I’m going to have to wait a long time. Spending the time being productive on my hobby keeps my patience in check.
There are numerous ways to decorate your hoop for finishing. Because hoops are inexpensive, this is a great option as opposed to framing, which can get costly.
Embroidery hoops keep your fabric tight while allowing your hand a place to rest. However, these positives can also become negatives.
What are the Disadvantages of Stitching in a Hoop?
Pitfalls of using an embroidery hoop include dirty fabric, loss of tension over time, and crushing stitches.
Although now there is a place to rest your hand, the rim of the hoop isn’t big enough so your hand still touches some of the fabric.
You can prevent the oils from your hands from staining your fabric by using a grime guard. Grime guards are fun to make and personalize with your favorite fabrics.
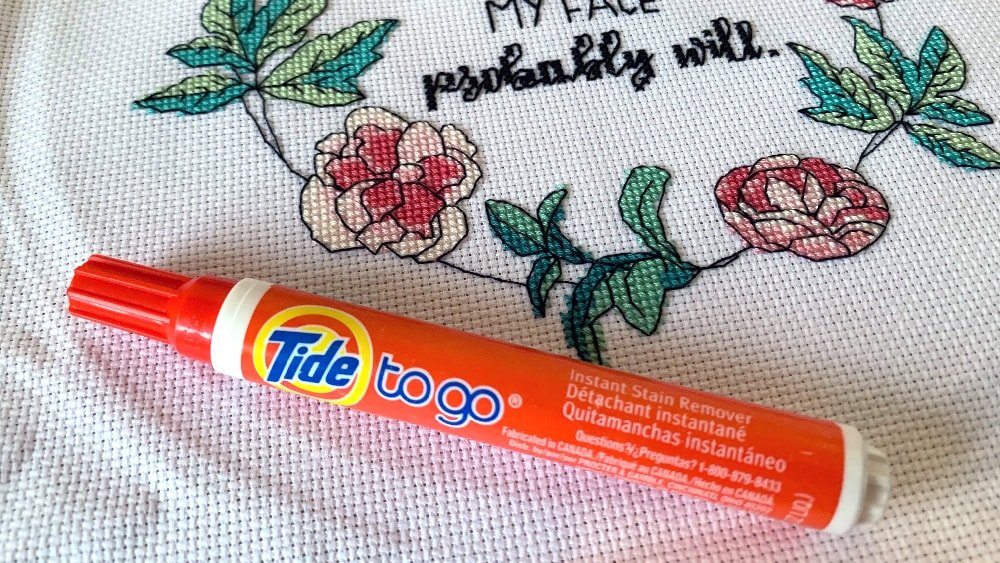
Another option is to remove the stain afterward. I have used a Tide pen to remove discolorations from fabric. Sometimes, I have had to wash the piece a few times to completely remove the stain.
As you are stitching on a hoop, you may need to keep adjusting the tension. The constant pushing and pulling the needle through the fabric can loosen the tightness.
This becomes less of a problem if you are moving your hoop around a lot.
You will need to move your hoop around on bigger projects because hoops are usually smaller. Once you finish in a certain area, you can move the project to another section until you are finished with the project.
Moving your hoop can cause smushed stitches. You can combat squashing your stitching by putting extra fabric between you stitching and the hoop, or by washing your finished project after the fact. Washing your project should plump those stitches right back up!
Given that most patterns are square or rectangular in shape, this can make stitching in a circle feel unnatural and unusual. The closer you get to the edges of the hoop the more difficult stitching will become.
You will also have to move your hoop around more because of the limited area compared to a q-snap which provides more stitching surface area.
Stretch Fabric in a Q-Snap
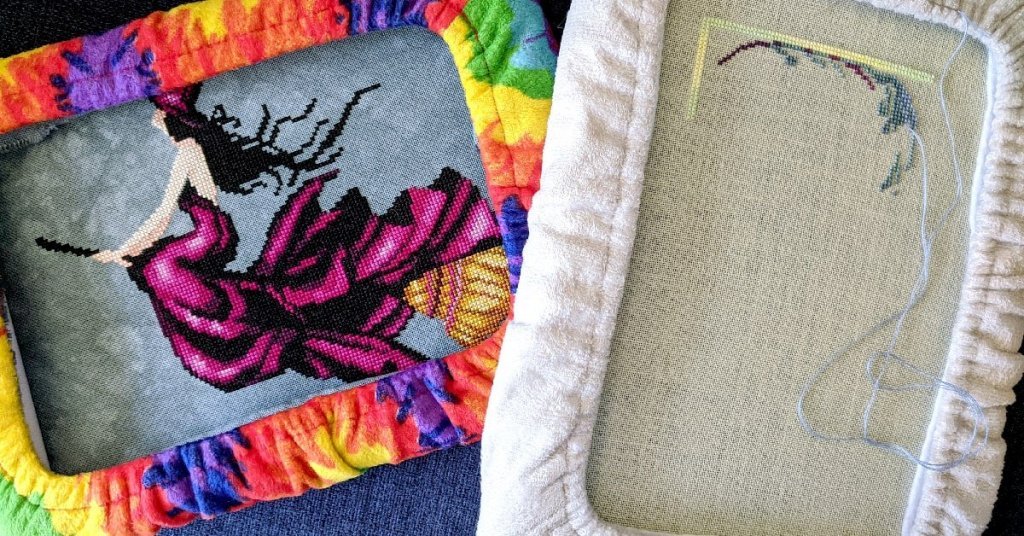
Q-snaps are one of my preferred methods of stitching nowadays. At first, I wasn’t a fan because I didn’t understand how they work and they were frustrating. After giving q-snaps a second chance, they have become my favorite way to hold fabric.
What are Q-Snaps?
Q-Snaps are actually a branded name referring to the square or rectangular plastic frame. The fabric is then attached to the frame with the semi-circular clamps that snap onto the frame. Available sizes include 6”, 8”, 11” and 17”.
Other companies have made similar products available in big-box craft stores. However, much like Kleenex to describe tissues or Band-Aid for adhesive bandages, Q-Snaps are now the word associated with this type of frame.
How to Use a Q-Snap
Q-Snaps are adjustable! This is awesome because you can mix and match the different lengths. Usually, I will buy two packages – one with all 8” sides and one with all 11” sides. This way I can create two 8”x11” frames.
The 8×11 and 11×11 are my favorite sizes. They provide enough room for most projects but aren’t too big and annoying.
Once you decide on your size frame, put the pieces together. You will have 4 pipes and 4 elbows to use.
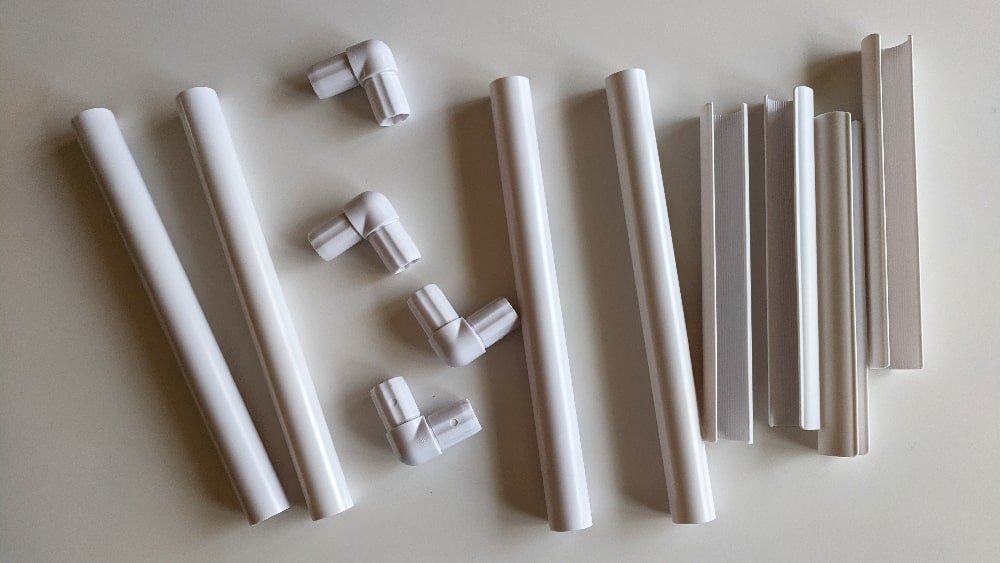
Start putting together the frame by connecting the elbows into the pipes.
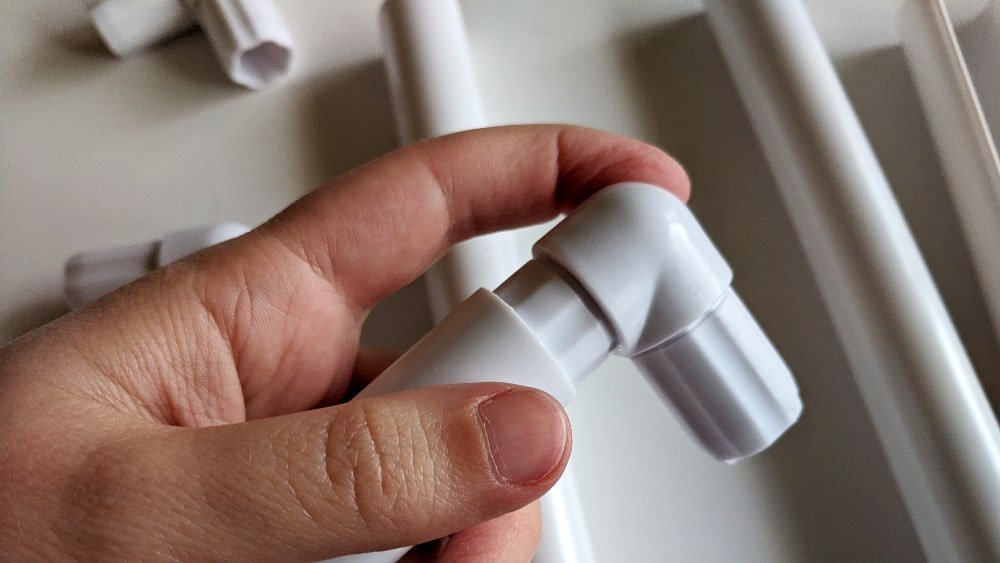
The easiest way to put the q-snap together is by attaching the elbows to the parallel sides.
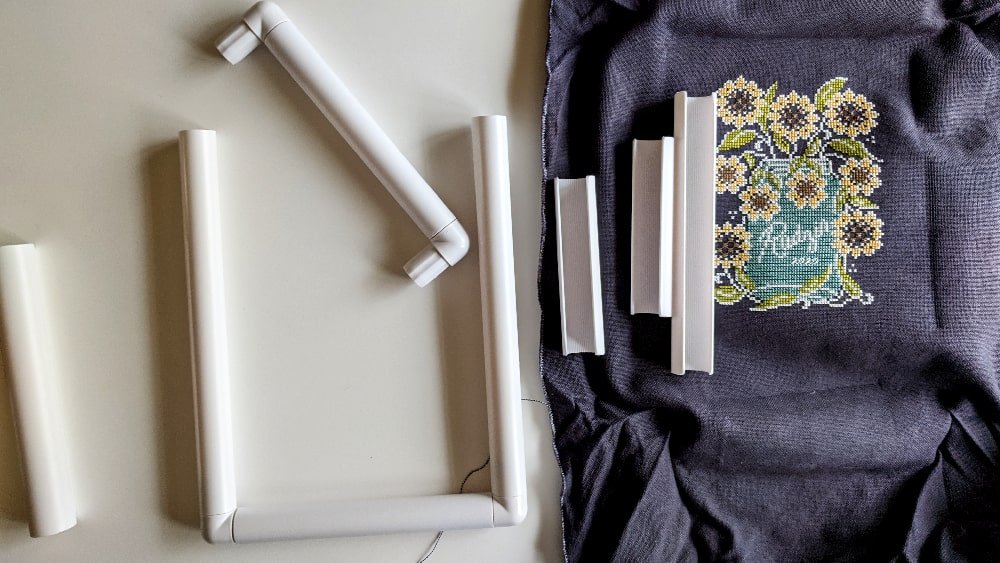
Put the frame on a flat surface and position your fabric on top. Then push the clamps down around the frame. I start with the opposite sides then do the other 2 sides. This will push the fabric down in the middle.
Turn the clamps outward, away from each other so that your fabric becomes tightened.
To remove the clamps, don’t try prying them off. Instead, slide them off the ends of the frame. This will preserve the lifespan of your clamps.
What are the Benefits of Using a Q-Snap?
Q-snaps are the best way to hold your fabric because of their shape, their portability, they are adjustable, and they hold tension better than hoops.
Because of the square or rectangular shape of the frame there is a greater surface area to stitch on. You won’t have to adjust your frame as much as with a hoop.
These frames are offered in smaller sizes making them extremely portable! The available sizes come in the packages of 6×6, 8×8, 8×11, 11×11, 11×17, and 17×17. Again, you can mix and match your frames though to create whichever size you need.
Obviously, the 17” ones will be less portable. I most commonly use 8×11 and 11×11, and fit them in my tote bags.
I have found the tension of q-snaps to be AMAZING! Once you stretch the fabric, it’s drum tight. My stitches come out so perfectly even.
Unfortunately, that perfect tension will not last forever, but there are a few tricks you can do to fix that. I’ve heard that putting them in the dishwasher firms them back up. You can also purchase replacement clamps if you cannot regain the tension.
What are the Problems with Using Q-Snaps?
The problems with q-snaps are that you will have to move your project around a lot to fit in the stitching area, creating smushed stitches, you have to replace the clamps, and you can still get oils on your fabric.
If you choose a q-snap for your larger projects, there is only so much room to work with. Once you finish a section, you will need to move your project to another working area.
You will get smushed stitches if you are putting your clamp over stitched areas. To prevent this, you can put felt under your clamps so that there is a layer of protection.
Another option is to use a bigger q-snap that may fit your entire project. Once you complete a smaller section, you can upgrade so that you aren’t fighting with the frame’s bulkiness the entire time stitching.
As much as I like the tension of q-snaps, it doesn’t last forever. The felt under the clamps will help give them better traction.
I’ve also heard that people put their clamps in the dishwasher. The heat will shrink the clamps fixing any tension issues.
Like with hoops, you can still get hand oils on your fabric. Again, I recommend using grime guards to prevent your fabric from staining.
The grime guards are also great for storing excess fabric on your q-snap. You don’t want to accidentally stitch extra fabric to the back of your project.
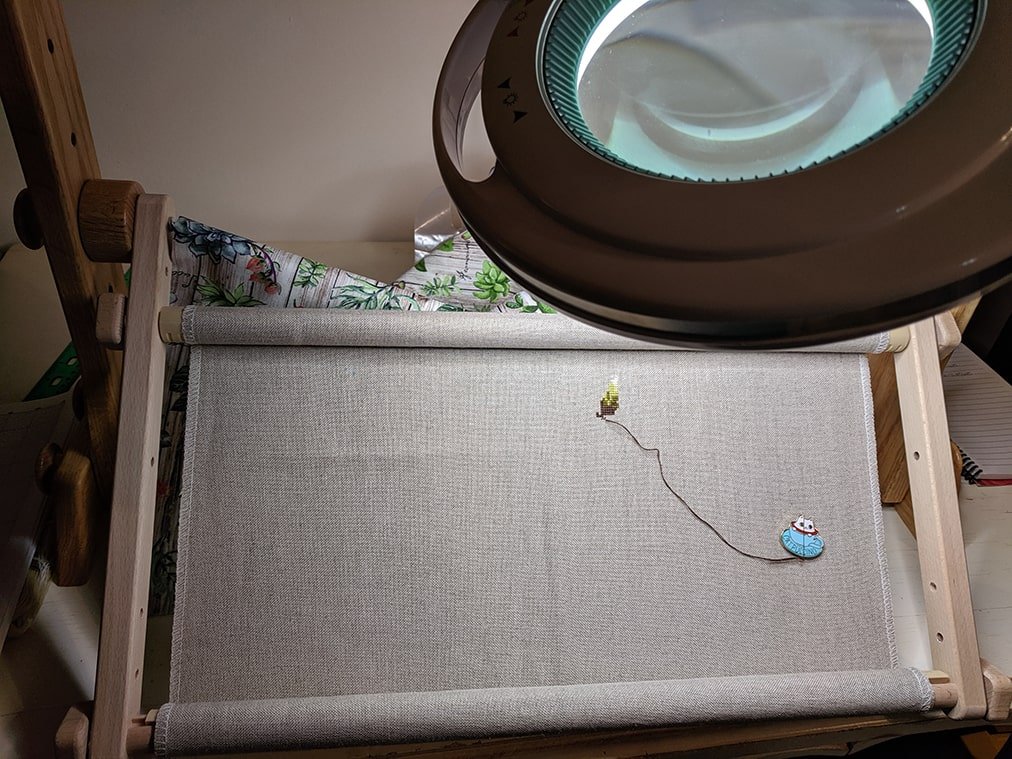
Manage Bigger Projects in a Scroll Frame

Scroll frames have two rods that your fabric rolls around and two extender bars to create the frame. Like the name suggests, once you complete an area you can scroll your fabric to move to a new stitching area.
How to Use a Scroll Frame
Scroll frames all work the same by being able to scroll your fabric. There are several different types you can buy that differ when it comes to attaching fabric to the scroll rods. You can attach by basting, with velcro, putting the fabric between split rails, and a clamping method.
The basting method I have only seen on older frames. Basting requires you to stitch the ends of your fabric to the canvas that is stapled onto the scroll rods. This can be tedious and time-consuming.
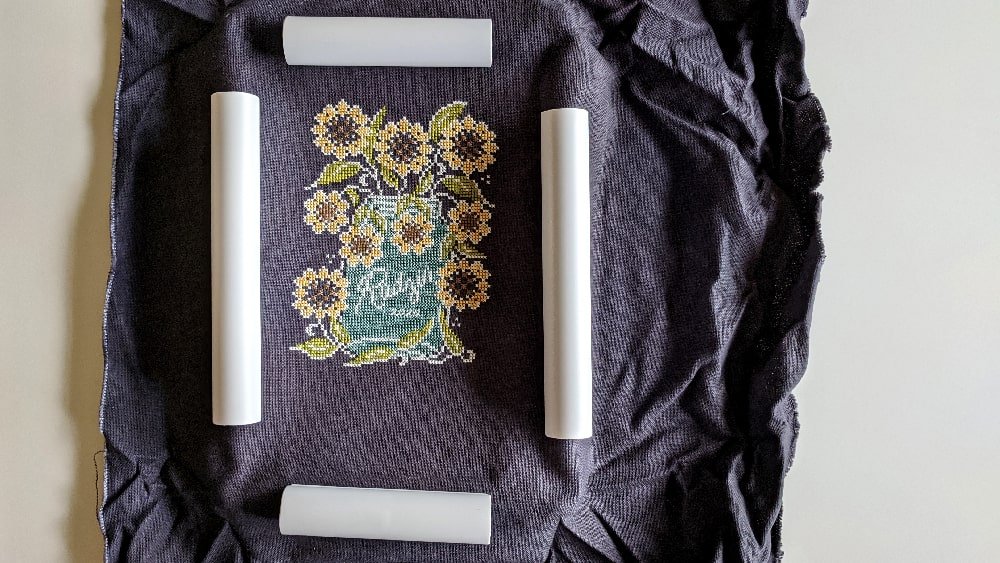
Manufacturers moved on to a no-baste system, using velcro. I have the American Dream EZ Stitch scroll frame.
The velcro is thin and softer than normal velcro. One side of the velcro, the fluffier side, is adhered to the rods. You are given a roll of velcro to stick to your project. Stick the velcro to the ends of the fabric, attach it to your scroll rods, then roll the fabric.
Once you are done stitching your project, you will need to cut off the ends with the velcro so make sure you have enough fabric for finishing.
Another frame is the split rail type that holds your fabric between 2 halves of wood. I have never tried one of these frames because they always look splintery. I have also heard that they do not keep their tension well.
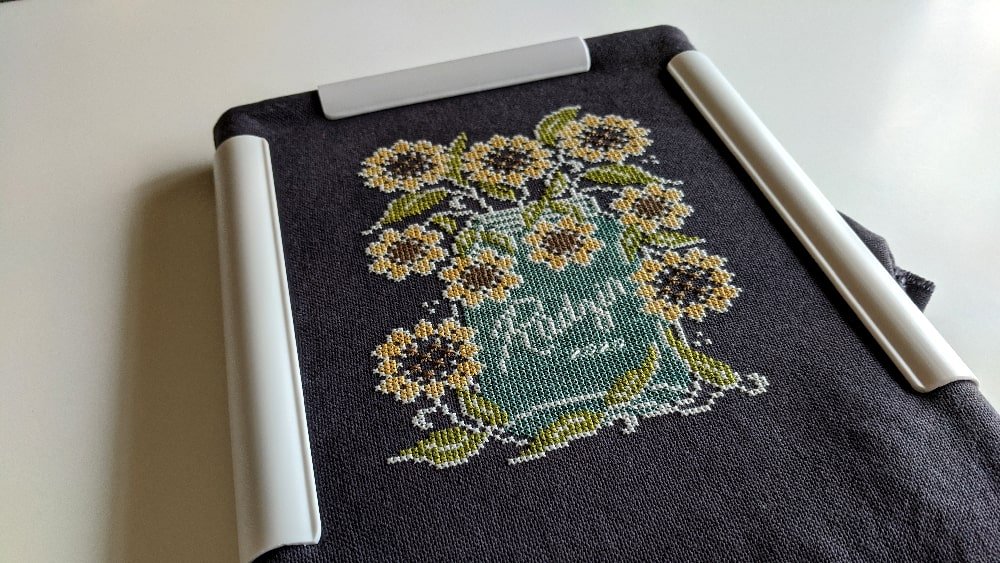
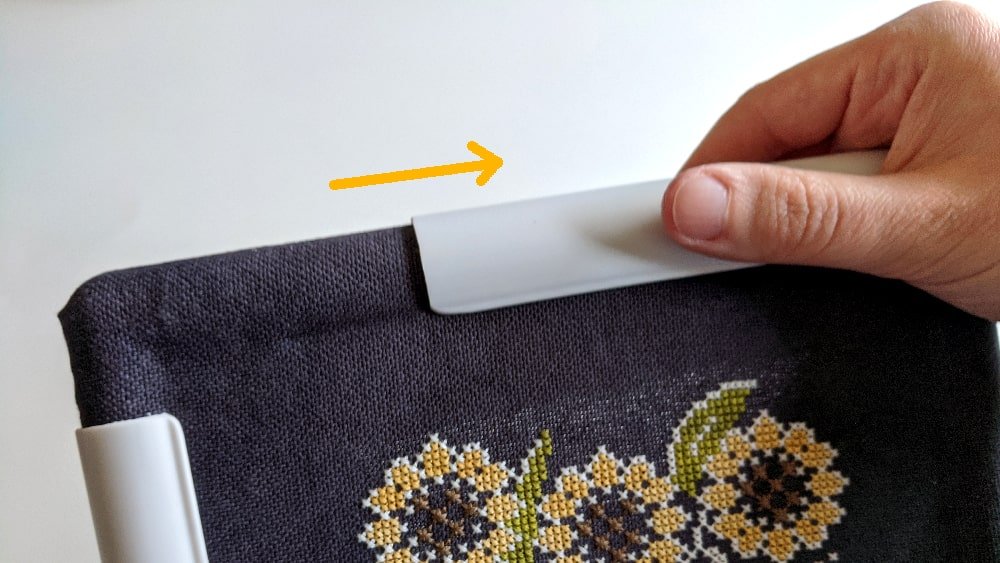
Finally, there are scroll frames that use clamps. Some are similar to q-snaps where the clamp is one piece across the length of the scroll rod. Others are broken up into parts to be more manageable.
Either way, these frames only clamp the ends of your fabric so they will not crush your stitches.
Why Buy a Scroll Frame?
Scroll frames are a great way to manage bigger projects. There’s no need to figure out what to do with all of your excess fabric because it gets rolled around the scroll rods, you don’t touch the fabric, and your stitches don’t get squished.
All your extra fabric just rolls around the rods. There’s no fabric to get in the way of your stitching. Because you are attaching the ends of your fabric and there is no pressure directly on your stitching you won’t get creases or squished stitches.
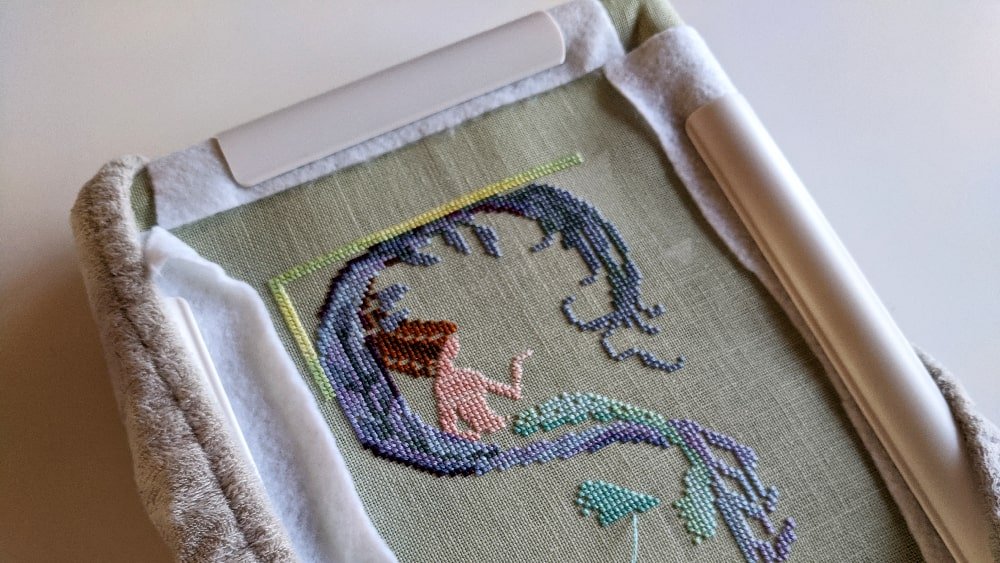
You usually hold the wooden bars of the frame so you will not be touching the fabric. However, if you still want to prevent your fabric from getting dirty, you can make a grime guard for your scroll rods.
You will have a bigger area to stitch on and unlike frames or hoops you don’t have to disassemble it to move your project. You simply just twist the knobs to release the tension then scroll to a new part of your fabric.
If your frame is too heavy to hold for long periods of time you can get a frame stand. You can use certain stands with hoops and q-snaps too, but usually I find that this isn’t necessary.
A benefit of using a frame stand is that you can use a two-handed stitching method because you free up your other hand. This will speed up your stitching once you become comfortable. It can be a little awkward at first.
Why You Shouldn’t Buy a Scroll Frame
If you are new to cross stitching, I don’t recommend buying a scroll frame right away as frames can be expensive and they can be clunky because of their weight and size.
Wood scroll frames are definitely heavier than q-snaps or hoops. My EZ Stitch frame is made of solid oak, whereas embroidery hoops are made out of bamboo or plastic.
One negative that I have found with the velcro method is that some of the tape has extra adhesive overflowing on the sides.
This has slightly gummed up the back of my fabric. It’s only a very small amount but near impossible to get out. Not the biggest deal but something to consider. I recommend removing as much of this extra glue as possible before attaching your fabric.
Final Thoughts
Each method of holding cross stitch fabric has it’s pros and cons. There’s no right or wrong way to cross stitch. Whichever way you are comfortable stitching IS THE RIGHT WAY!
The more experience you gain as a stitcher the more likely you will be to test different methods to figure out which you prefer.
If you’re a beginner, I wouldn’t worry about purchasing any additional supplies for cross stitching other than the necessary materials. When you are ready to make more of an investment in the hobby go for it.
The last thing I want you to do is spend lots of money, only to find out that cross stitching isn’t for you. However, maybe one of these tools will help you with your stitching journey.
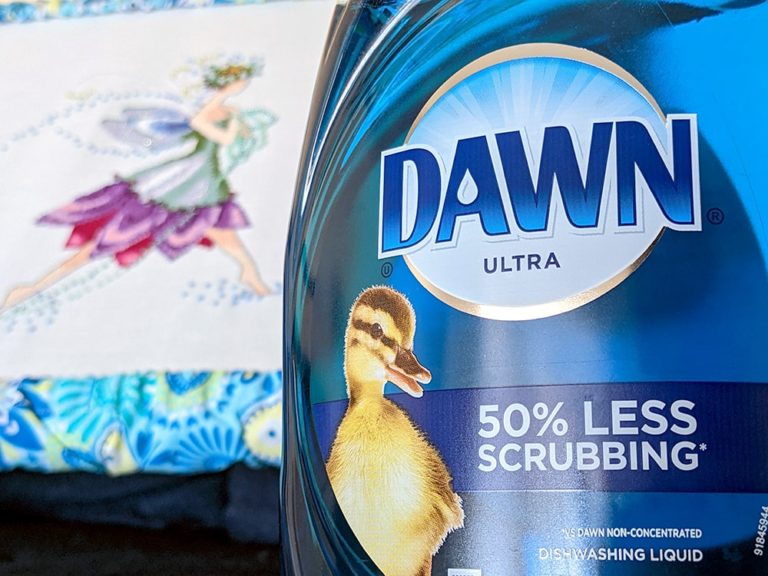
After you are finished stitching, your fabric will be wrinkled. Here is my process for washing finished projects. Even if you don’t wash your stitching, I do recommend ironing it before you fully finish your project.
Happy Stitching!
How interesting that you discuss stitching by hand. I want to learn needlework this month. I will find a great needlework framing service in my area for this.
I have a question and possible concern about scroll frames. I got the clamp type, and love how well it holds tension and how easy it is to mount, unmount and scroll the fabric. I just finished a first larger project that was on my scroll for months and… It’s not square. The design is 10*10 but the finished item is about 10 1/3 by just under 10. And it’s longer in the direction it was stretched by the frame.
Now… I know Aida isn’t perfect and it’s entirely possible that the fabric started slightly off square. But I’m wondering if the scroll being tight for so long actually distorted the fabric?
Have you had projects that had this happen?
Yes, the scroll frame can stretch the fabric. It is advised that you loosen the tension while not working on projects. That being said, that is a bad habit of mine as well lol. You can try blocking the project so that it is square. Blocking is a term using done for crochet or knitting. A quick Google search should help 🙂
I wanted to share my idea how I hold a large qsnap frame17x17 without buying a stand. I took 4 blue wide rubber bands (like the one that come on produce) and stretched them over the each qsnap corner after my project was placed in qsnap 17×17 frame. (my finished project is 15×15) I then took 2 long strips of one inch fabric or old elasticand looped them over each corner crossing them the middle to form an x. This allows me to hold the project in the middle at various angles I then made a hand sling out of a piece of fabric about 3×8 doubled and I folded it over and attached with safety pin to the middle fabric strips so my hand can rest inside the sling at times while still holding the project. I had to share this idea because I thought maybe some people might like to try it. it has been very functional for some time now.