What is Waste Canvas and How to Use It [Video Included]
Sometimes you just want to stitch on something besides cross stitch fabric. Aida, evenweave, and linen aren’t always enough.
You want to venture outside of your comfort zone to stitch on clothing or printed cotton. Well you’ve come to the right place.
I’ll admit that this was my first time using waste canvas. Not to toot my own horn, but I’d say it was a pretty successful experiment.
I had been in search of waste canvas for a while because I had been wanting to stitch on clothing. Of course, I needed some in my stash just in case.
While I was at my LNS, I happened to ask if they had any in stock and they did! I was so happy.
Then that waste canvas sat in my stash while I worked on other, more important projects.
Until…Mike and I were going to visit our nephew in Houston. This was the first time we would be seeing him in person as he was born during the pandemic. I’m sure a lot of you could relate.
Basically, my mother-in-law guilted me into making something for him at the last minute.
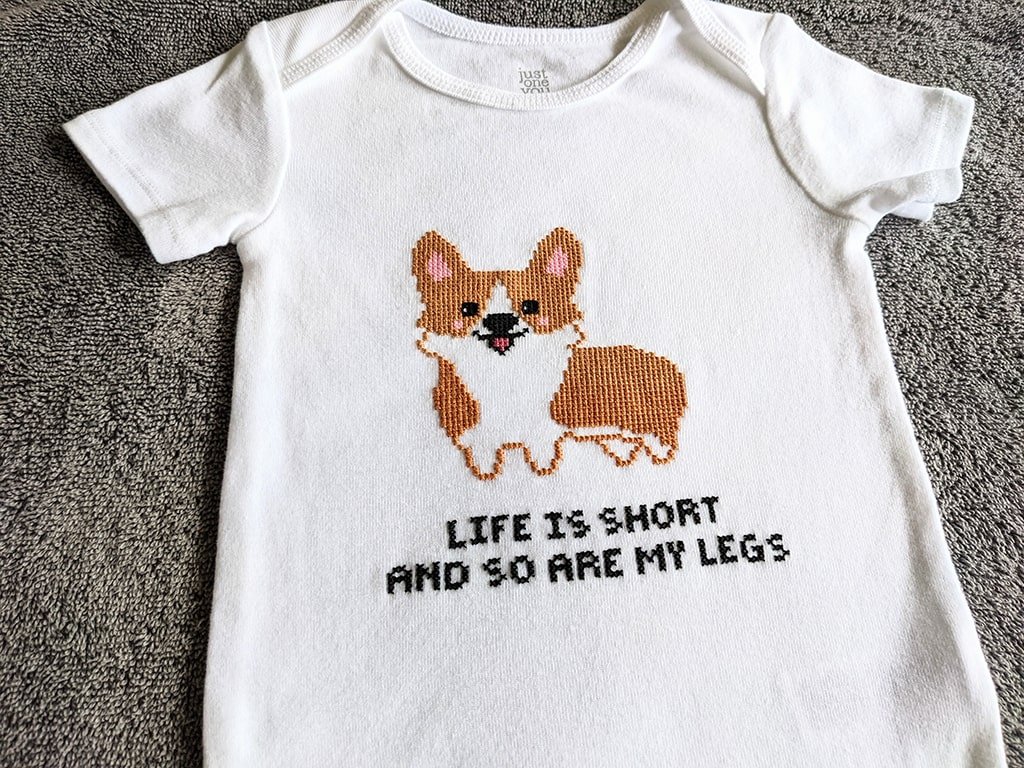
Luckily, I had my waste canvas just waiting to be used! I worked day and night on that onesie within a very tight deadline to get it done before we went on our trip.
Now, I get to share with you what I learned from using waste canvas. Although waste canvas can be frustrating to use at first, I have tips to make waste canvas more manageable. This project was definitely worth it in the end!
WANT FREE CROSS STITCH PATTERNS?
Sign up for my newsletter to get access.

What is Waste Canvas?
Waste Canvas is a stiff canvas that is held together with water-soluble glue. Once the fibers become wet, the strands can easily be pulled out, leaving only your stitching on the fabric.
It is typically sold in fabric counts of 6.5, 8.5, 10, 12, and 14 stitches per inch. Although it is typically seen in precut packages of 12×18 inches, I recommend purchasing by the yard if available. It can be hard to find at craft store chains, but your local needlework shop should carry some supply.
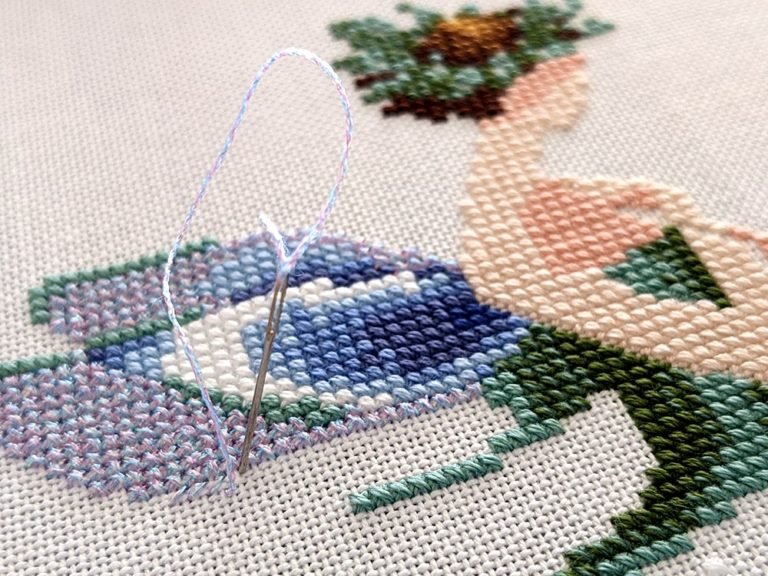
The canvas is pregridded in one direction with blue thread. This thread is placed after every 10 stitches to allow for easier counting.
What is Waste Canvas Used For?
Cross stitching on clothing is made possible with waste canvas. With waste canvas, you will be able to stitch on wearables and home decor without your typical cross stitch fabrics.
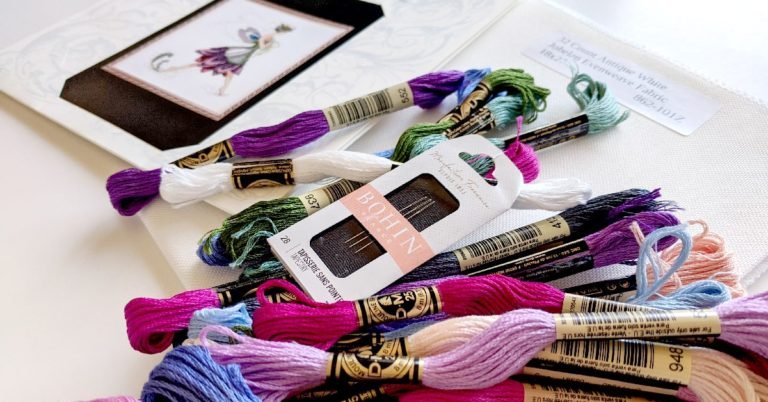
Cross stitch fabrics include Aida, evenweave, and linen, but waste canvas allows you to cross stitch on any fabric, such as cotton or denim.
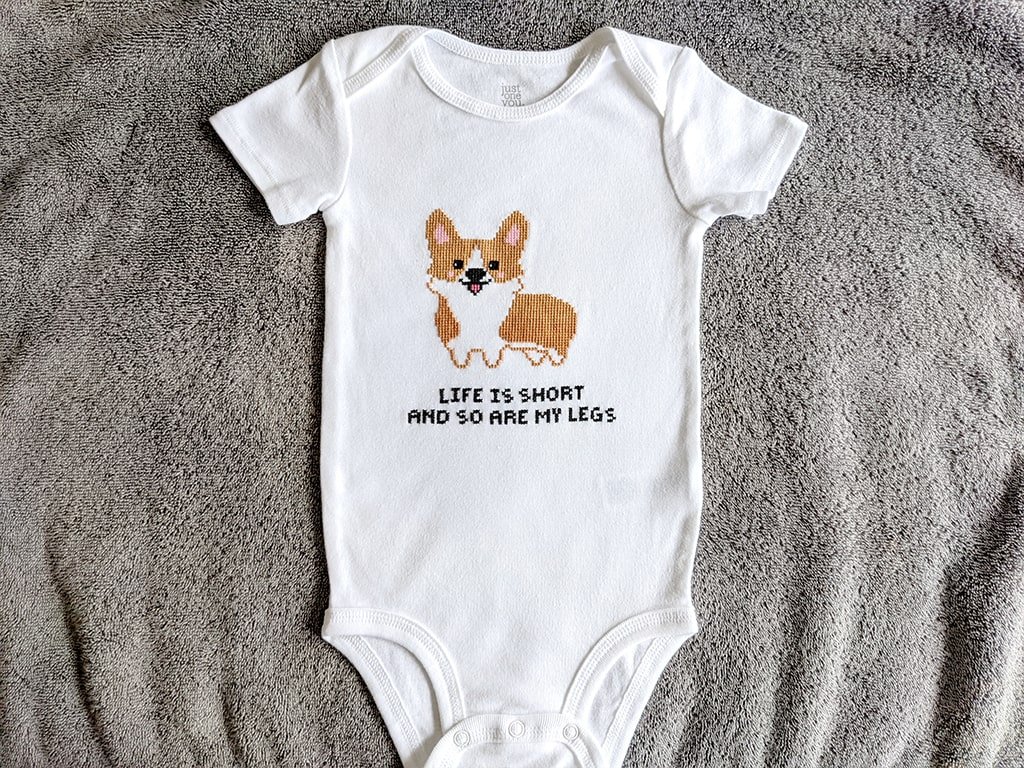
In my case, I stitched on a baby onesie for my nephew, which was no easy feat because of how stretchy the material was. (Adding stabilizer would have helped)
How Do You Use Waste Canvas?
Your first time stitching on waste canvas will be a learning experience to say the least. For me, it was somewhat difficult and took some getting used to, but the end result was worth it.
1. Prepare Your Fabric
This is an important but overlooked step. Before you start stitching, wash and press your garment (or whatever fabric you are stitching on).
Prewashing clothing is necessary to get rid of sizing. Distortion of the stitching will be less likely to happen if you are working with the finished size and shape. Remember that some garments tend to shrink or reshape after being washed.
It’s harder to maintain even stitches if you are working on a wrinkly fabric. Pressing the fabric is key to give your stitching a more even and neat appearance.
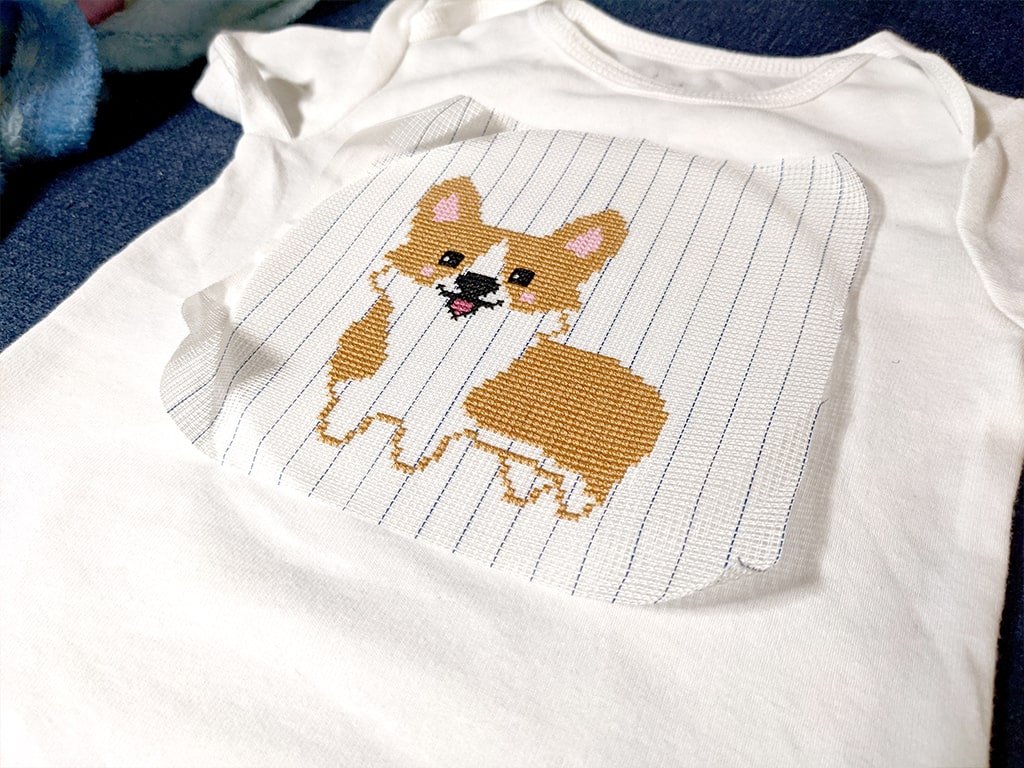
2. Secure the Waste Canvas to the Fabric
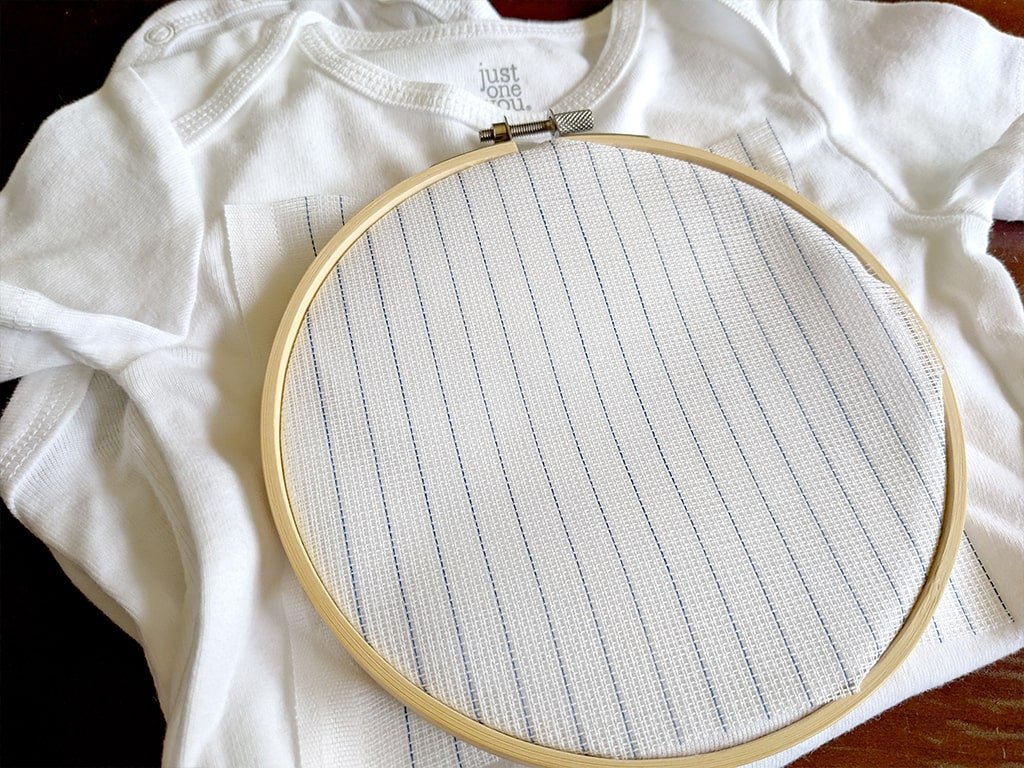
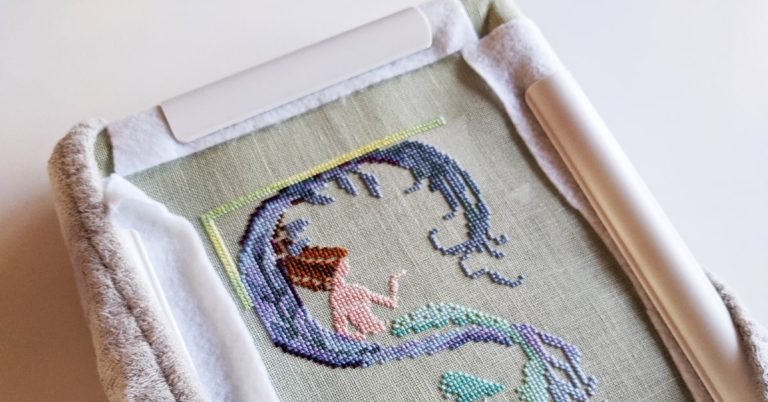
This can be done several different ways. Some stitchers choose to pin the canvas or baste it, but I preferred using a hoop. Because the canvas is stiff this can be difficult at first. Just try to get the canvas and the fabric to be as taut as possible.
This will be easier with a less elastic fabric. For denim, pinning may be perfectly sufficient. However, using a hoop was definitely necessary in my case otherwise the onesie would just move around.
The onesie still moved around a lot, but it was more manageable.
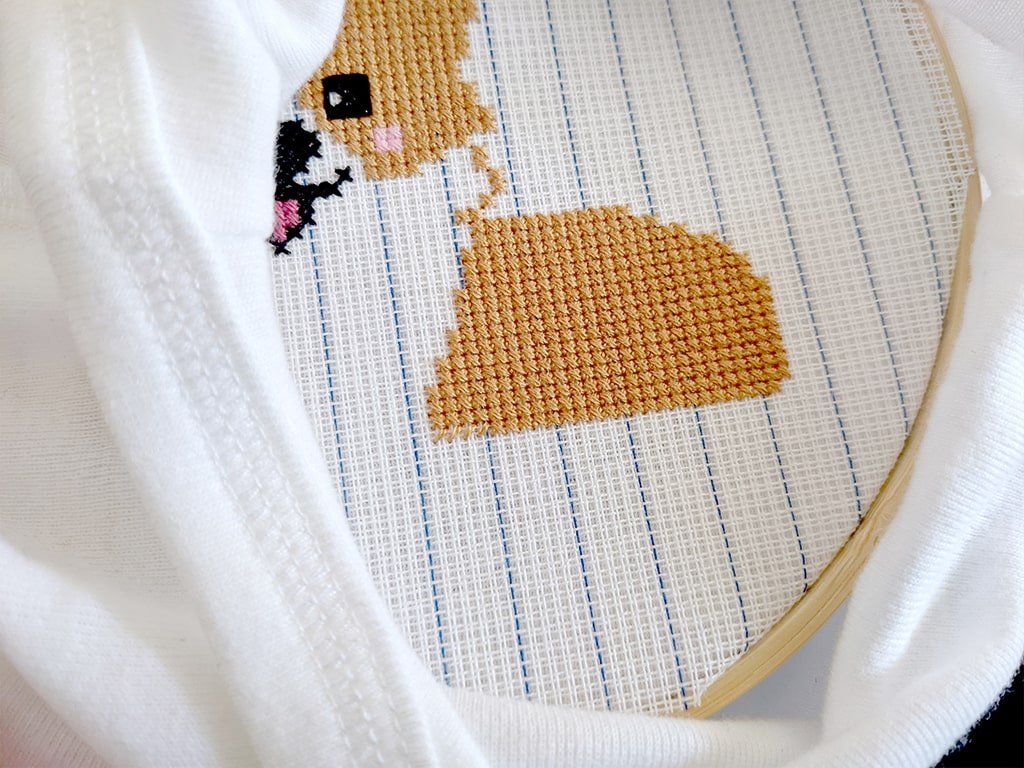
3. Stitch As You Would Normally
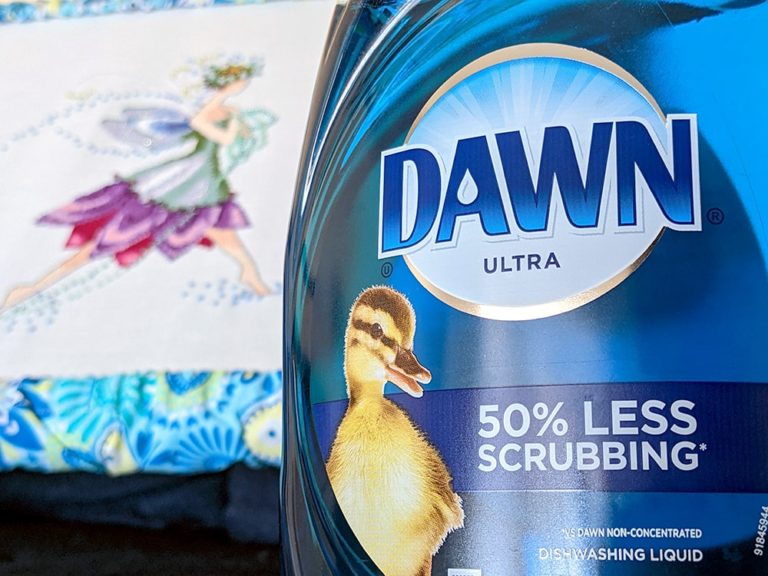
Test your floss before stitching to ensure colorfastness. You will need to wet the project to remove the waste canvas. The last thing you want is for the threads to bleed.
Try stitching with the weave of your fabric. Again, this is easier with some fabrics over others. My stitches looked better when I stitched with the ribbing of the onesie and showed the least distortion when I was finished.
I know this may seem like common sense, but it is easier said than done especially with your fabric slipping and sliding.
Don’t forget to use the appropriate needle for your fabric. Unlike typical cross stitch fabric where you use a blunt, tapestry needle, you will need a sharper needle to pierce through the thick layers of fabric.
However, don’t pierce through the strands of the canvas otherwise they will be impossible to remove.
I still used a tapestry needle because I was stitching on a knit and the needle glided through the fabric with no issues.
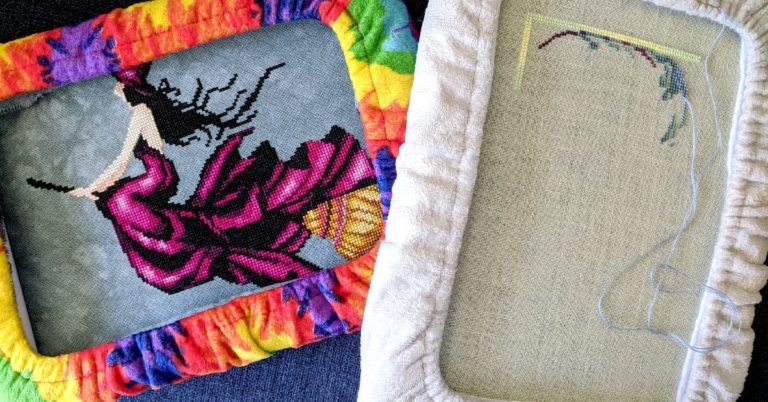
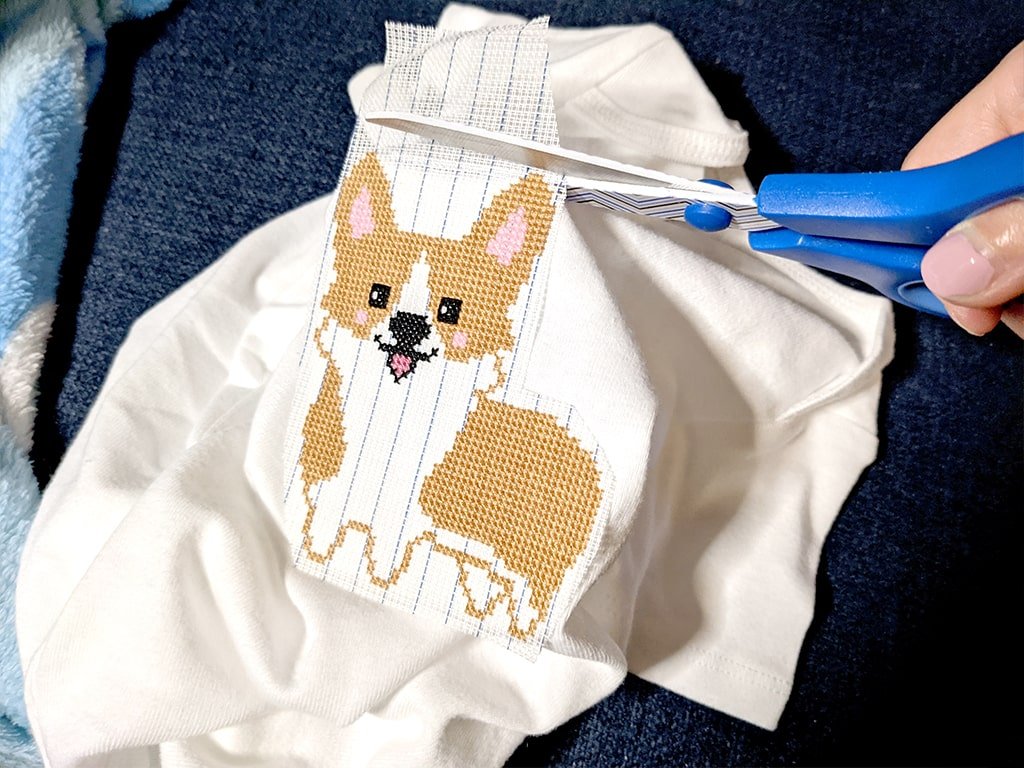
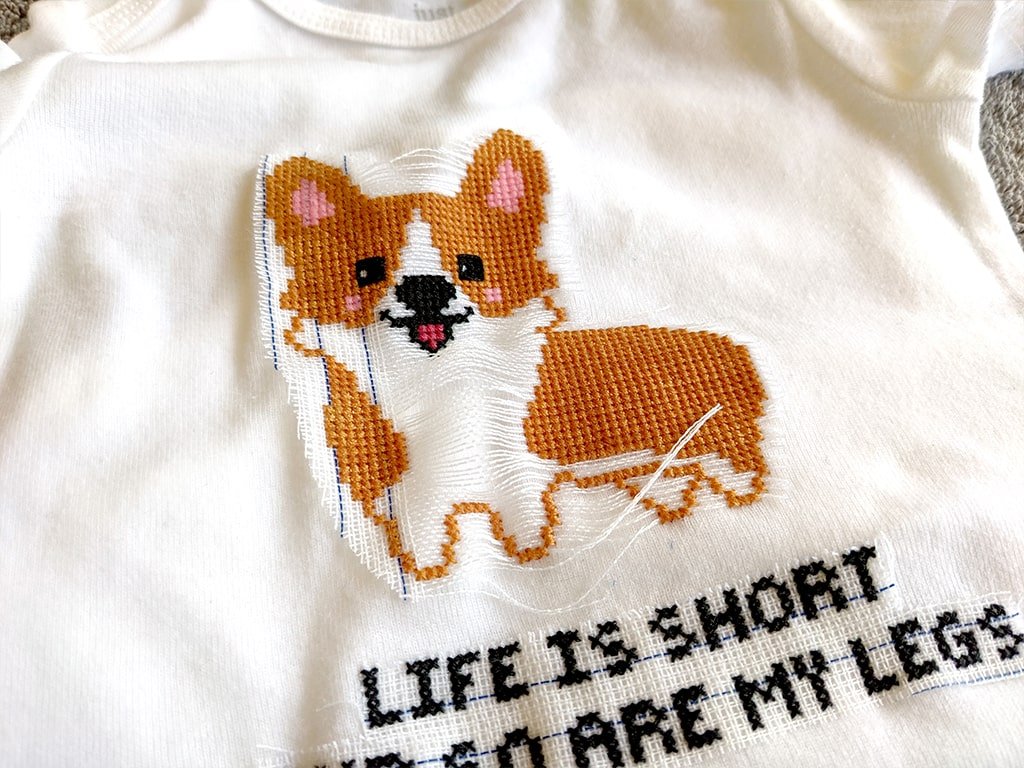
After stitching, cut the waste canvas as close to the border of your stitching as possible. Cutting the excess material will make the removal process easier. Be careful not to cut through your fabric or the stitching.
4. Now Comes the Fun Part – Removing the Waste Canvas
After all the blood, sweat, and tears, it’s time to reveal your stitching!
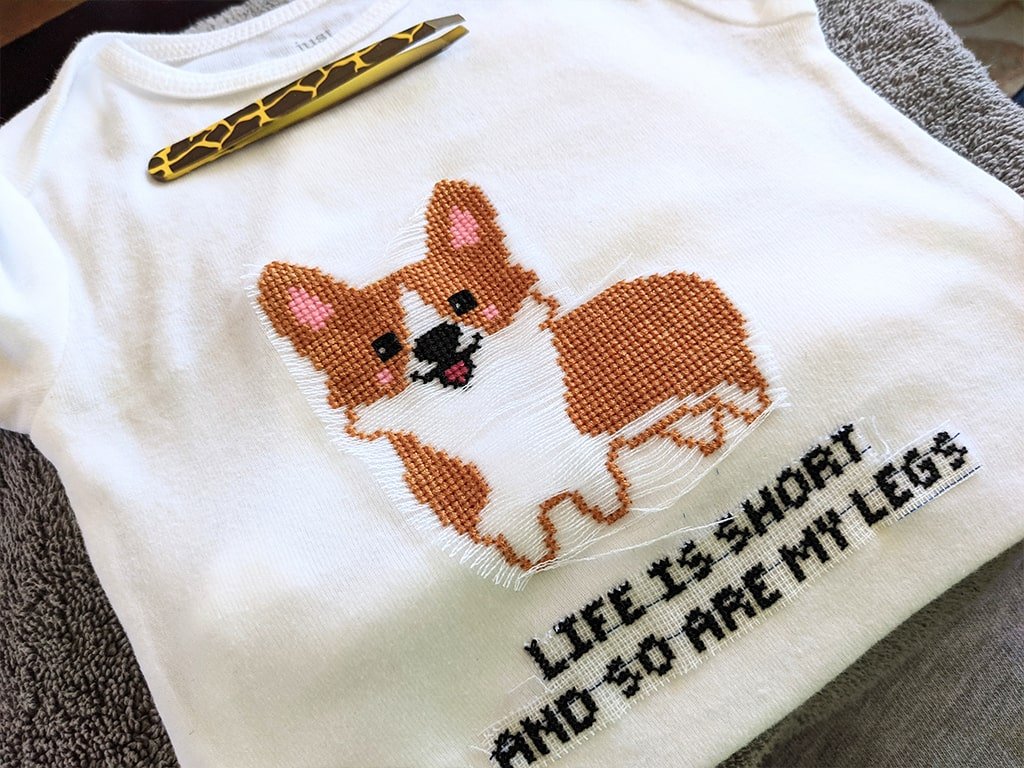
Things you will need include a towel, tweezers, and your project.
Place the towel under your project to protect your working surface.
If you prefer you can use a spray bottle to dampen the waste canvas, submerge your project, or put it under running water.
Just make sure the canvas is completely wet so that the fiber can easily be pulled out.
Use your tweezers to pull out one thread at a time. Tweeze the strands that are parallel to the blue strands first.
If you are having a difficult time, cut the threads anywhere that there is white space to make the strands smaller. Again, be careful not to cut your underlying fabric.
Once all the threads in one direction are pulled out, the opposite thread should easily slide out. You should be able to pull out more at one during this time.
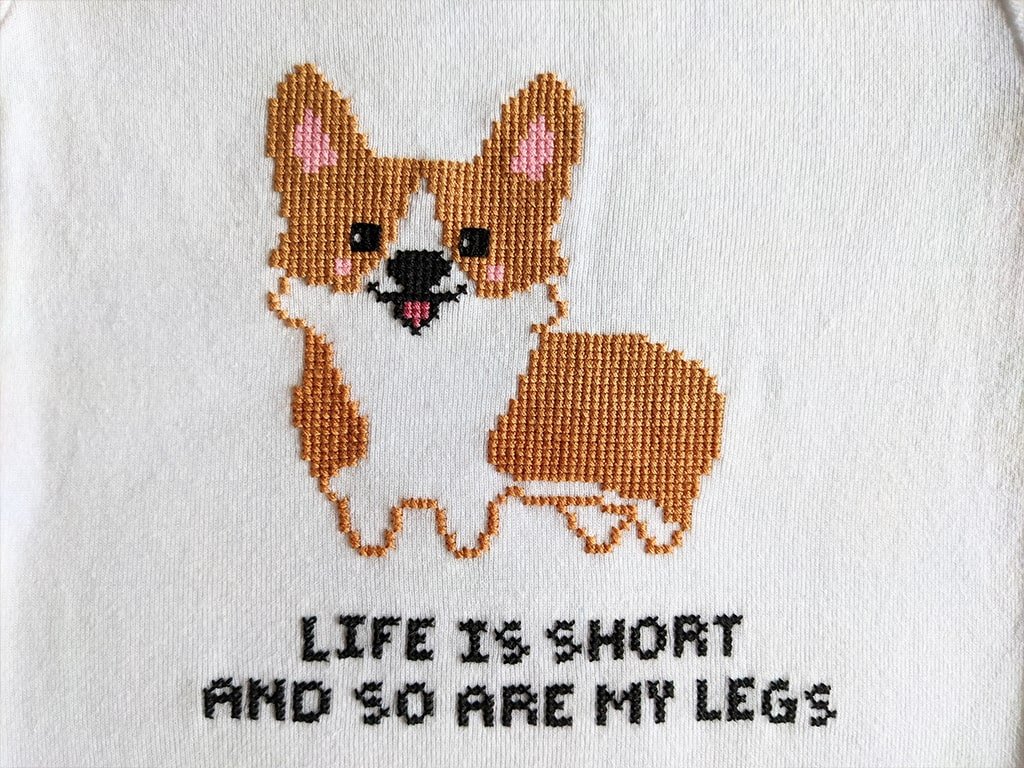
Ta da! All that should be left is your beautiful stitching on your garment. You should be very proud of yourself for conquering this new challenge.
Can You Use Aida Cloth as Waste Canvas?
Although it is possible to use Aida instead of waste canvas, it is not advised. Aida is NOT waste canvas and not meant to be a substitute. The intended purpose of waste canvas is to be removed from the stitching.
Waste canvas has a loose weave with only two strands intersecting, creating four overlapping threads. In contrast, Aida is a tighter weave with four strands intersecting, creating eight overlapping threads.
In addition to the looseness of the weave, waste canvas is held together with water-soluble glue. When you dampen the canvas and remove the glue, it more easily comes apart.
Even with washing the fabric and removing the starch, you will have a difficult time removing the fibers of Aida.
Can You Cross Stitch on Clothes Without Waste Canvas?
It is not ideal to stitch on clothing without waste canvas. Waste canvas allows you to keep your stitching consistent, instead of freehanding Xs. To keep stitching proportional so that you can clearly make out the image and its details, use waste canvas.
You may be able to get away with freehanding a small image, but it won’t be easy.
Of course, if the irregular, organic look is what you are going for by all means stitch without waste canvas.
Final Thoughts
An alternative to waste canvas is water-soluble canvas, which completely dissolves in water. This may be easier for some stitchers, but I find the tweezing process to be meditative.
Most counts of waste canvas are hard to find. If you can’t find waste canvas at your LNS, you can order it online at Etsy or 123Stitch. The most commonly available size that I have found is 14 count, which is my preferred count for waste canvas.
For the best results, don’t forget to wash and press your fabric before stitching on it.
Secure the waste canvas by pinning, basting, using a hoop, or a combination of these methods. To prevent your fabric from moving around even more add a stabilizer.
Use a sharp needle to be able to pierce the fabric that you are working on, but do not stitch through the waste canvas. Stitching through the canvas will make it nearly impossible to remove.
Take your time while removing the waste canvas. Turn up some music and get comfy. Depending on the size of your project, this can take a while.
Remember to be patient. I was frustrated many times while using waste canvas. There were plenty of moments that I wanted to give up, but I persisted. The finished product is worth the aggravation. I promise.
Happy Stitching!