
All About Q-Snaps [The Best Way to Hold Your Fabric While Cross Stitching]
When I used a Q-Snap for the first time, I remember having a terrible experience.
At that point, I was using hoops, which kept their tension pretty well.
I wanted to try something new because I had seen so many stitchers rave about Q-Snaps.
I put the frame together and added the clamps. I couldn’t see what all the fuss was about. I was adamant that this plastic clamp frame was not for me.
After seeing time and time again more stitchers talking about Q-Snaps, I reluctantly decided to give them a second chance. Maybe the problem was me and I was doing something wrong.
Weirdly enough, my second try was worth it.
Now, I use almost exclusively Q-Snaps. They are pretty amazing. Their tension is drum-tight, which is my preference for stitching.
WANT FREE CROSS STITCH PATTERNS?
Sign up for my newsletter to get access.

What are Q-Snaps?
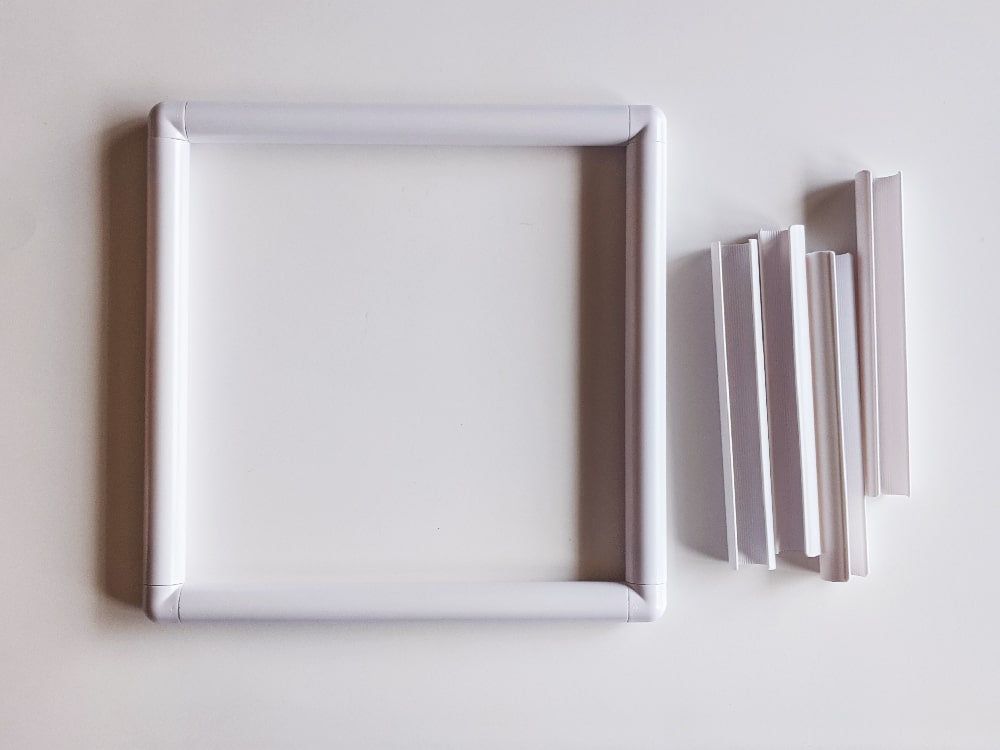
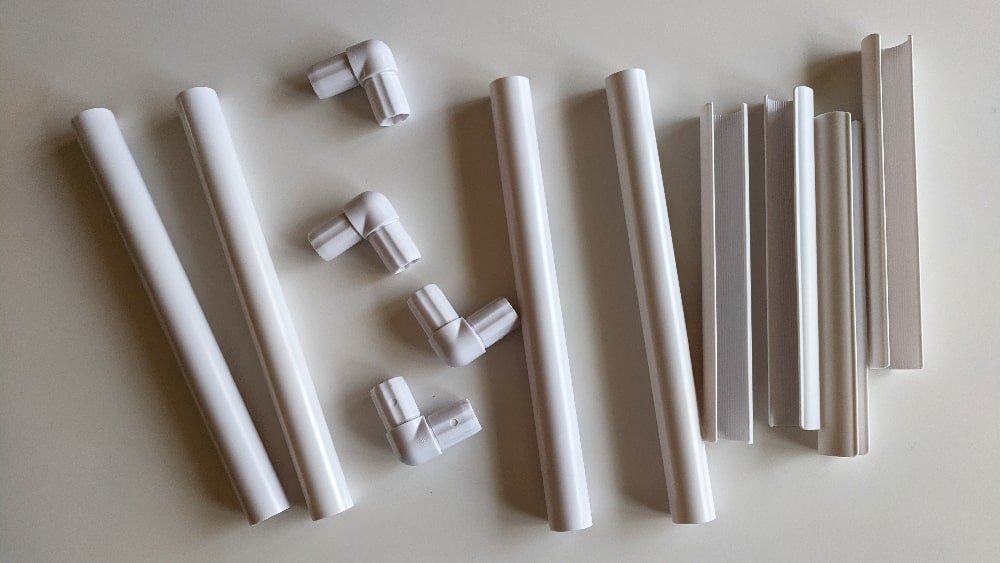
Q-Snaps are a brand of snap frames. They are rectangular, plastic frames that utilize C-shaped plastic clamps to hold your fabric taut onto the frame.
There are many brands of off-brand snap frames but Q-Snap is the original and is of superior quality.
The interior of each clamp is ribbed to hold the tension of the fabric better. The clamps are also longer to keep more area of the fabric tight.
The Q-Snap frames will come with 4 L-shaped tubes for the frame and 4 clamps, whereas other brands will include 4 tubes, 4 joints/elbows, and 4 clamps. Therefore, you cannot mix and match the original Q-snap with other brands.
What Size Q-Snaps are Available?
Q-Snaps come in an assortment of sizes that you can mix and match. Standard sizes include 6×6, 8×8, 11×11, 11×17, and 17×17.
In addition to these sizes, you can also find 3” extension pieces and kits. The kits include longer clamps.
The smaller kit contains (4) 3” extension pieces and (4) 11½” clamps. This kit creates a 14×14 Q-Snap from an 11×11.
The larger kit contains (4) 3” extension pieces and (4) 17½ clamps. This kit extends your 17×17 Q-Snap to 20×20.
Q-Snap also offers individual pieces available for purchase from the clamps to the tubes to the extender pieces. So if a part becomes worn out or breaks you don’t have to buy a new set.
What Size Q-Snap Do You Need for Your Project?
Much like calculating how much fabric you need, you will calculate how big your project will be and add 2-4 inches.
Divide the number of stitches by your fabric count. If you are stitching over 2, you would divide the number of stitches by half the number of your fabric count.
For example, 28 count equals 14 count, 32 count equals 16 count, and 36 count equals 18 count.
Let’s say my project is 67×99 and I’m stitching on 32 count fabric.
67 / 16 = 4.2”
99 / 16 = 6.2”
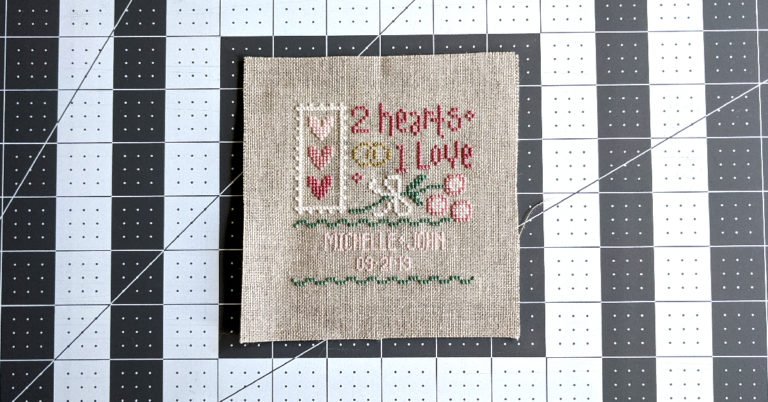
For this project, I used an 8×11 frame with plenty of room.
But what if you are working on a bigger project?
You could use a bigger frame and extension pieces if necessary, but if you aren’t using a stand the bigger frame can be hard to stitch with.
Don’t worry if your project doesn’t completely fit in a frame. You can move it once you are done with a section as you would with a hoop.
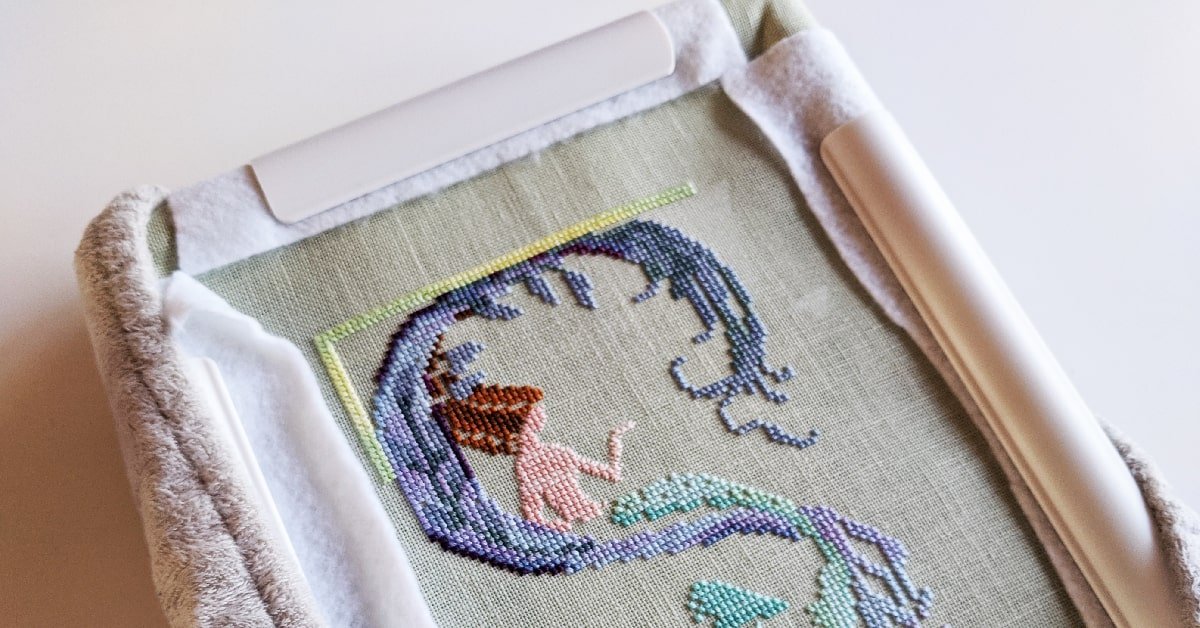
I highly recommend putting felt under your clamps. This will help prevent squished stitches. However, if you still get squished stitches, they will plump back up over time, especially if you wash your finished project.
What to Do With All Your Extra Fabric?
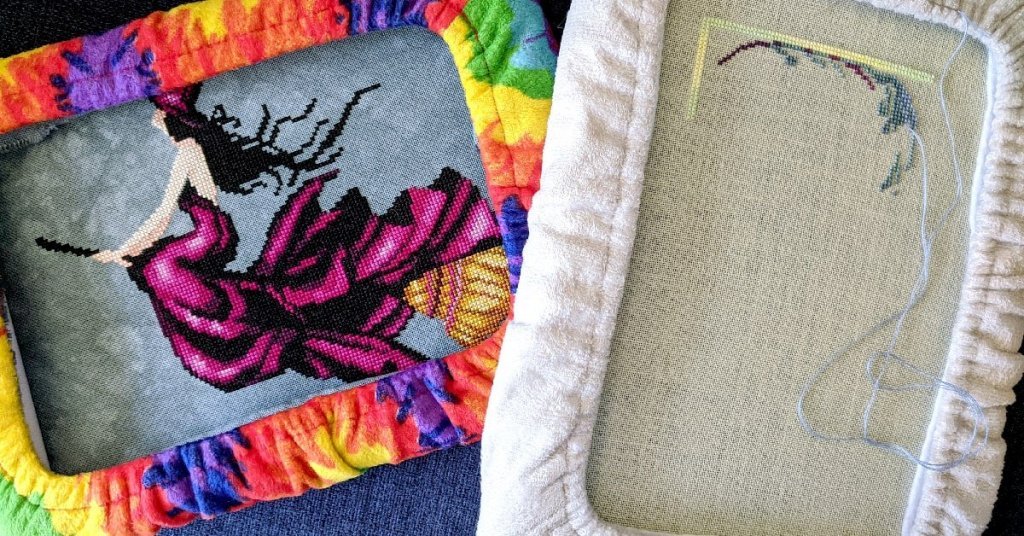
There are quite a plethora of options when it comes to dealing with excess fabric. One of the best choices is using a grime guard and tucking in the leftover fabric.
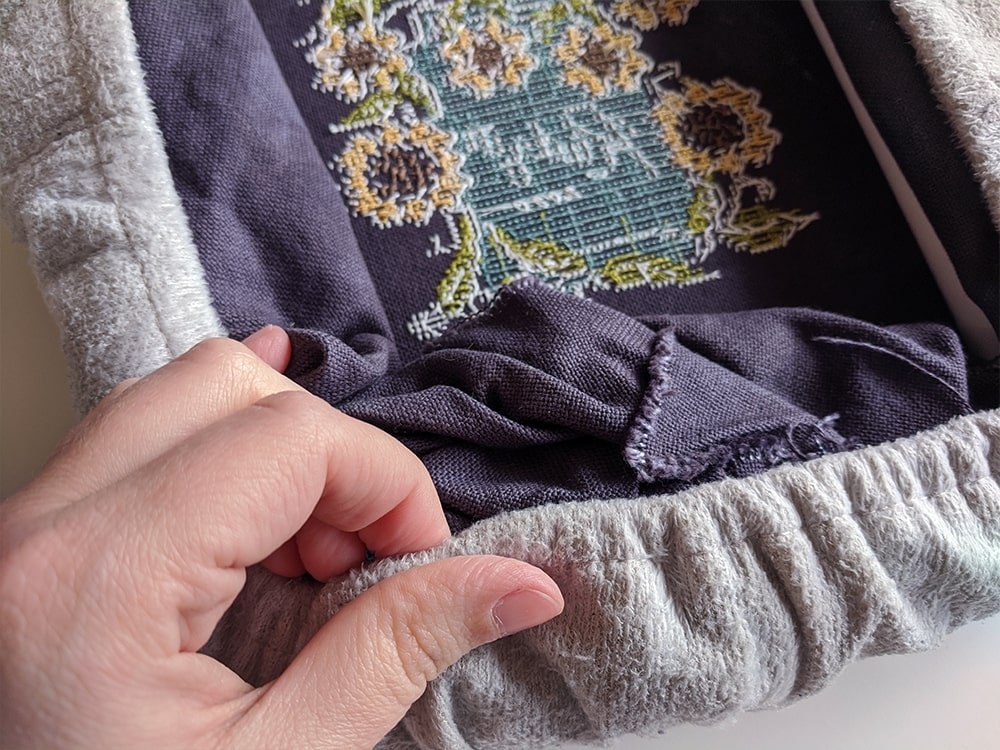
In addition to solving the extra fabric problem, grime guards prevent your fabric from becoming dirty. Hand oils can leave stubborn stains on your fabric but you can use a grime guard to stop that.
There are numerous contraptions for neatly rolling up your fabric tucking it under the grime guard. Many stitchers use binder clips, magnetic cable clips, and spool huggers.
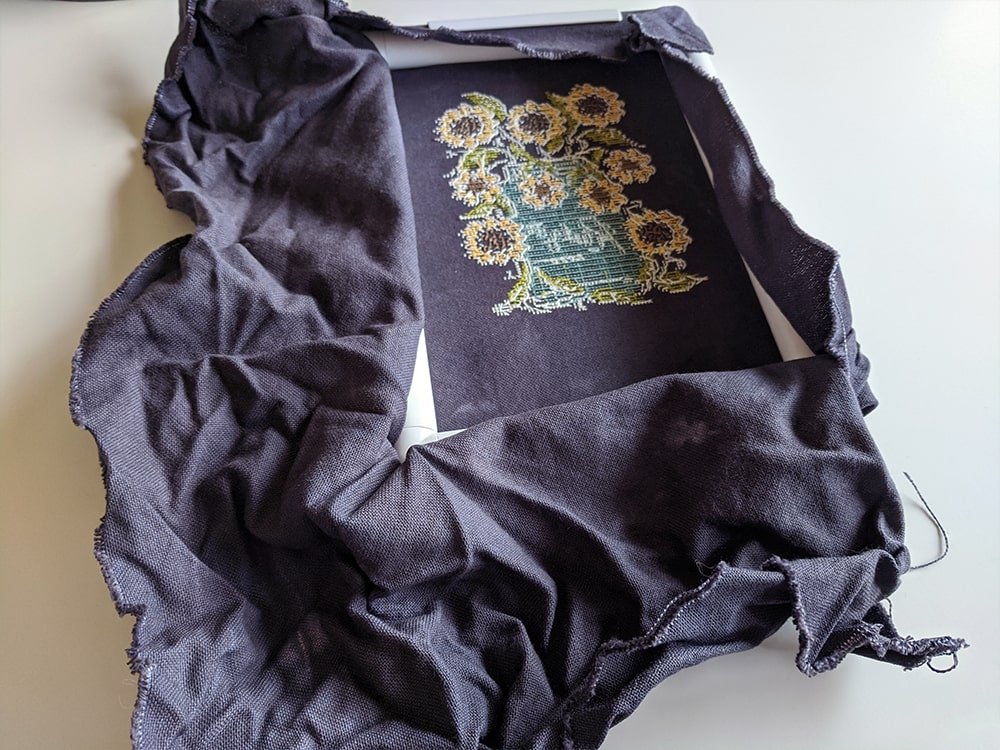
You don’t want to accidentally stitch the excess fabric to the back of your project. Roll it up and keep it out of the way when you are stitching.
Why Use a Q-snap?
Q-Snaps have better tension than hoops and scroll frames.
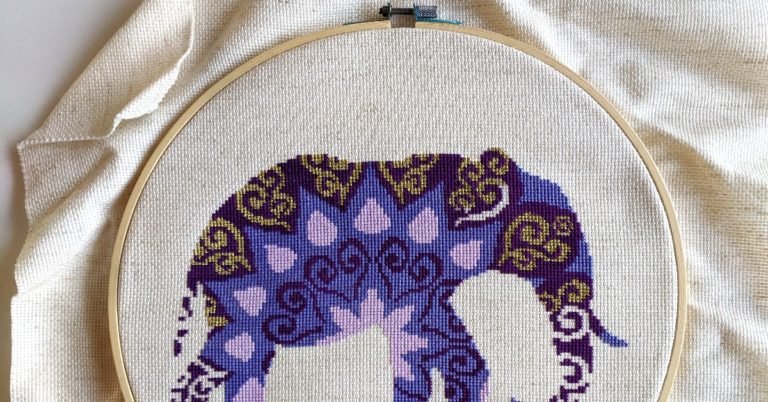
Hoops need constant adjusting to keep the fabric stretched.
With scroll frames there are only 2 points of contact at the top and bottom, the sides are always loose.
Because you are receiving tension from all 4 sides on a Q-Snap, your fabric is held tightly.
Read more on my comparison of the different ways to hold the fabric.
You can mix and match parts to customized the size of your frame to accommodate the size of your stitching.
The packages mostly come in square sets but you could use 2 sides from one set and 2 sides from another set to create a new size frame, for example, 6×8 or 8×11.
How to Use a Q-Snap
The Q-Snaps come disassembled, but they aren’t difficult to put together.
Connect the Pieces of the Frame
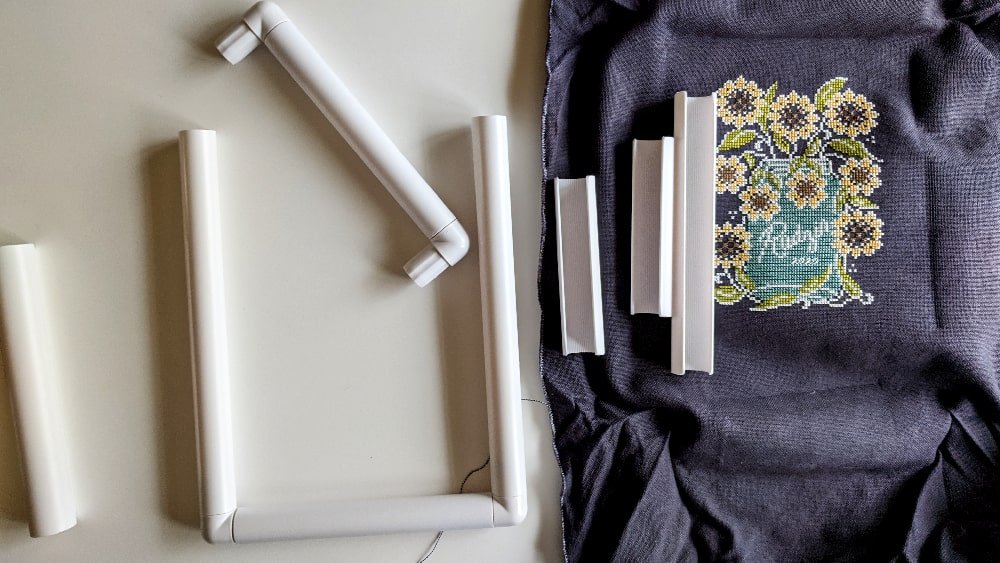
Depending on what brand you have this will be a slightly different process. Q-Snaps have L-shaped pieces, while other brands have pipes and joints.
Place Your Fabric on Top
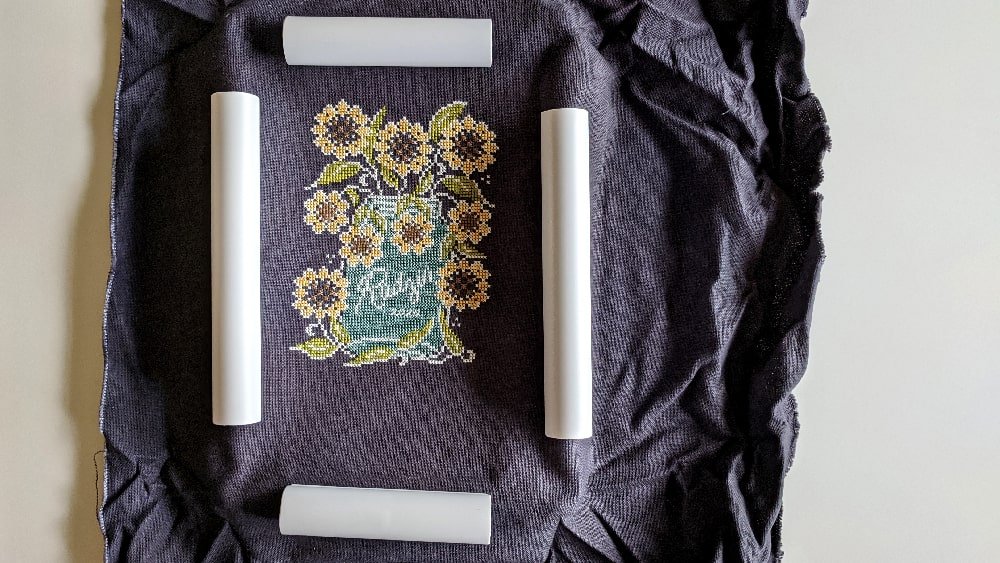
Make sure that there is more than enough excess to firmly grip onto your fabric. My fabric was cut slightly too short for one project and there wasn’t enough for the clamps to hold.
Press on the Clamps
Make sure you are working on a flat, hard surface so that the pieces don’t move around on you. Press the clamps directly down onto the fabric and frame.
Adjust Your Tension
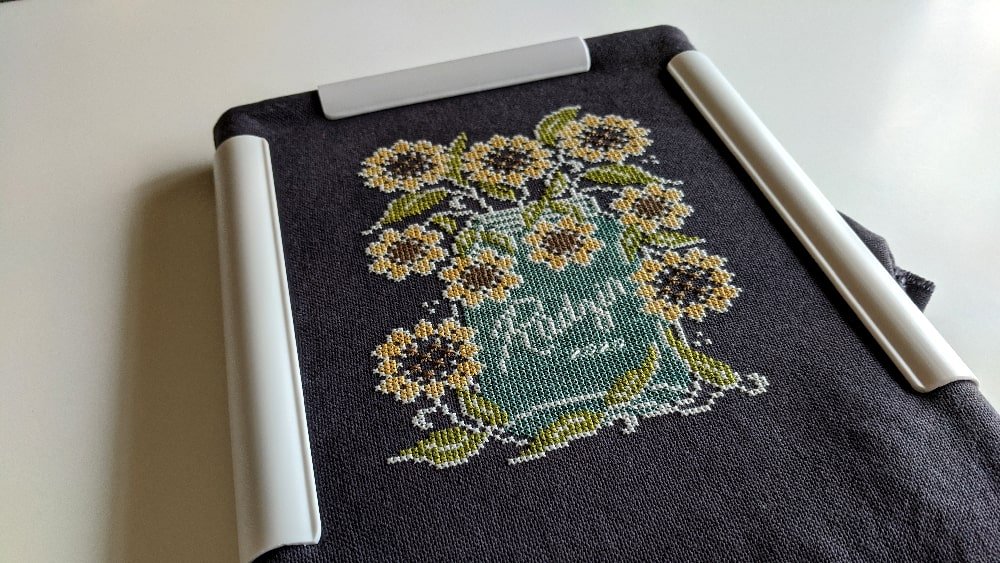
After all the clamps have been added, twist them away from each other. This will tightly stretch your fabric.
You are now able to start stitching!
Removing the Clamps
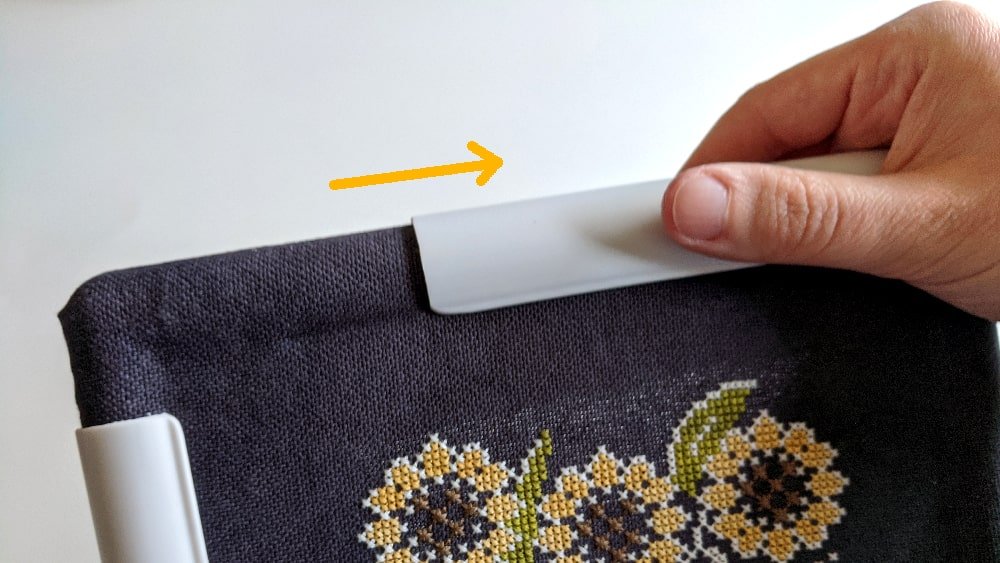
Do not try to pull off the clamps. This will be super difficult. I think this was a mistake I made when I was first using the snap frames.
Instead, slide the clamps off the edge of the frame.
Final Thoughts
If you are looking for a better solution than hoops to hold your fabric, give Q-Snaps a try. Once you learn how to use them, they are a pleasure to work with.
Q-Snaps keep your fabric super taut so if you like your fabric to be really tight, q-snaps might be the answer for you.
Assembling and disassembling the frame is easy. This is the best way to get even tension on your fabric.
Roll your excess fabric up and tuck them into a grime guard so that you don’t accidentally stitch your extra fabric to the back of your project.
Happy Stitching!


am working on a piece 4/18 x5/34 14ct what size qsnap do i use was wanting 8×8
an 8×8 should work for this project
thanks so much for this! i’ve been taking the clamps off wrong.
do you prefer your work “in the drum” so to say? vs on the top? does it change how taut it is or is it personal preference? sorry i don’t know how else to word it. hope that makes sense!
I prefer having my fabric on top. The term that I’ve heard is “stitching in the well.” One benefit to stitching in the well is that it keeps your project clean because all the oils will be on the back of the fabric. I use a grime guard so it doesn’t make a difference to me 🙂