
Embroidery Hoops for Cross Stitch Explained: Materials, Sizes, and Finishing
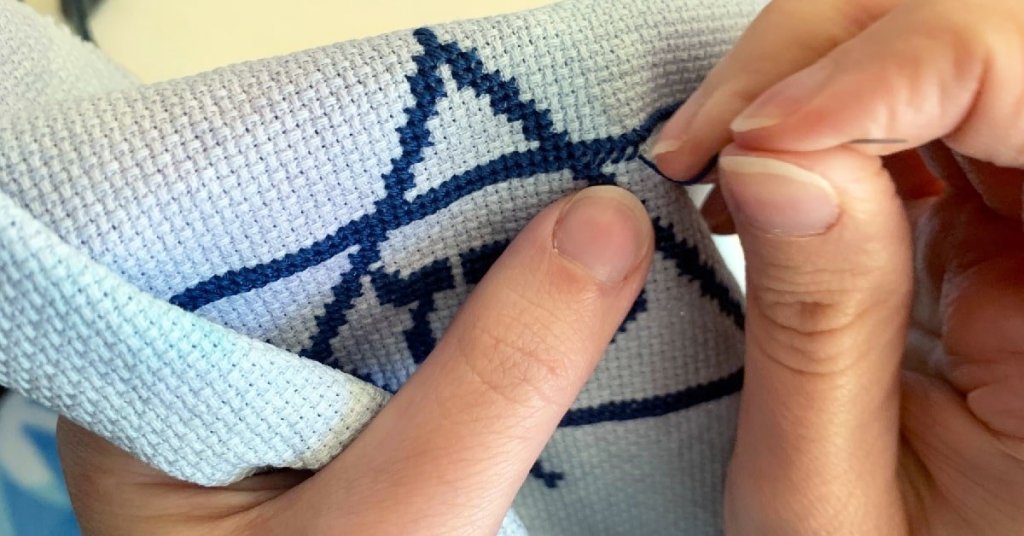
When I got back into cross stitching, I decided to pick up some embroidery hoops to help keep the tension of my stitching even.
It is much easier stitching with a hoop than my previous method of stitching in-hand because I no longer have to constantly fight with the fabric.
As an added bonus, stitching in a hoop keeps my fabric cleaner than stitching in-hand because my oily hands don’t touch the fabric.
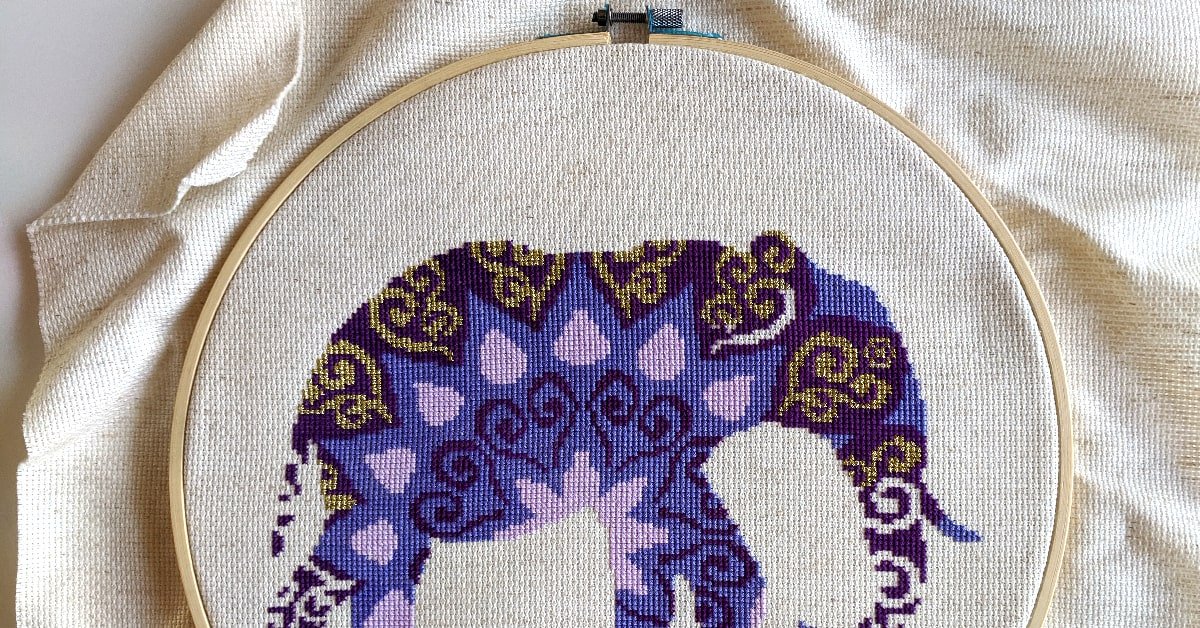
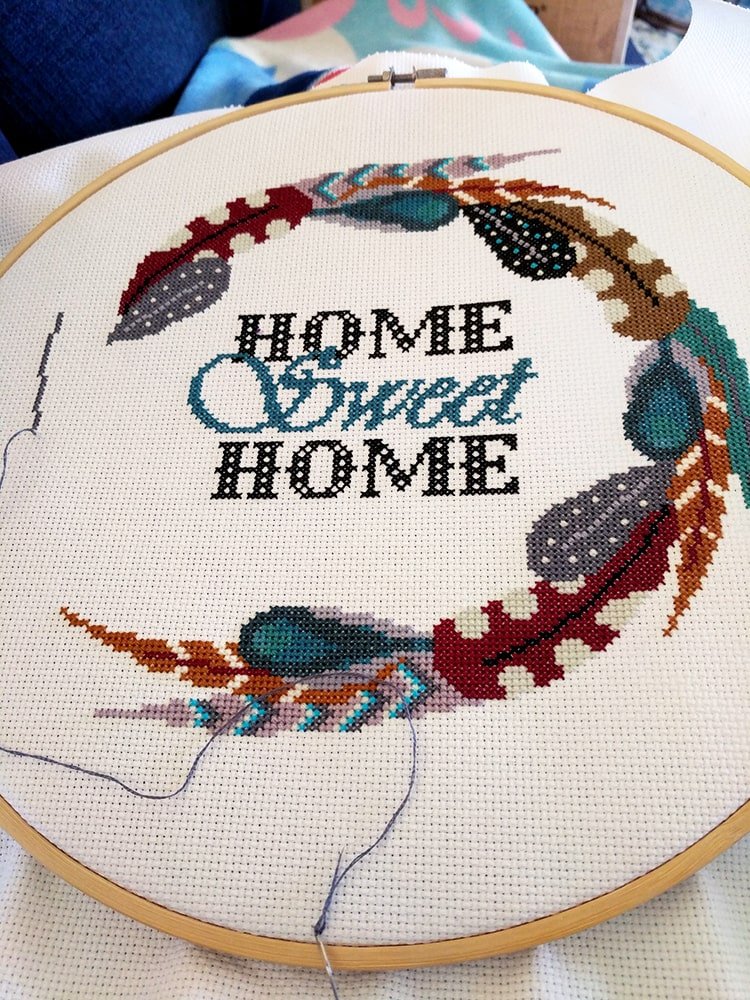
I even learned to frame my cross stitch in an embroidery hoop. To this day, framing in hoops is one of my preferred methods of finishing cross stitch. There are so many different variations of finishings and they are inexpensive
Hoops are a nice upgrade for any beginner stitcher to learn how to keep their tension consistent.
Many experienced stitchers like stitching in hoops as well.
There are many different variations of hoops that you can use. Embroidery hoops come in all sorts of shapes and a variety of sizes, from practical to decorative.
WANT FREE CROSS STITCH PATTERNS?
Sign up for my newsletter to get access.

Can You Cross Stitch Without an Embroidery Hoop?
Although you do not need an embroidery hoop to cross stitch, keeping the fabric taut is very important so that your tension is the same throughout our project.
Before I used a hoop, I stitched in-hand. However, for most of my stitching I now prefer q-snaps. If my projects are particularly large I will use a scroll frame.
If you’re new to the craft, it is perfectly fine to stitch in-hand. Once you know that this is a hobby that you enjoy and want to stick with, you can purchase extra accessories.
Maybe you will discover that you really like stitching in-hand. There are plenty of advanced stitchers that prefer this method and find that stitching in a hoop is awkward.
Honestly, how you stitch and your tools all come down to personal preference. I wrote a comparison on the pros and cons of each of these methods. But, again, it’s a matter of opinion.
What are Embroidery Hoops Used For?
Embroidery hoops are tools for stitching used to keep your project taut. This will allow your stitches to have even tension so that your project will lay flat.
Not only can you use embroidery hoops to keep tension in stitching but there are tons of ways to decorate your hoops for finishing.
What are Embroidery Hoops Made Of?
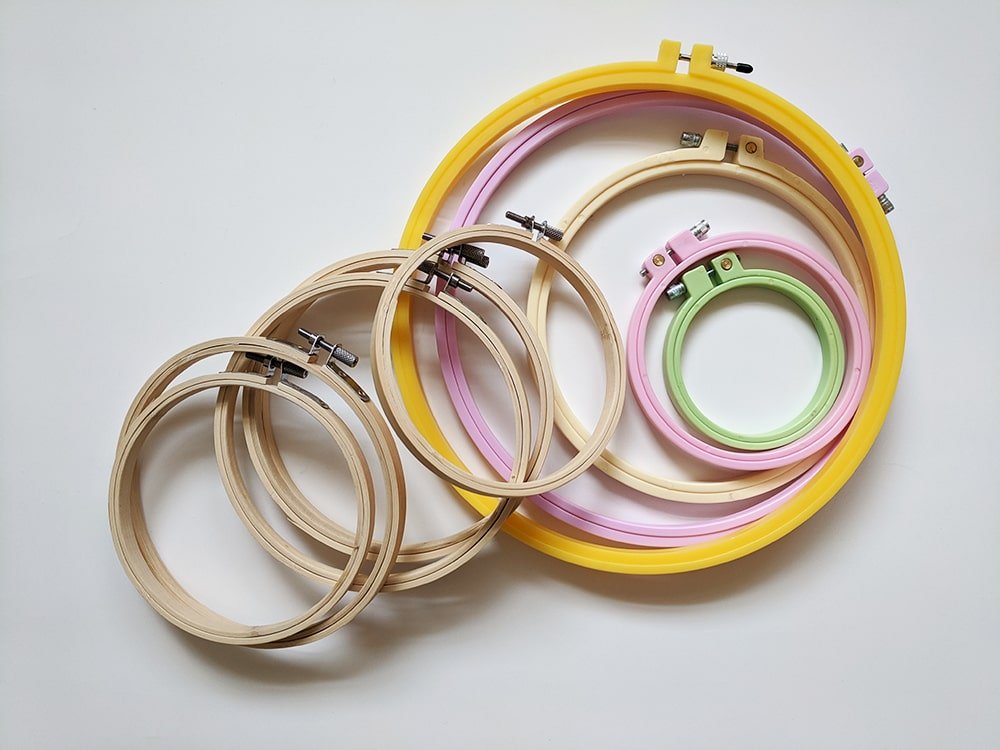
In most cases, you have a choice of wood or plastic. Hoops will be made of 2 pieces to hold your fabric. Your fabric will be wedged in between.
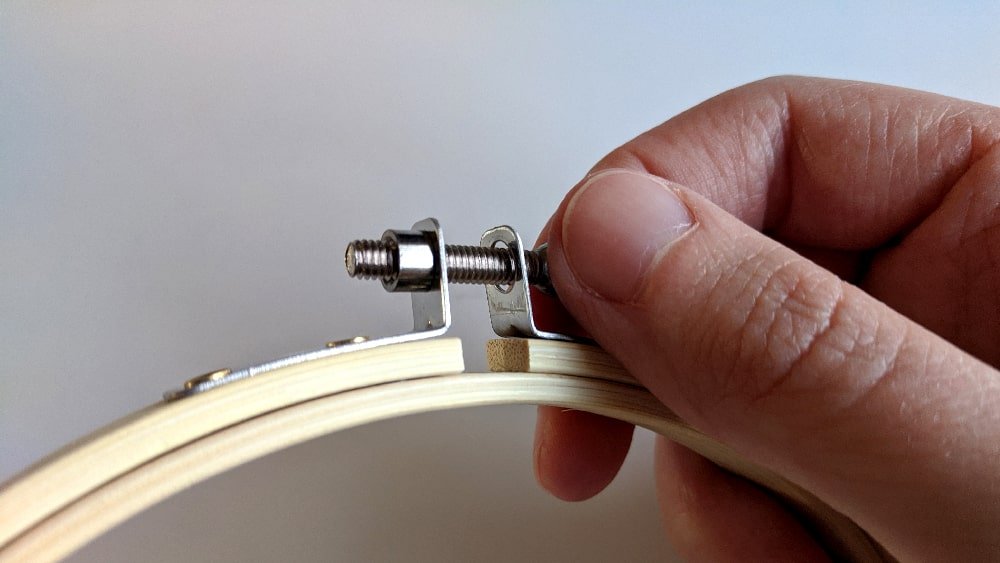
The tension will be maintained by a screw. However, there are some hoops with a spring tension.
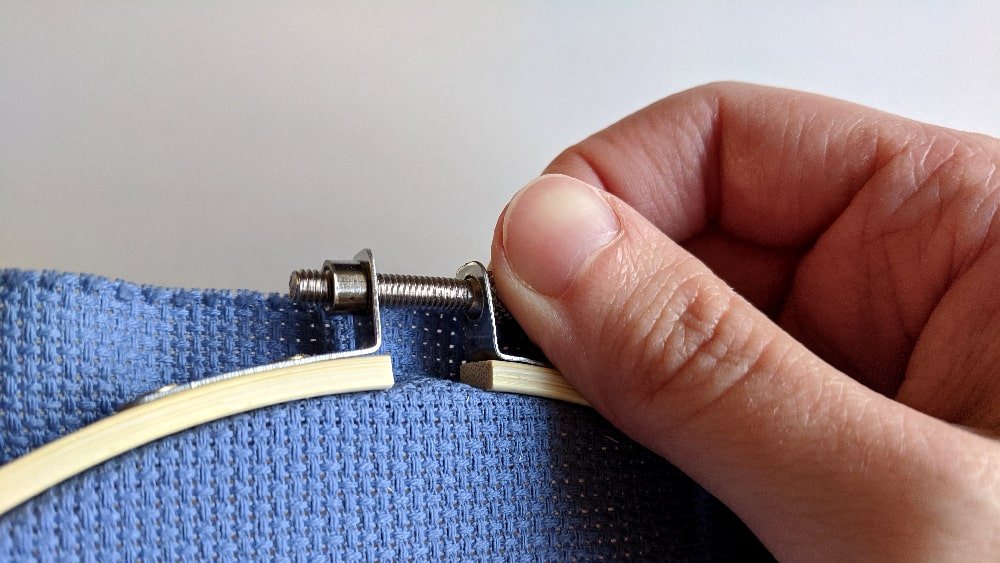
You will be able to identify the screw tension hoops because they will have a metal piece at the top with a screw to tighten or loosen tension.
Sometimes, these screws will have an area on the end to tighten with a screwdriver. Most hoops you will only be able to tighten with your hands and that’s perfectly fine.
Then there are the spring tension hoops. These have a plastic outer ring and the inner ring is made of metal. You have to squeeze the clamp to release the fabric.
Most hoops are made of wood/bamboo. I really like wooden frames because they are great for finishing projects and they’re really cheap.
Another option is plastic hoops. The downside to plastic hoops, in my opinion, is that they are slippery and lose tension more easily.
Flexible hoops are made of rubber and plastic. They are meant to imitate the look of wood grain.
The flexible hoops are not the best for stitching because there is no way to control the tension, but the rubberized texture does provide some grippiness. These look nice and are more meant for display.
Are Embroidery Hoops Always Round?
Hoops come in different shapes and sizes. The most popular being the round, circular hoop, but hoops also come in oval, rectangular, and polygonal shapes.
The basic round ones are best for stitching on.
In addition, there are more decorative hoops for finishing that are shaped like hearts or have animal ears, for instance cat, bunny, and bear ears.
What Sizes Are Embroidery Hoops?
The most common hoop sizes are 3, 4, 5, 6, 7, 8, 9, 10, 12, and 14.
There are smaller hoops made for jewelry. However, I wouldn’t recommend stitching with something so tiny. Your hand may be more prone to cramping. Instead, use these types of pieces are for displaying purposes.
If you plan on using a hoop that’s 12 inches or bigger, I recommend using a stand to hold your hoop so that there’s less fatigue and you can keep stitching for longer.
What Size Embroidery Hoop Should You Use for Your Cross Stitch?
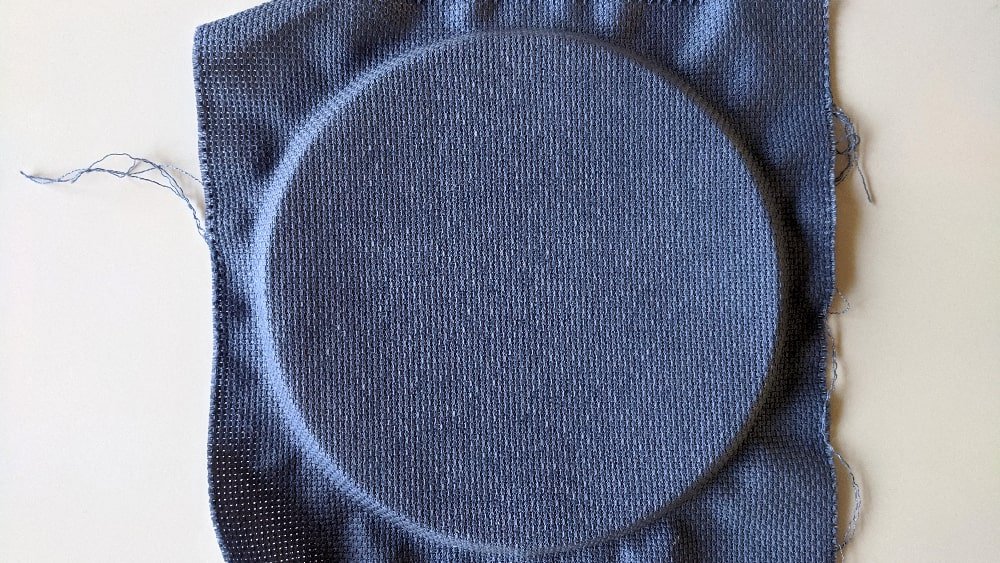
Calculate the size of your pattern. Choose a hoop that is 1 to 2 inches bigger than the edge of the stitches.
You will want to have enough room on the sides for your needle to end the thread without struggling.
When you finish a project your hoop can be as close to the end of your stitching as you want. For instance, maybe you have a circular pattern and you want it to be a full coverage piece within the hoop.
Or you can also leave a bit of margin around your piece.
Where Can You Buy Embroidery Hoops?
You can buy embroidery hoops pretty much anywhere. Plenty of big box stores carry embroidery hoops.
However, I wanted to be able to purchase hoops in bulk since I use so many for ornaments and gifts.
I like to buy variety packs of hoops with several different sizes. On average, I go through the 4 inch and 6 inch hoops that most.
Although I am mostly referring to circular hoops, there are tons of specialty shaped hoops available for purchase. You can find more unique stitching supplies at your LNS or online.
How to Use an Embroidery Hoop
First we need to loosen the tension.
Untighten the screw then you’ll be able to disassemble the hoop.
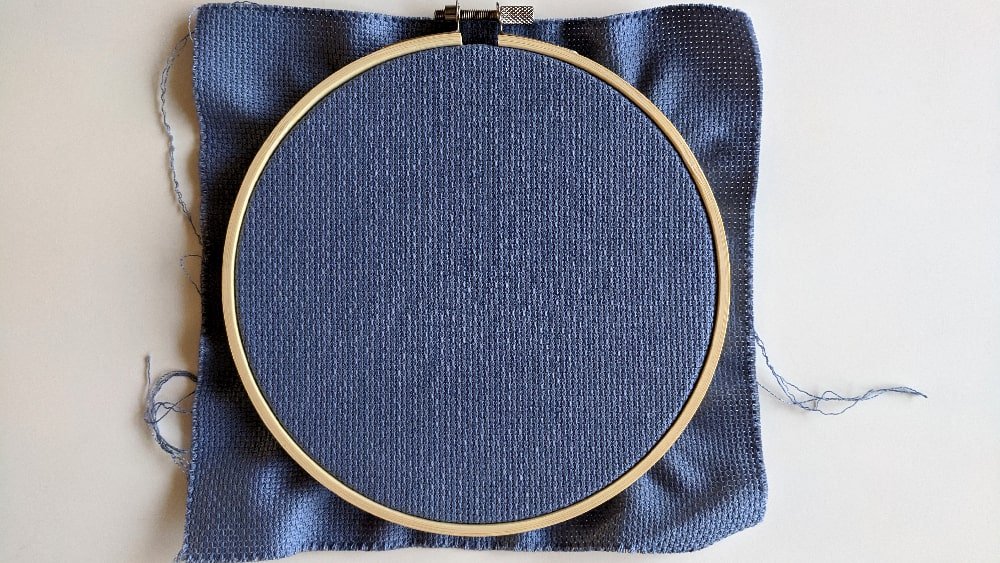
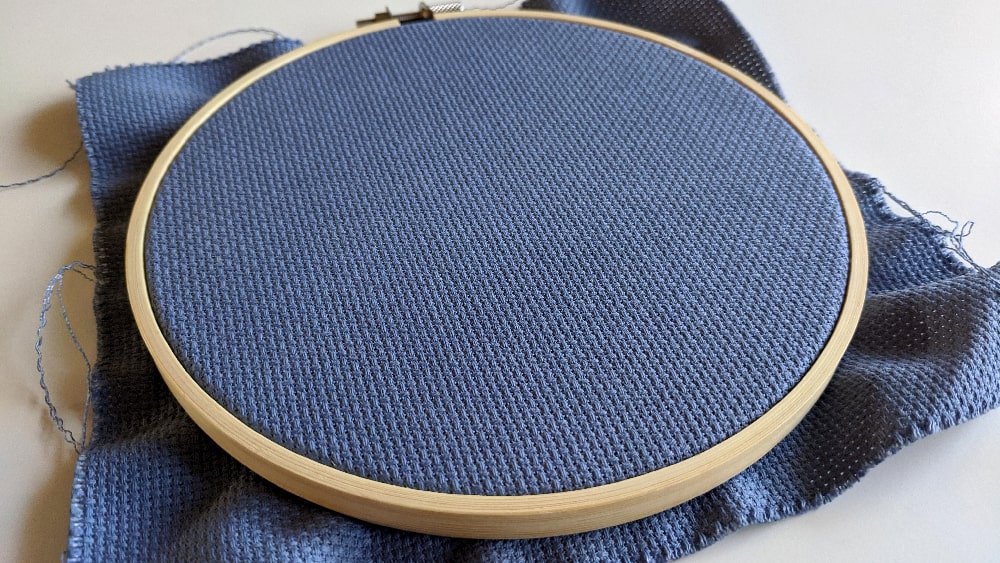
Lay the inner hoop down on a flat surface and lay your fabric on top.
Press the outer loop on top of the fabric, making sure that it can easily slip around the inner ring. You may need to loosen the screw more so that the hoop will fit around your fabric.
This might be a little difficult at first especially if your fabric is really stiff. Try washing your fabric first to get rid of the starch and soften it up to have more of a drape.
Then you’re going to tighten your screw as much as you can. If you are able to tighten the hoop more with a screwdriver then go for it. Just be careful not to tighten it too much that the frame breaks.
You’re all set start stitching!
How to Keep Fabric Tight in an Embroidery Hoop
If you’re having trouble keeping your tension, you may want to wrap your hoop.
This will allow some additional friction so that your fabric stays in place.
Do You Keep Your Stitching in the Hoop When Not in Use?
You aren’t supposed to leave your stitching tightly on the hoop while not stitching, but I have never followed this rule and haven’t noticed any warping or distortion.
However, a good practice is to loosen the tension or remove your work altogether.
Can You Reuse Embroidery Hoops?
Once you’re done stitching on the hoop, simply remove the outer ring from the inner ring and take out your project. Hoops are meant to be reusable, except if you want to use the hoop for finishing.
How to Remove the Hoop Crease
I remember having the hardest time removing that dreaded crease.
These stubborn creases can be removed by washing your piece and ironing it while your project is still a little damp.
If you don’t want to fully wash your stitching, you can use a spray bottle to wet the area or use the steam setting on your iron.
I find that I have more control and can be more precise by misting my stitching with a spray bottle and ironing it.
How to Remove Hoop Stains
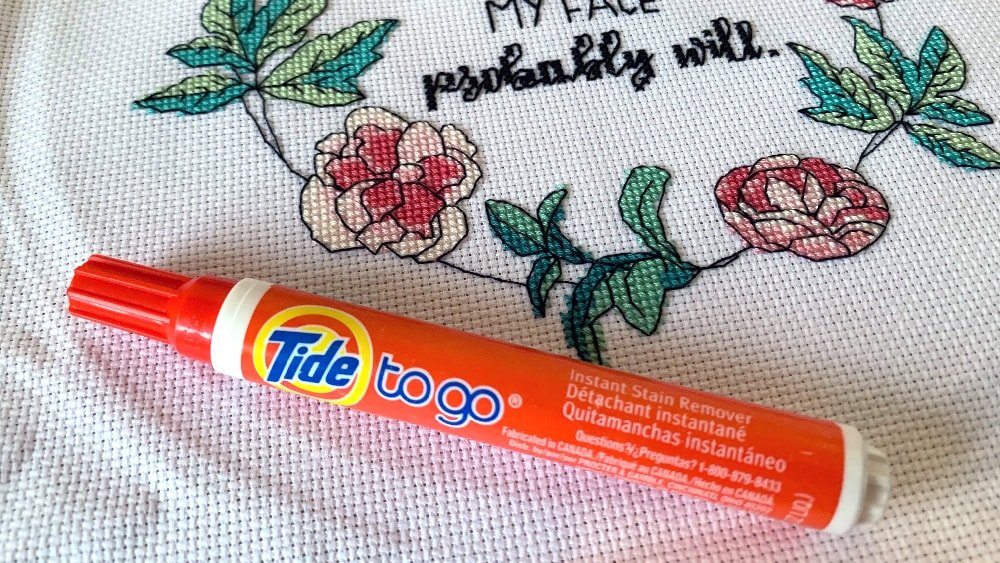
Even worse than the hoop creases are the hoop stains.
After using a hoop for the first time, I had discovered stains once my project was removed from the hoop.
These stains were created from my hand holding onto the hoop and touching the fabric. The oils from my hands had discolored the fabric.
These stains are such a pain to get rid of. A regular washing may not do the trick. At least it didn’t for me.
To remove these stains pretreat with a stain remover like a Tide Pen or OxiClean. Then you can wash as necessary.
If your fabric is hand-dyed you need to be a little bit more careful. Gently spot treat the specific area.
The best thing to do is to prevent these mishaps from happening by using a grime guard. I remember seeing grime guards and thinking, “Do I really need one?”
The answer is YES! Grime Guards have been such a lifesaver and they look really cute on my projects.
How to Frame Cross Stitch in a Hoop?
You can buy a specialty frame that will allow your cross stitch to remain on the hoop but in the frame. These frames are specific for embroidery hoops because there is a notch where the tension knob will sit.
I’ve seen a lot of these frames on Etsy. I haven’t had the chance to try one yet but they look really interesting.
How to Finish an Embroidery Hoop
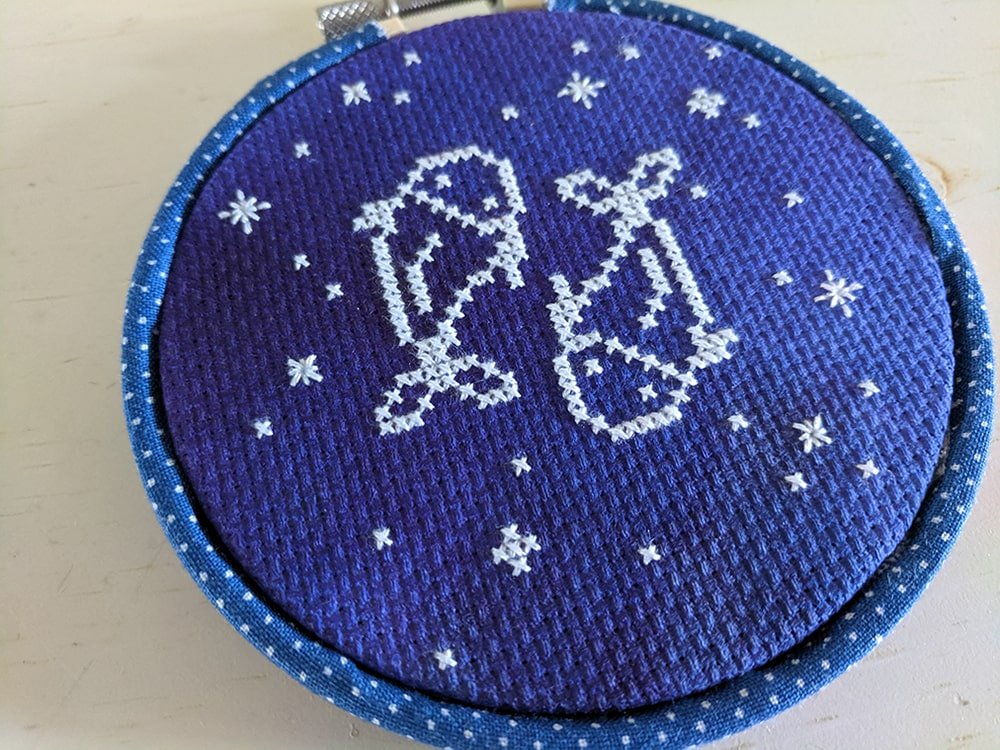
There are tons of different ways that you can finish an embroidery hoop. So now it’s time to get creative.
The easiest way to spiffy up your hoop is to paint it. Choose a color that complements your stitching and gives it an extra pop.
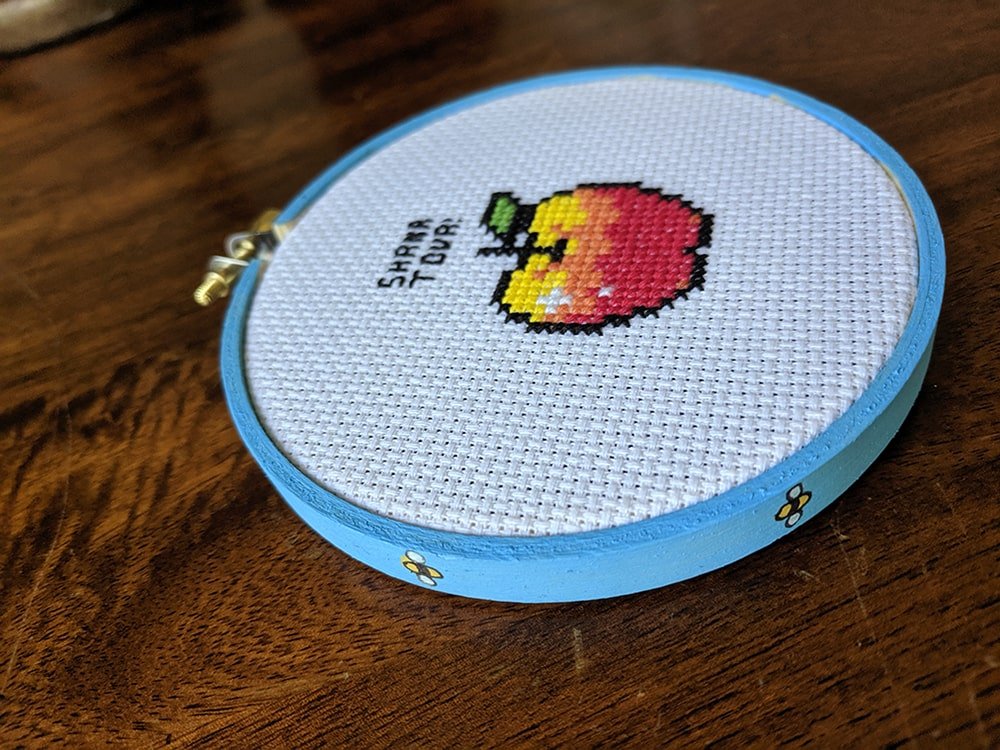
I have painted many embroidery hoops to match the theme of my pieces. For example, I painted the hoop of a Pokémon stitching like a Poké Ball. I also painted a hoop for Rosh Hashanah to have bees since it is a tradition to eat apples dipped in honey.
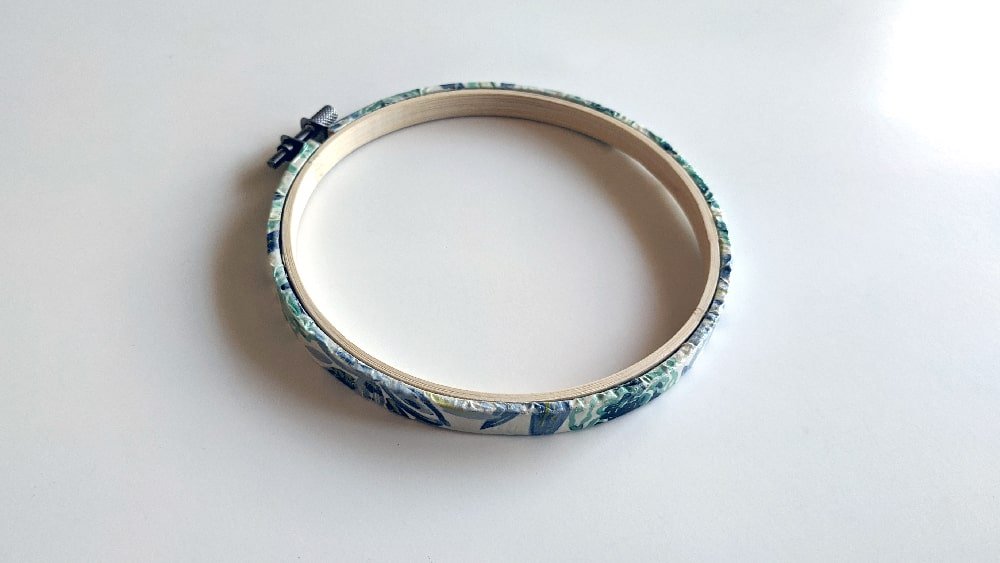
My other favorite way to decorate hoops is by adding fabric. Definitely an easier option than hand painting your own patterns. There are so many amazing fabrics to choose from to bring life to your project.
Wrapping your hoop with fabric is a great way to use any fabric scraps that you have.
Add extra appeal by decoupaging your hoop. You can simply do this with Mod Podge and any fun patterned wrapping paper or tissue paper. It’s a very inexpensive way to spruce up your hoop.
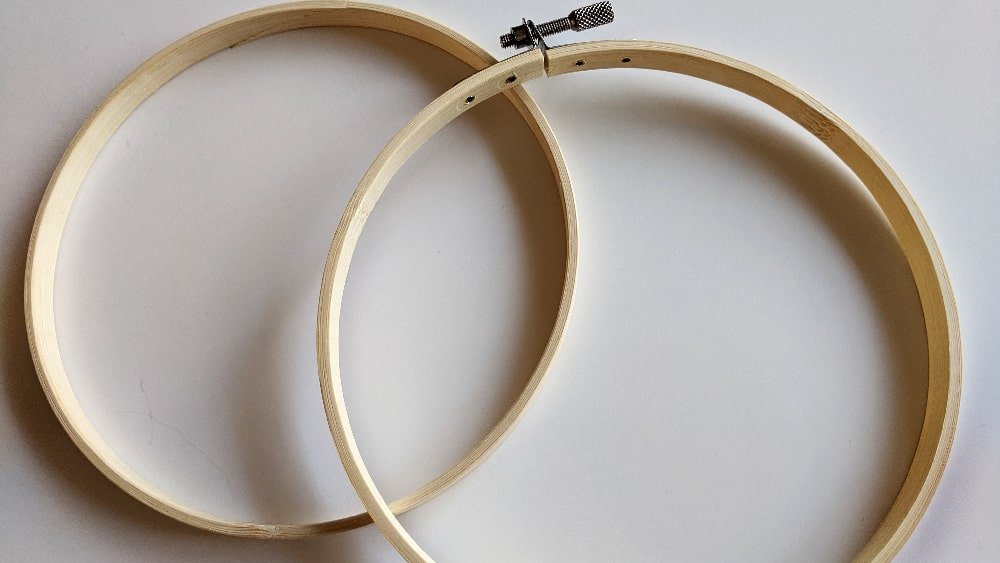
You can make your hoops into ornaments to hang as well decor or on a tree. You can even make a wreath using 2 embroidery hoops.
Final Thoughts
Hoops are great for unleashing your creativity while still being friendly on your wallet.
I love the versatility of embroidery hoops.
If you don’t have a lot of money to spend on fancy gadgets and other cross stitching accessories, use a hoop to keep your fabric taut, then use that same hoop to finish your project.
Happy Stitching!

love the dinosaur cross stitch you show I would love that pattern
Thank you. It’s Dino-mite by The Frosted Pumpkin Stitchery.