DIY Chalk Painted Farmhouse Frame for Cross Stitch
I like to frame most of my cross stitch projects myself. It saves me lots of money and it looks exactly the way I want it to look.
Where is the best place to get cheap frames? The thrift store, not to be confused with an antique store.
Not all the frames are junk. In fact, much of the artwork was customed-framed using quality materials.
You are getting a steal of a price for something that cost someone else hundreds of dollars.
Not only are you paying a fraction, but you can finish it however you like.
I frequently go to my local Goodwill on Sundays. My Goodwill does Dollar Day Sundays. This means that the colors of the week are only $1. I don’t believe all Goodwills have Dollar Day Sundays.
I get so giddy when I find good stuff and only paid $1 for it.
The first section I look through is always the frames.
Maybe a year ago, I found (5) 8½” collector plate frames by Van Hygan and Smythe. They still had collective plates in them but I wanted them for the wooden frames.
WHAT A SCORE! They are the perfect size for many of my projects.
Not only are they are a good size, but they are of excellent quality – solid wood. This gives you more options for finishing.
WANT FREE CROSS STITCH PATTERNS?
Sign up for my newsletter to get access.

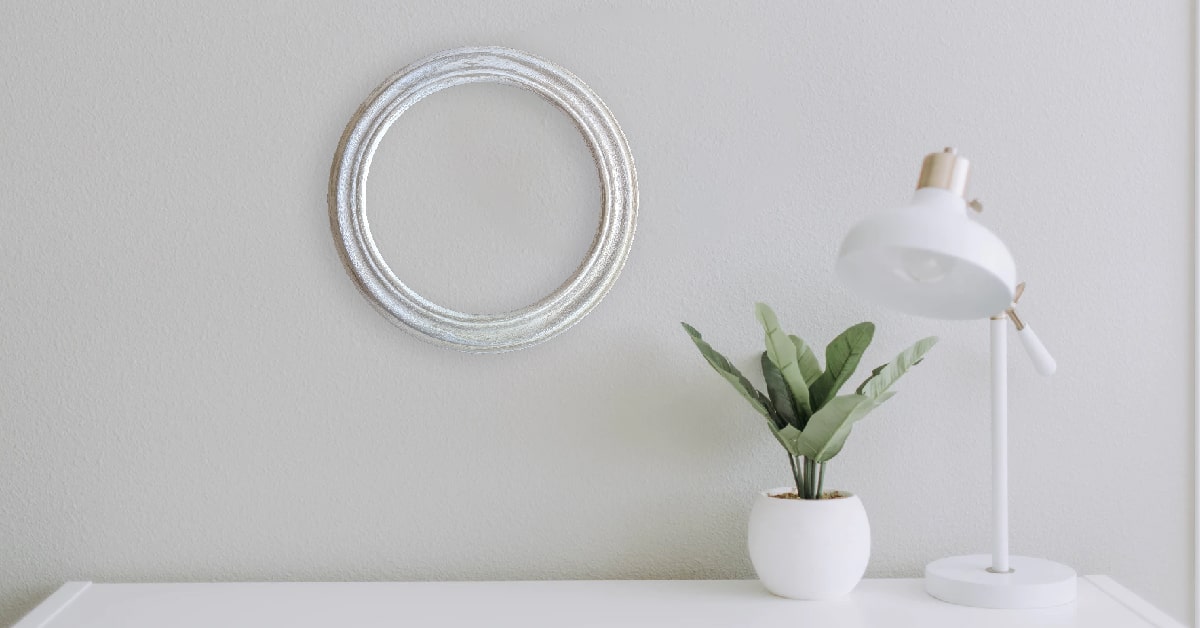
The Original Frames
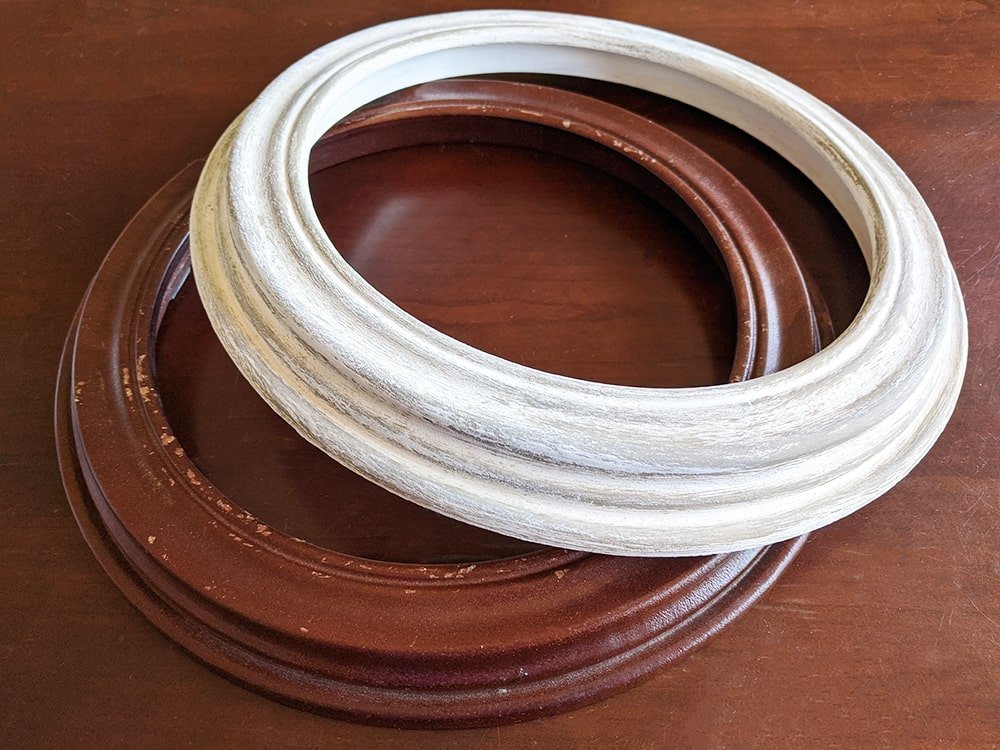
When I first got these frames they were brown and pretty beat up. Not the most modern or appealing.
My initial intention was to sand the entire frame to bare wood and stain them using steel wool and vinegar. However, once I started sanding I quickly abandoned that idea.
Especially, because I had to get this done quickly and all the grooves and ridges of the frame were cumbersome to sand.
Instead, I decided to chalk paint because I’ve been wanting to try it and everyone is doing it. Not only that but chalk-painting is a lot more forgiving than staining.
Materials for Chalk Painting a Farmhouse Style Frame
- A Wooden Frame
- Paint Brushes (You could get chalk paint brushes but I just used generic flat paintbrushes)
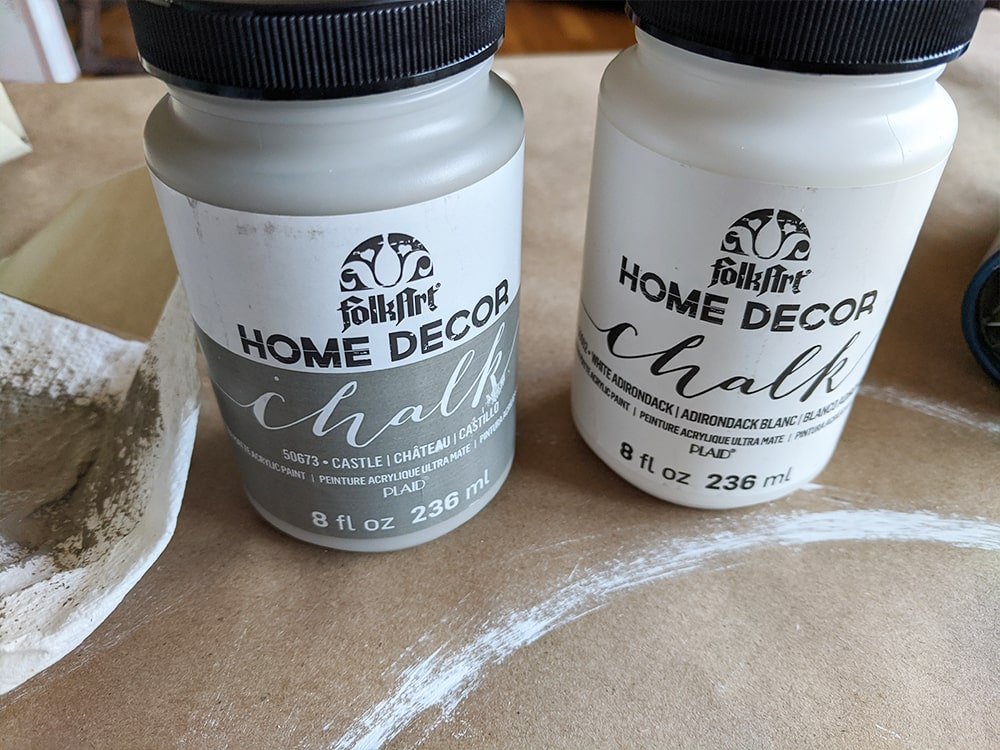
- Chalk Paint (FolkArt Home Decor Chalk)
- Medium Grit Sandpaper
- Containers for Paint
- Craft Paper (to put on the tabletop)
- Hair Dryer (optional)
The Process for Chalk Painting a Farmhouse Style Frame
Clean Your Piece Before You Begin
I am not naive to the “charms” of thrift stores. I make sure to thoroughly clean my pieces immediately when I get home.
Use some soapy warm water and damp cloth to get all that gunk and grime off your piece. If necessary you can use alcohol to remove any residue.
Take Off the Hardware
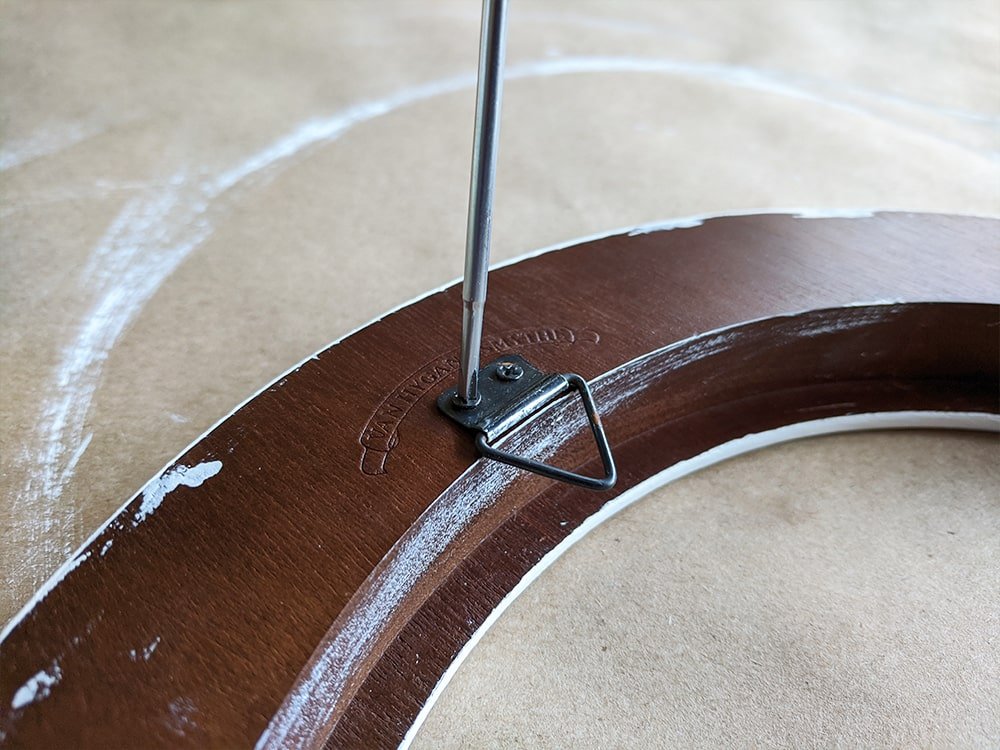
Because this was a Collective Plate Frame it had additional hardware to keep that plate secured in the frame. I didn’t have any use for them so I removed them and put them in a zip-lock bag.
The hanging hardware I reused but removed as well for the painting process. You can choose to paint or spray paint the hardware, but I just left mine as it was.
Sanding the Frame
I know that one of the perks of chalk paint is that you don’t have to sand your piece. Although that may be true my frame had deep gouges taken out of the finish. I wanted a nice smooth surface to work on.
Not only that but I had already sanded it when I was planning on staining it.
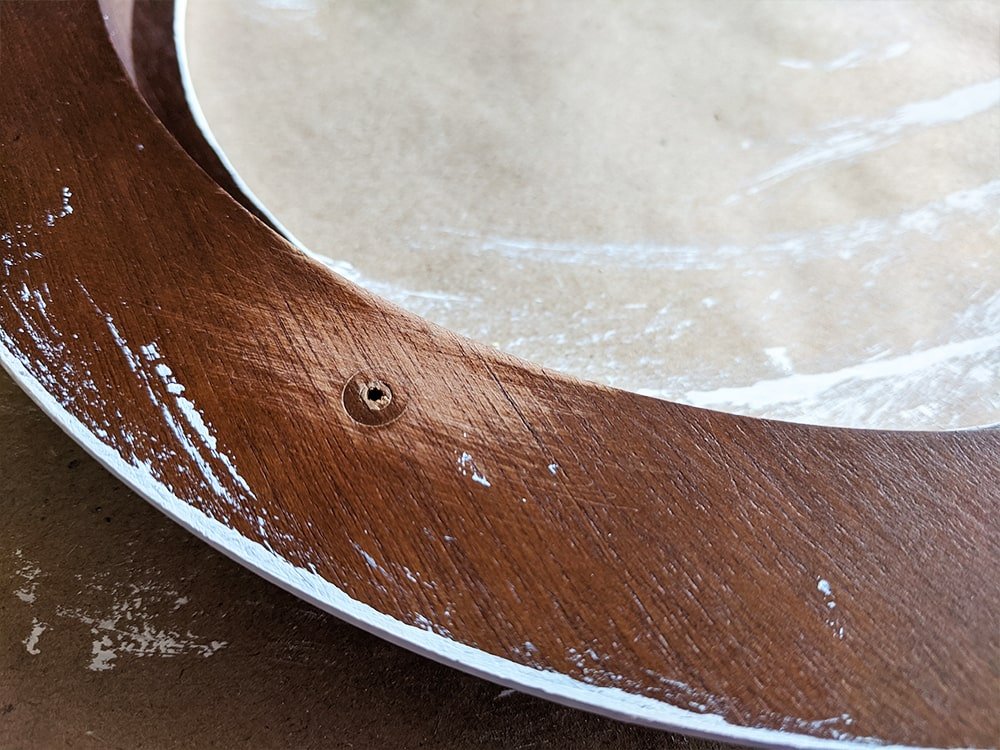
The holes on the back from the hardware were raised slightly so I wanted those to be flush with the rest of the wood.
However, I DID NOT sand down the holes where the hanging hardware was. This is going to be important while framing.
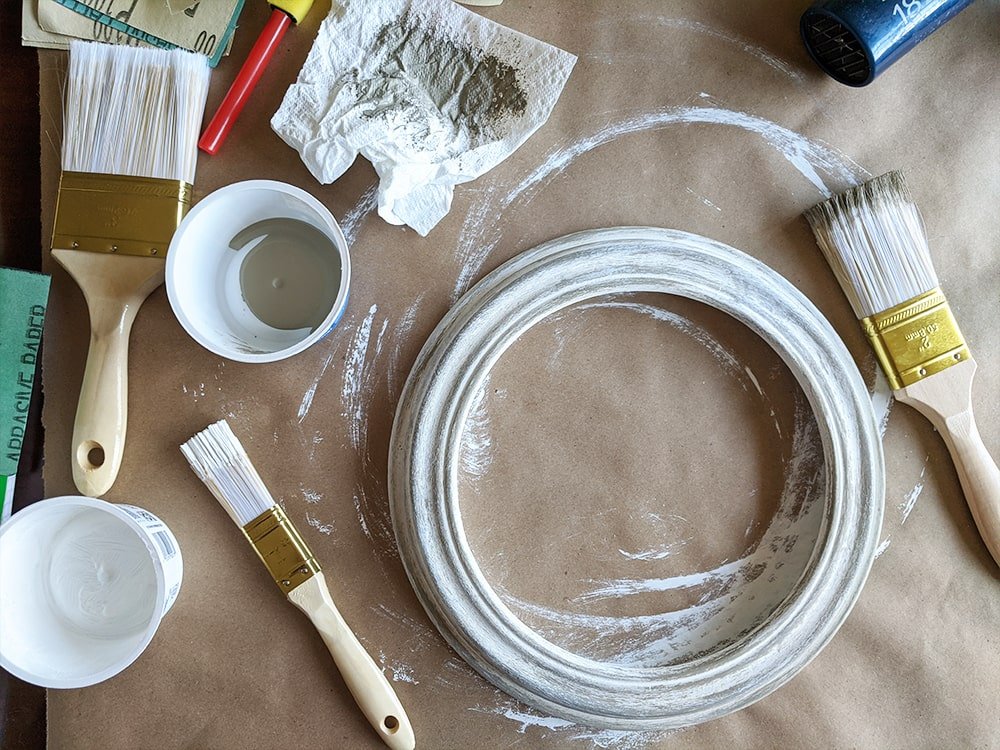
Adding the Base Coat of Paint
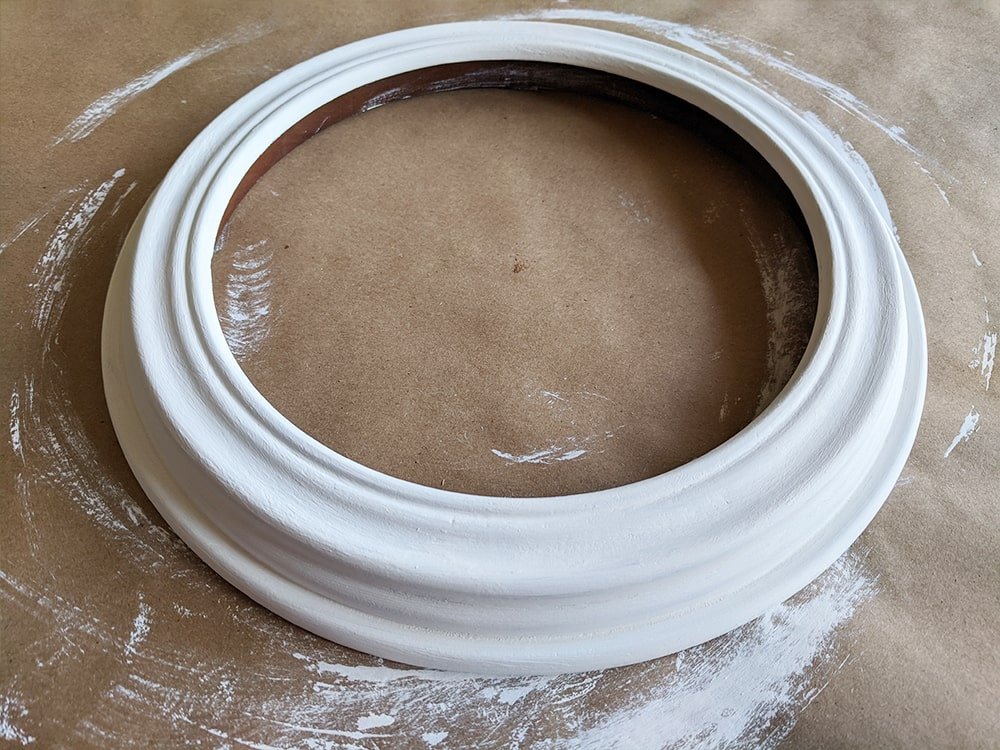
With chalk paint, you do not need a primer.
I used 2 coats of White Adirondack as my base color. One coat was still slightly too transparent for me.
I also decided to paint the inside and back of the frame. This is unnecessary and doesn’t really matter.
According to the bottle, you need to wait two hours in between coats, which I did for the white because I did my first coat, ate dinner with my husband, then did my second coat, and went to bed.
To speed up the process you could use a hairdryer to dry the paint faster, which I did for layering.
Applying the Distressed Layer
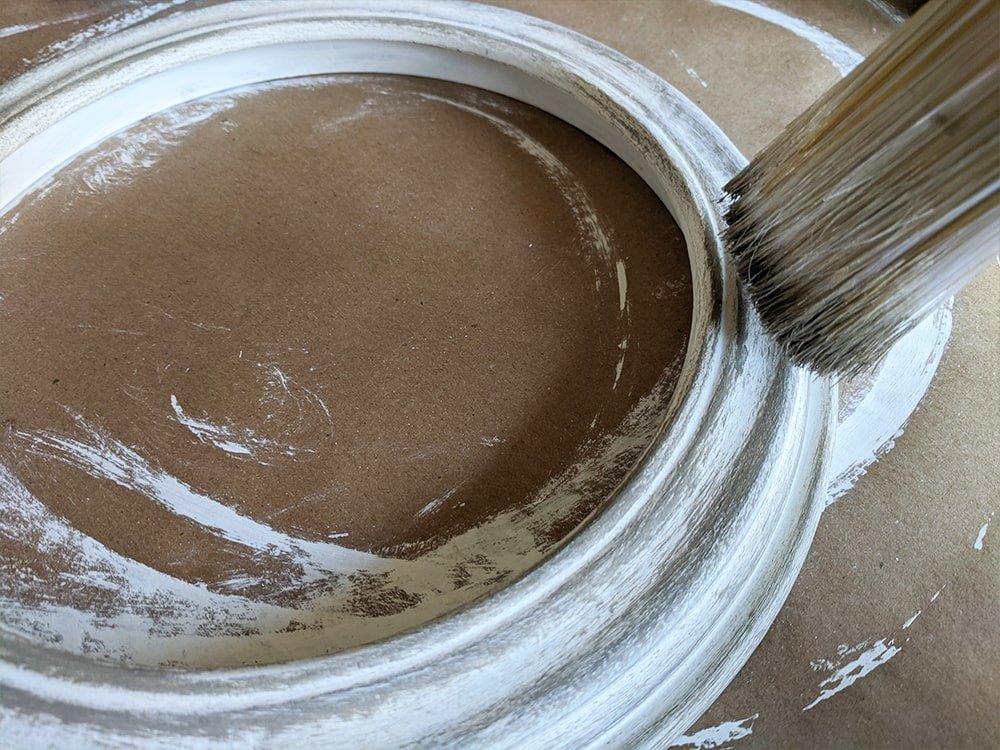
I thought that I would put the second color over the base color completely and sand parts so that the white would show through.
But that’s not what happened.
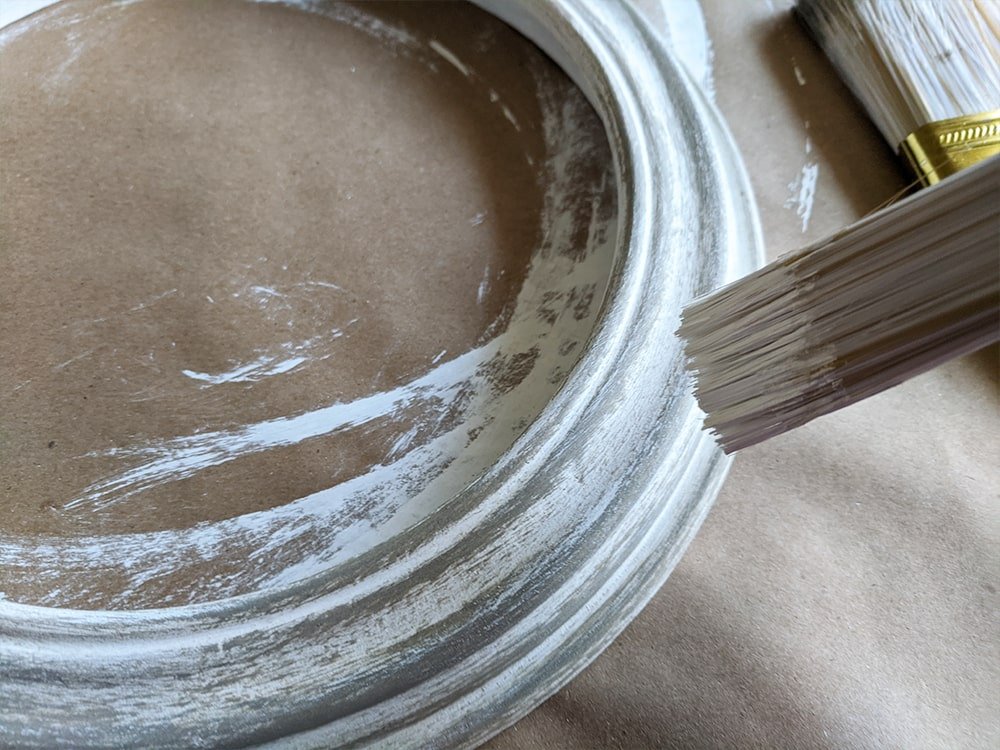
I used Castle as my second color and once I put that gray on, I realized that it wasn’t the color that I wanted.
In hindsight, always test colors before you start painting your project. I know this but always seem to ignore myself. Ultimately, it didn’t really matter because the store didn’t have the other color I wanted in stock anyway.
So I had to work with what I had.
Castle is a much warmer gray than I had anticipated. The color that probably would have worked better would have been Parisian Grey. In that case, I may have gone with a more modern blended look.
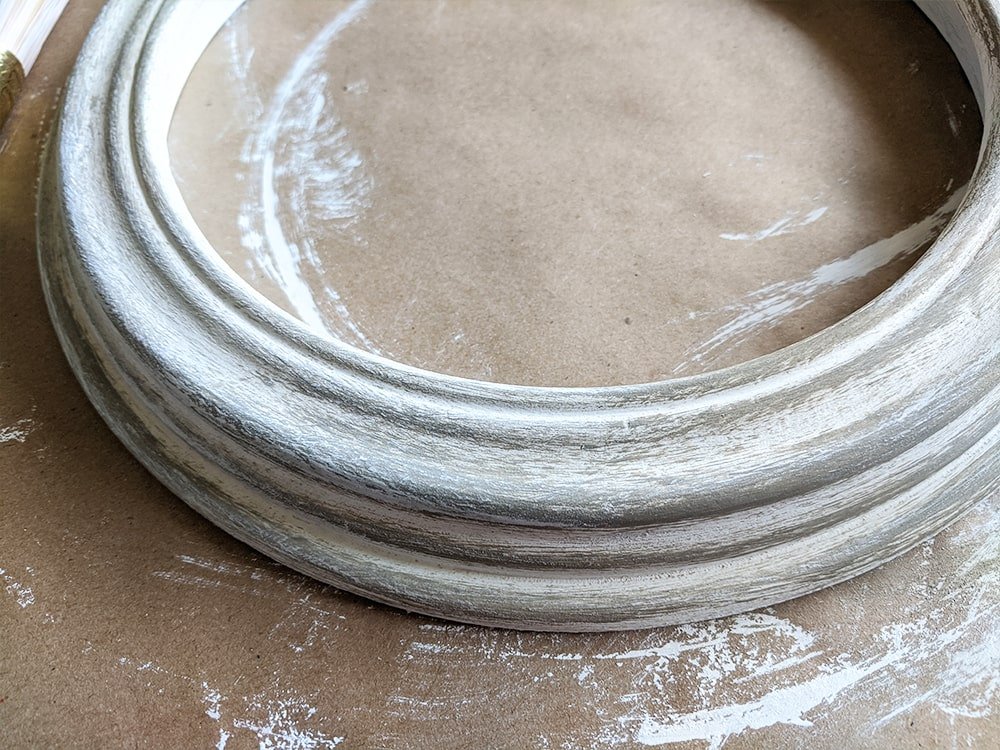
Instead, I dry-brushed the Castle color in certain areas on top of the white, giving the frame a faux distressed look. In certain areas where I used too much gray, I use a little bit more white.
Now my frame has a cute farmhouse distressed look instead of a modern Parisian look.
Finishing with Wax or Sealer
The reason you finish furniture with a wax or sealer is because chalk paint can liquify if a cold, perspiring drink is left on top of it.
I read lots of bad reviews on the FolkArt Home Decor Wax. Instead, of taking a chance and ruining my paint, I decided to forego the finish and return the wax to the store.
I could have put a matte sealer on to preserve the frame but decided to save a little bit of money instead.
I figured since it is a frame and will be hanging, it’s not as big of a deal.
However, I recommend that if you have a matte sealer you should use it to keep your finished work preserved.
Final Thoughts
This was a fun experience and I love the finished result. I hope it fits in with my friend’s decor.
Mike on the other hand does not like rustic decor. He said that my cross stitch looks pretty and modern and feels like the frame takes away from that.
To each their own.
Always test products on scrap material before using them. I didn’t care that much just went with the flow and course-corrected. Probably will never learn this lesson.
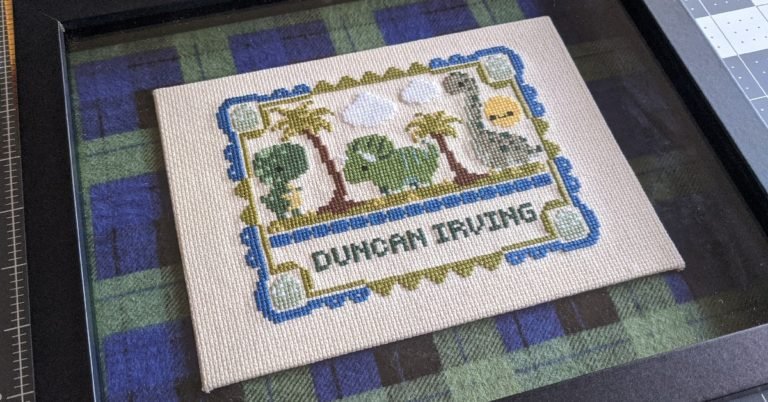
Check out how I framed the cross stitch in this frame.
Happy Stitching!