The Best Way to Wrap Your Embroidery Hoop in Fabric [No Fraying]
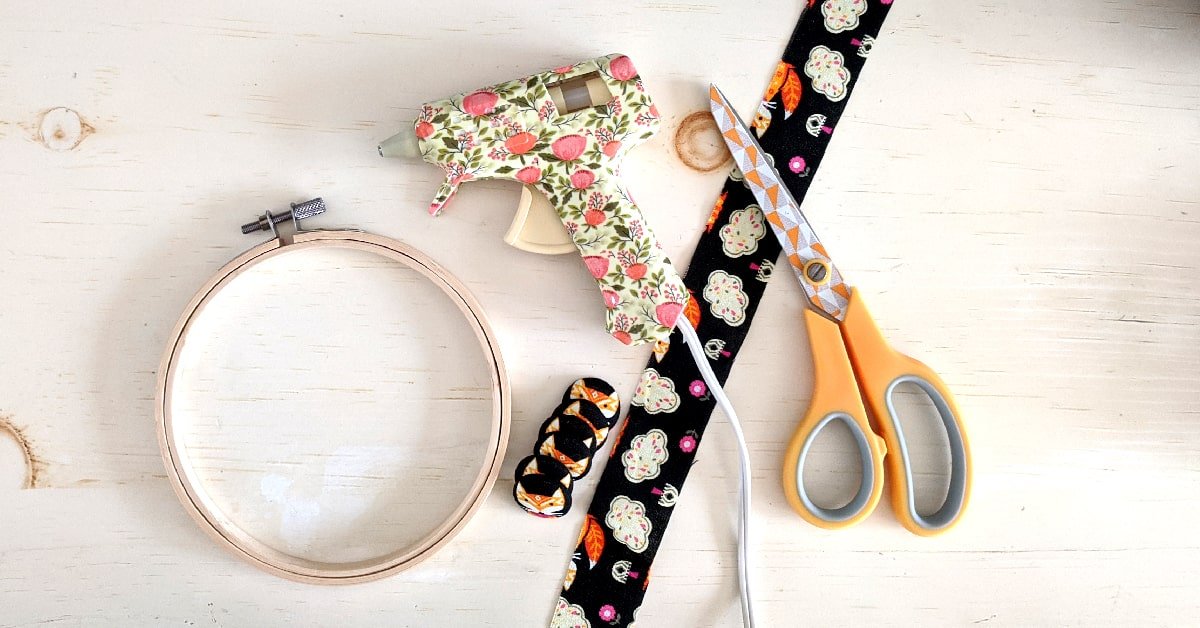
Wrapping an embroidery hoop with fabric is probably my favorite way to decorate hoops.
Usually, if I want a solid color I will go for paint, but if I want a fun, complementary pattern, I will use fabric.
There are so many fun prints to choose from and if you are crafty like me then you have tons of scraps of fabric that would go to waste.
We are crafty so we do not waste!
The strip of fabric I am using today was a leftover from grime guards and needle minders that I made.
First I used the majority of fabric for grime guards. Since I used two pieces of equal size because my fabric wasn’t long enough, I had plenty of extra fabric.
Next, I used that to make needle minders. However, since the focus of this print was these cute foxes, that is the only part of the fabric I used for buttons.
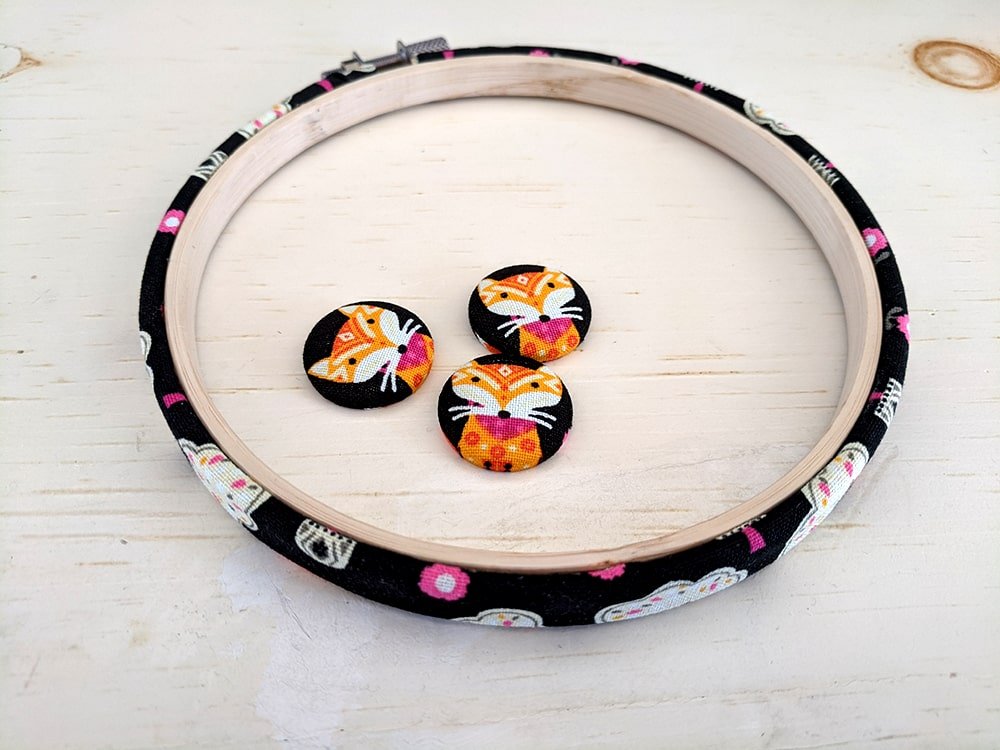
With the remainder of that fabric, I had enough to cover this 5” hoop.
Ultimately, I got 3 cross stitch accessory projects from a small bit of fabric. That’s pretty nifty if I do say so myself.
WANT FREE CROSS STITCH PATTERNS?
Sign up for my newsletter to get access.
Supplies to Decorate Your Embroidery Hoop with Fabric
- 1¼ inch width strip of fabric (16½ inches in length – the length will depend on the size of your hoop)
- Embroidery hoop (5 inches)
- Glue (hot glue or Aleene’s Original Tacky Glue)
- Scissors
- Ruler
Step-by-Step Instructions for Decorating your Hoop
Many tutorials demonstrate wrapping the fabric around the hoop, but I didn’t like this method. The fabric would fray and look messy. I also didn’t like the inconsistent pattern. I wanted one cohesive piece.
We will wrap our fabric around lengthwise so that the pattern is continuous.
I usually don’t measure the fabric beforehand. I just wrap it around the circumference to make sure I have enough scrap then cut it when I get to the end.
Step #1 Start by Disassembling Your Hoop
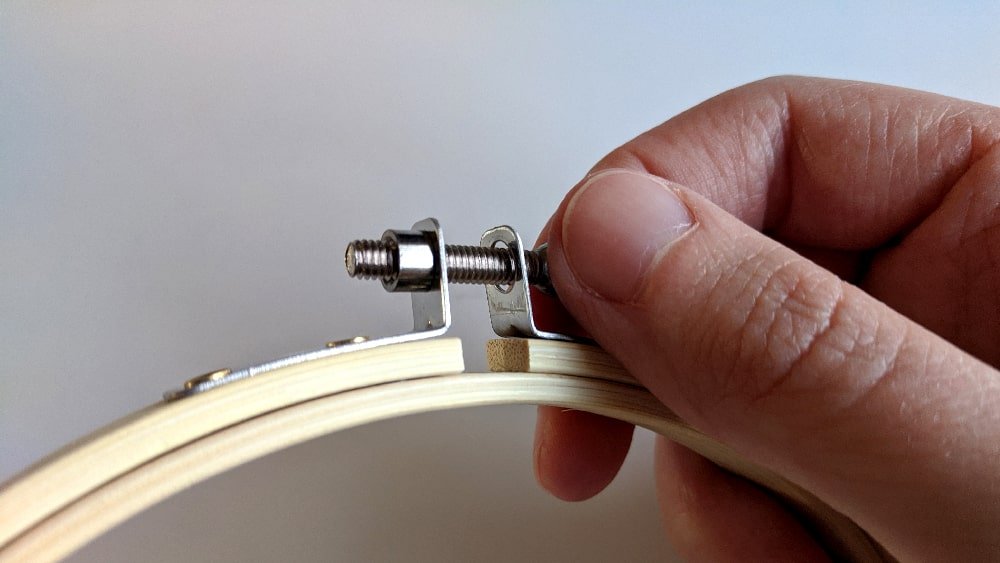
Taking the screw out helps maneuver around the hoops more easily. You can also sand your hoop if it is rough, but it is not necessary.
Step #2 Add a Dab of Glue Where You are Starting
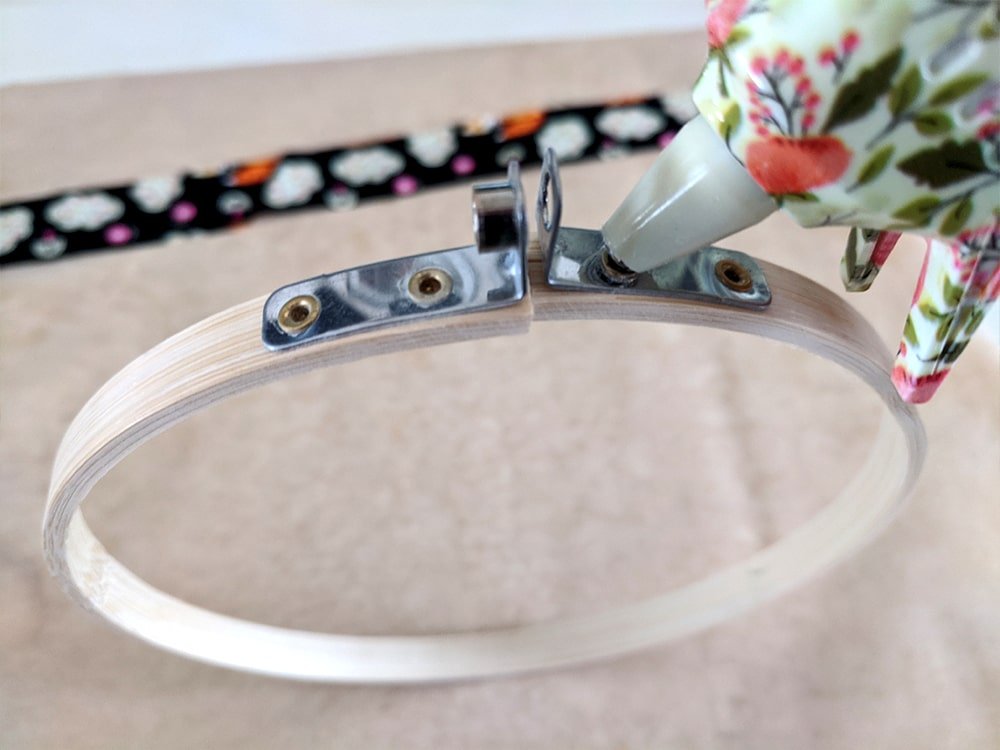
I would use hot glue on the outside because it dries fast. This is just to keep the fabric in place. You have the option of just gluing the two ends, the stretch from the fabric should keep it taut enough.
You could also add a strip of glue around the entire hoop. I do not recommend using a thinner glue because it will leak through the fabric and look messy.
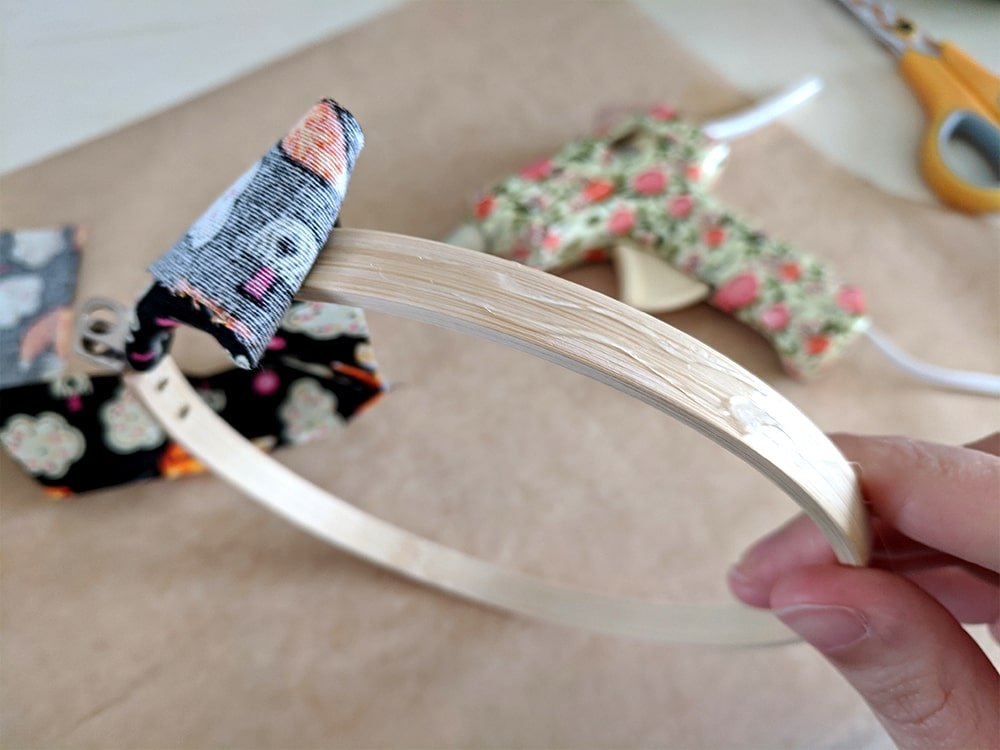
Either way is up to you. The goal is just to secure the fabric enough so that you can glue it on the inside.
Step #3 Gluing the Inside
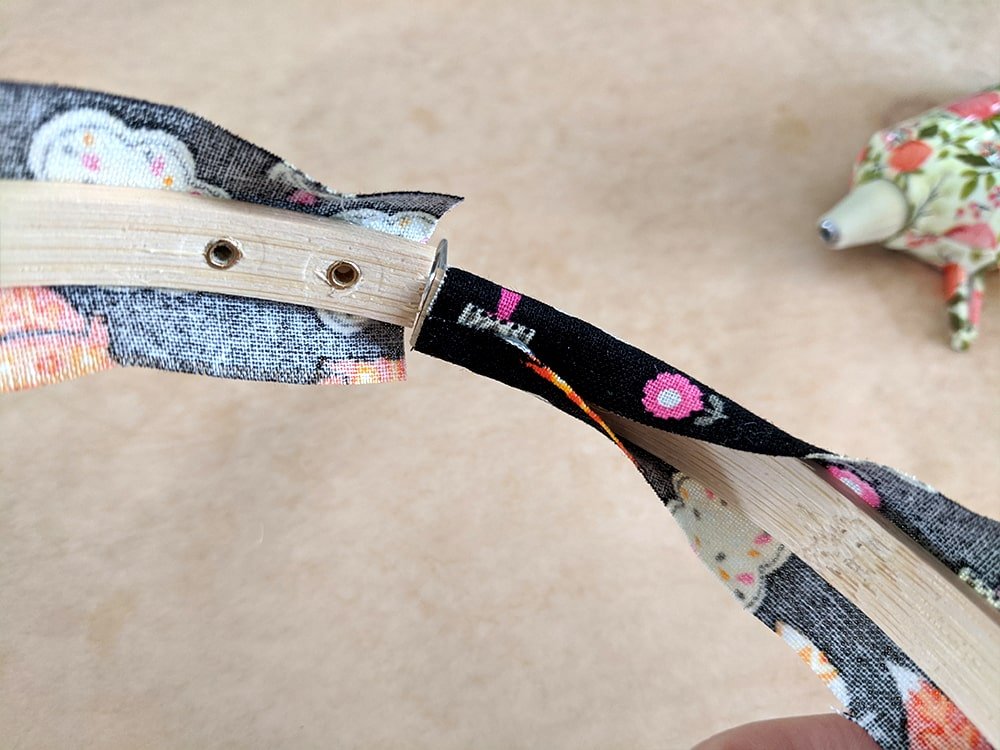
We can easily hide the ugly seam on the inside. This doesn’t have to be perfect as you will not be seeing it.
The 1¼ inch width is perfect for overlapping the two sides. If the sides are too long you will see some of the frays or edge of the fabric.
It’s easiest to fold the top or front side down first then the bottom or back side. This provides the least resistance when you are putting in your project since you are pushing the hoop down onto your project.
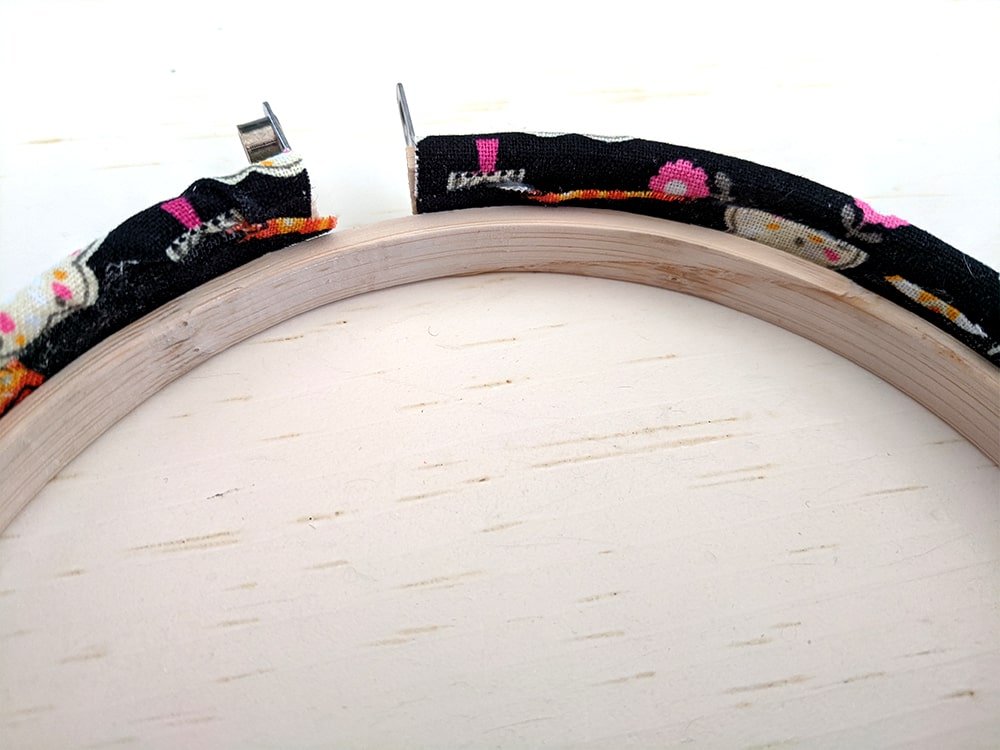
I used to use the hot glue gun because it’s less messy but it would dry too quickly and be too bumpy. I would try to make it as thin as possible but it still ended up with extra bulk.
Now I use Aleene’s Original Tacky Glue, which is a little messier but gives a smoother finish. This way my project is flush with the hoop.
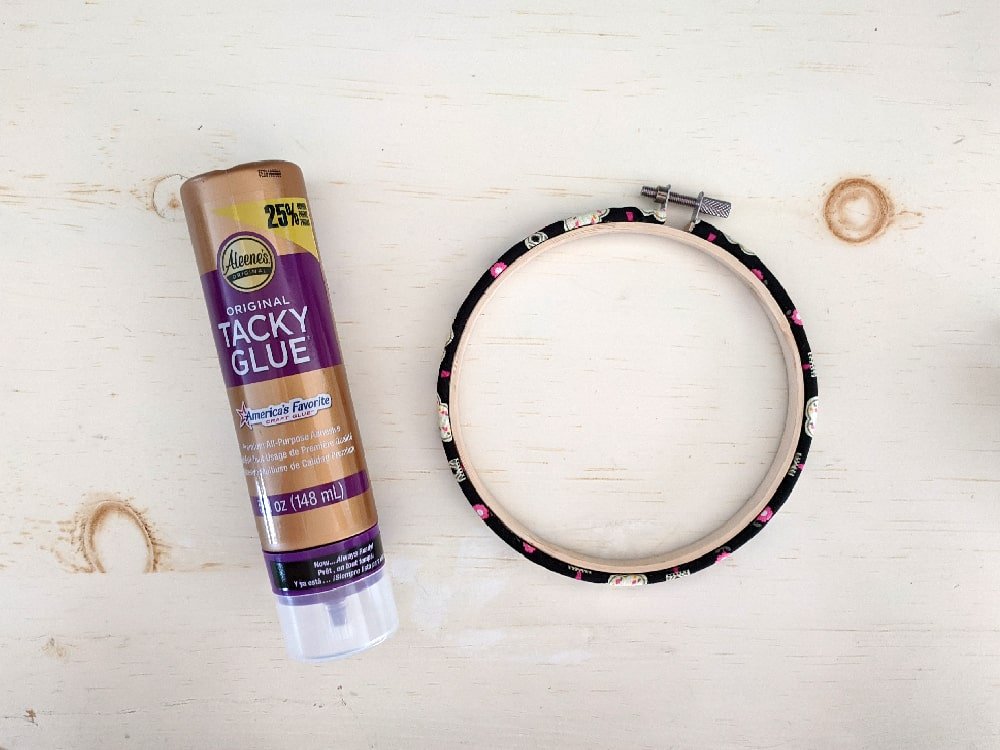
Step #4 Let Your Fabric Hoop Dry
Wait until your project fully dries before you use it. I usually wait 24 hours. Read the instructions on your glue. The last thing you want is glue on your project.
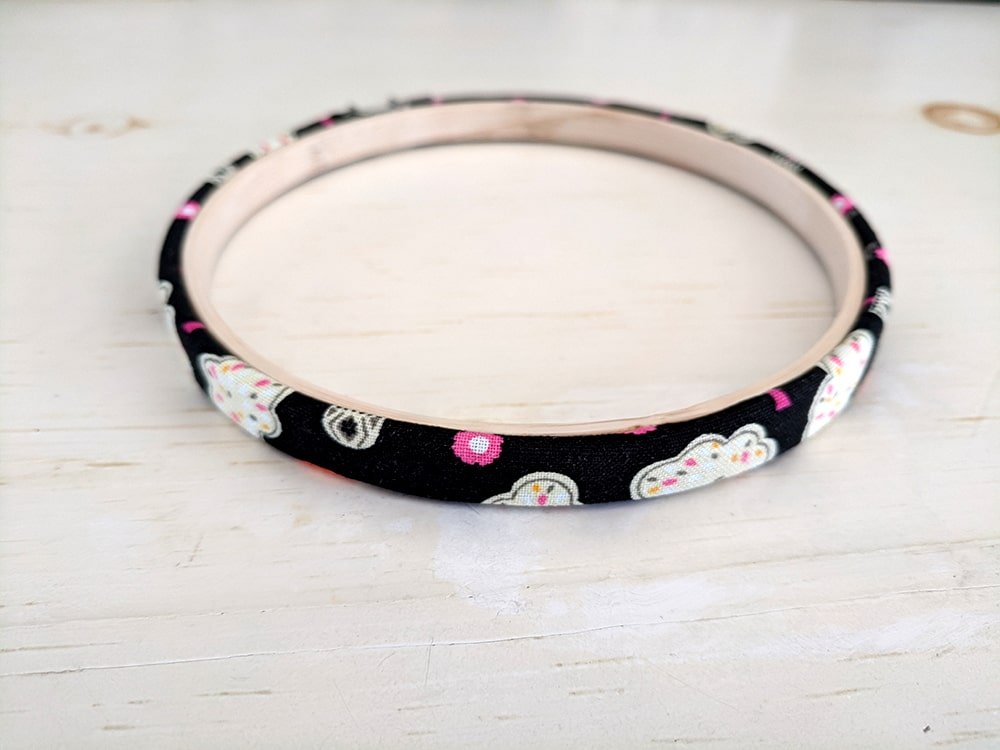
Final Thoughts
Wrapping your hoops in scrap fabric is an inexpensive way to give the hoop an extra special appearance.
I like fabric a lot because I like the feel of the cotton and there’s no weird glue smell like with my finished decoupage hoop.
Instead, the cotton is soft and nice to touch. That being said, you could always seal your fabric with Mod Podge if you choose to for a different finish effect.
I hope you enjoyed this embroidery hoop decorating tutorial! Don’t forget to check out my other DIY tutorials.
Happy Stitching!


