
How to Cross Stitch Perfect Stitches
I get so many comments asking what is my secret to stitching plump, even, Instagram-worthy stitches. The answer is that I honestly don’t know. I don’t think that I do anything special.
However, I am a perfectionist so I do like things to look pretty. I notice inconsistencies in my stitching all the time that others may not.
Regardless, here are my “secret” tips on how to improve the neatness of your stitching.
WANT FREE CROSS STITCH PATTERNS?
Sign up for my newsletter to get access.

How Do You Stitch?
Did you know that there are different ways to stitch?
When I was learning to cross stitch, I was taught in the Danish style.
Danish Method

Most stitchers stitch using the Danish method. This is my preferred method when using DMC or other solid threads.
With this method, you will stitch one leg first down a row then come back to do the other leg. I start by drawing my thread up from the bottom left hole of my fabric then complete the leg going down through the upper right hole.
After you complete your row you will draw up your thread through the bottom right then complete your cross by going down in the upper left.
I work from the top to the bottom of my pattern, one row at a time, left to right.
I believe that the direction in which you cross stitch has something to do with your dominant hand. I’m right-handed. (Fun fact: I’m actually a little ambidextrous because I was born left-handed.)
I do notice that I get the neatest stitches when I stitch one leg at a time.
English or Victorian Method
In contrast, you can stitch one complete stitch at a time.
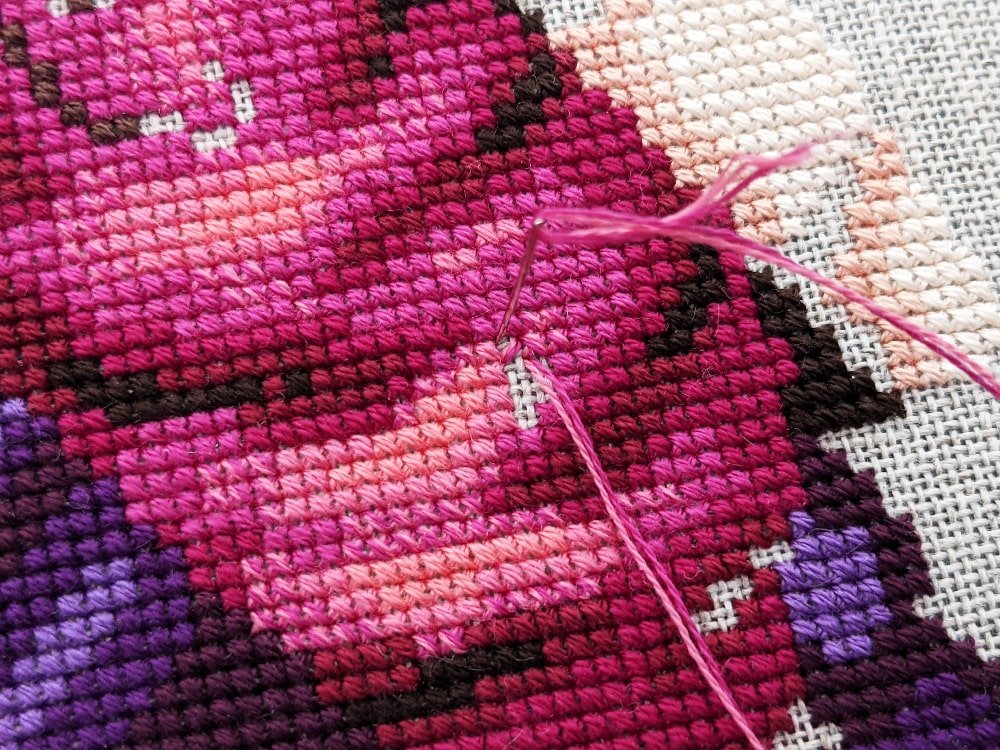
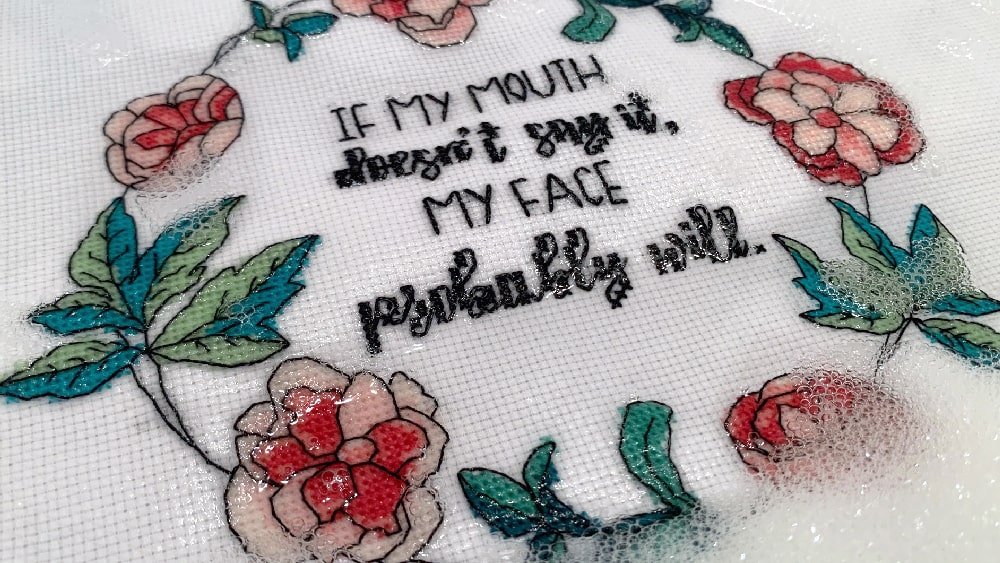
I stitch one stitch at a time when using variegated floss. This will maximize the variation in the floss. It’s more common with this method to go in different directions to get a desired effect.
When I use this method, my stitches can look a little messier.
I know some stitchers only stitch using this method.
Do whatever feels most comfortable to you.
Fabric Count and Number of Strands
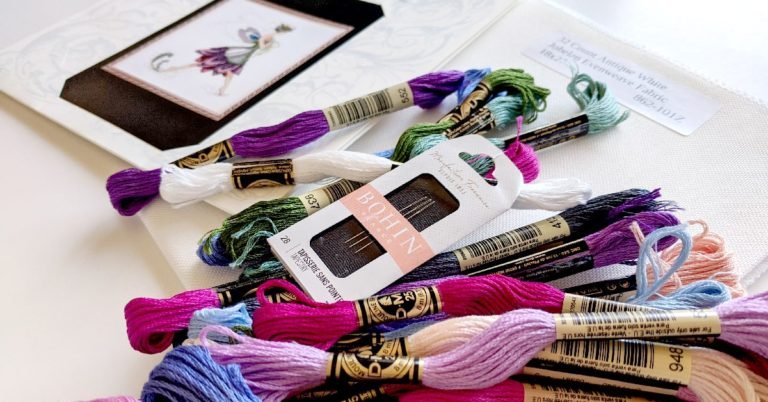
My favorite fabric to stitch on is 32ct evenweave with 2 strands. Check out my post all about fabric counts for more information.
Let’s break this down.
I prefer stitching on 16ct or 32ct because there are more stitches per inch. This means that my project will be smaller because my stitches are closer together. Less of the fabric will show through as opposed to 14ct or 28ct fabric.
Evenweave is less rigid than aida. This means that the fibers are more pliable and more forgiving, creating even looking stitches. Of course, your tension matters, which we will discuss shortly.
Have you ever stitched on aida and ended up splitting the thread of one stitch to make room for another stitch? With evenweave, there is more wiggle room because of the fibers to be able to fit all your stitches. This will allow your stitches to lay beautifully side by side.
I have found that I get great coverage on 16ct or 32ct with 2 strands of floss. When stitching on 14ct or 28ct, most people like stitching with 3 strands for better coverage.
If you didn’t know that floss comes in 6 strands, I have an article all about embroidery floss.
Personally, I think that 3 strands looks a little bulky and not as neat. However, using 3 strands definitely achieves a fuller appearance on smaller thread counts.
Another reason that I like using two strands is so that I can start with the loop method. Ever since I discovered this method it’s all I ever use to start.
Tension Matters!
Usually in crafting, I would say that I naturally have a tighter tension (it’s the same with crochet). While cross stitching, I make sure to not pull on my stitches too tightly.
This will create big gaps in the fabric.
If your stitch looks too tight, pick up the thread slightly with your needle.
To prevent these gaps, just give your floss a little tug as you are getting to the end of your thread.
This will work if you are a loose stitcher as well. You don’t want your stitches to be too loose so a nice little tug should remove any extra floss.
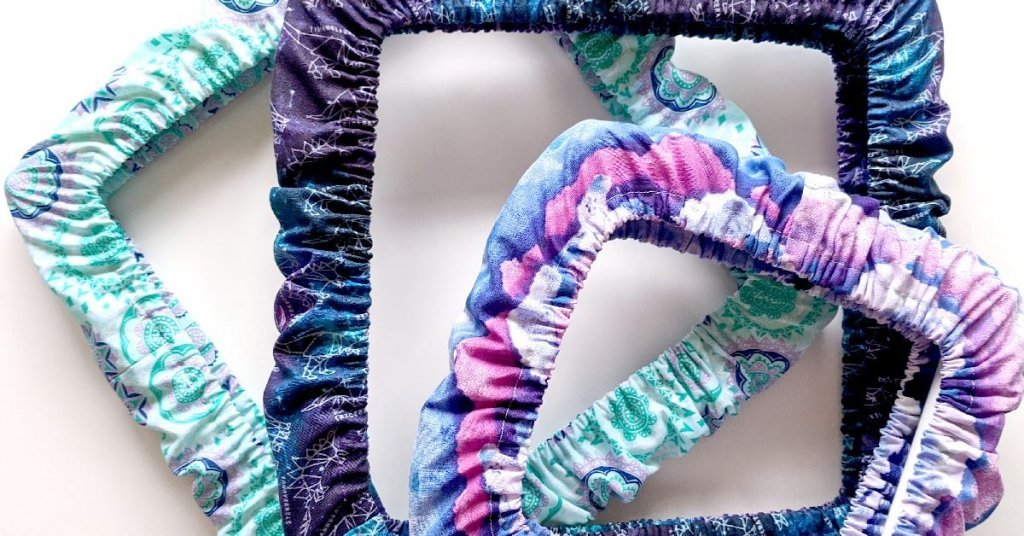
I get the most even tension when I use a hoop or Q-Snap. In my opinion, there is definitely a noticeable difference.
My preferred method is using a Q-Snap. I like that they are square or rectangular so that you have a greater stitching area. Not only that, but I love the tautness they provide. You can read more here about why I love Q-Snaps.
Using your Needle or Laying Tool
Did you know there are tools that you can use to create better looking stitches?
A laying tool is a useful tool that helps keep your tension consistent and your stitches looking neat.
It looks similar to an awl, but isn’t necessarily sharp and can be made of many different materials. I imagine you can even use a chopstick as a laying tool.
While stitching, you wrap your thread around the laying tool to help your stitches lay flat. This can be a little time consuming, but if you are after perfect stitches, this tool can be helpful.
Honestly, I just use my needle to puff up my stitches and to make sure the threads are flat. Sometimes, I will use my finger, similarly to a layering tool, to hold down the threads if they keep twisting.
Railroading
Railroading is a technique in which you separate the two threads with your needle as you stitch. This will ensure that your stitches don’t twist.
Again, this is a little time consuming, but this method will help improve the appearance of your stitching.
I don’t use railroading all the time, but I use this technique when I have stubborn stitches that do not want to lay flat.
Let Your Thread Unwind
Your thread can become tangled from the motion of stitching. It’s best to let your needle dangle for a bit every so often to let your thread unwind.
After you let your threads unwind, getting the stitches to lay flat should be much easier.
If you notice that your floss is developing a lot of knots easily, this may be a good time to stop and untwist those threads.
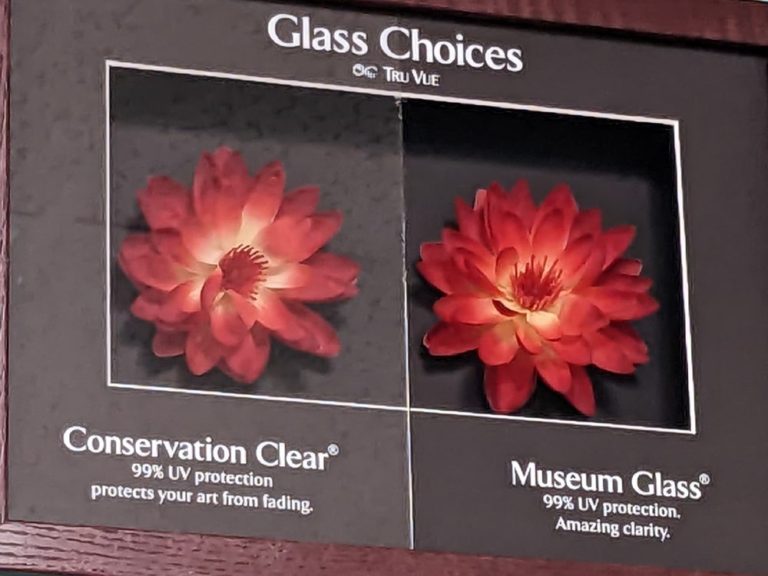
Washing Your Stitching
I realise that not everyone washes their cross stitch. Washing your cross stitch may not always be the right move because of color fastness, but washing your stitching can greatly improve the finished appearance.
Personally, I love rinsing all the grubbiness off. Let me preface by saying that my hands ARE always clean. I wash them several times while stitching. However, I am a very oily individual.
The truth is that those oils can affect your pieces over time. You can read more here about if you should wash your cross stitch. I elaborate on the pros and cons of washing your stitching.
Again, if possible, I LOVE WASHING MY STITCHING!
It smells good, it’s clean, and most relevantly it makes my stitches look better.
Your stitches will look puffier and fill in the fabric more. Washing your project will also get rid of the starch in your fabric for sizing. This will get rid of the stiffness and give your fabric a nice drape.
Your fabric also may slightly shrink if you use warm water, adding to the density of your stitching.
Take Your Time
The faster you are stitching the more your project can look rushed. Stitching quickly can also create unnecessary mistakes.
You can read more here on how to prevent cross stitch mistakes and how to fix cross stitch mistakes.
We have to walk before we can run so take your time and work on producing beautiful stitches.
I know that it seems like we have so many patterns and so much stash that we need to stitch speedily in order to finish it all, but the more you stitch, naturally the quicker you will become with time.
Practice
Once you perfect your technique, it’s time to practice!
Practice on stitching neatly.
There are many trades where you have to train as an apprentice for years before you can move to the next level. To really become a master you have to develop your skills. Cross stitching is a skill like anything else. The more you stitch the better you will become.
The muscle memory will allow you to stitch perfect stitches more quickly.
I know not everyone likes to practice and they just want to be good at the start, but have some patience you will get there! Everyone has to start somewhere.
I know not everyone likes to practice, but come on…who doesn’t want to cross stitch for hours perfecting their technique?
Before you know it your stitching will improve immensely!
Final Thoughts
Stitch in one direction first then finish your crosses. This will give you the best appearance IMHO because the direction you are pulling will be the same.
Choose the appropriate fabric count. Smaller counts will make your stitches look fuller.
Use a complementary number of strands of floss for your fabric. Too many on a small fabric count will make your stitches look bulky.
Again, my preference is two strands of floss on 32ct or 16ct fabric.
Find a happy medium with your tension. You don’t want to pull your stitches too tightly to create gaps nor have your stitches too loose.
If you need help with tension feel free to purchase a tool to help. You can get a laying tool. There are some beautiful ones on the market.
Test different techniques to help you improve your stitching, such as railroading or simply letting your thread unwind every once in a while.
Don’t forget practice makes perfect!
Happy Stitching!

Thank you for taking the time to explain the ins and outs of cross stitch. I found this every helpful!
Found this very helpful to learn the tricks of the trade. Not all experienced stitchers take the time to share. I do not have much time to stitch but do like to enjoy the journey to get to the end. Thank you for giving me permission to do that!
Sandy
11/24