Should you Wash Your Finished Cross Stitch?
Every stitcher has their own preference of whether they wash their finished projects or not.
Personally, I wash my finished pieces for the most part. However, there are certain instances when I may choose not to wash my projects.
I remember being so nervous the first time I washed my project. What if my floss bleeds? What if I ruin my project? These are valid concerns, but most of the time it is unlikely. There are precautions you can take to ensure that you do not ruin your project.
Washing your finished cross stitch projects not only removes obvious stains and dirt but will also get rid of invisible oils that can deteriorate your precious keepsake over time. In addition, washing your project can plump up your stitches to help hide white space.
WANT FREE CROSS STITCH PATTERNS?
Sign up for my newsletter to get access.

What are the Benefits of Washing Cross Stitch?
I like to wash most of my stitching because I know it will be clean. Also, I like the smell, but who doesn’t?
Washing your stitching ensures that your piece will remain in pristine condition once it is framed.
Removes Stains and Dirt
Sometimes your stitching can get dirty. Especially, if you like to bring your project everywhere to get some extra stitching time in. I’m looking at you, campers!
Please don’t snack while stitching. There is a very high chance you will get your stitching dirty. Remember to wash your hands before stitching to ensure that your project stays as clean as possible.
The worst is when a beloved pet soils your project. These stains can be tough to get out, but fear not, your stitching is salvageable.
You will need to do some heavy-duty laundering. There are several concoctions you can create, depending on the stain. In most cases, vinegar and baking soda are going to be your best friends.
Many stitchers have had great success with using OxyClean to remove pet stains!
Removes Hand Oils
There are obvious stains and dirt then there is the grubbiness that you can’t see.
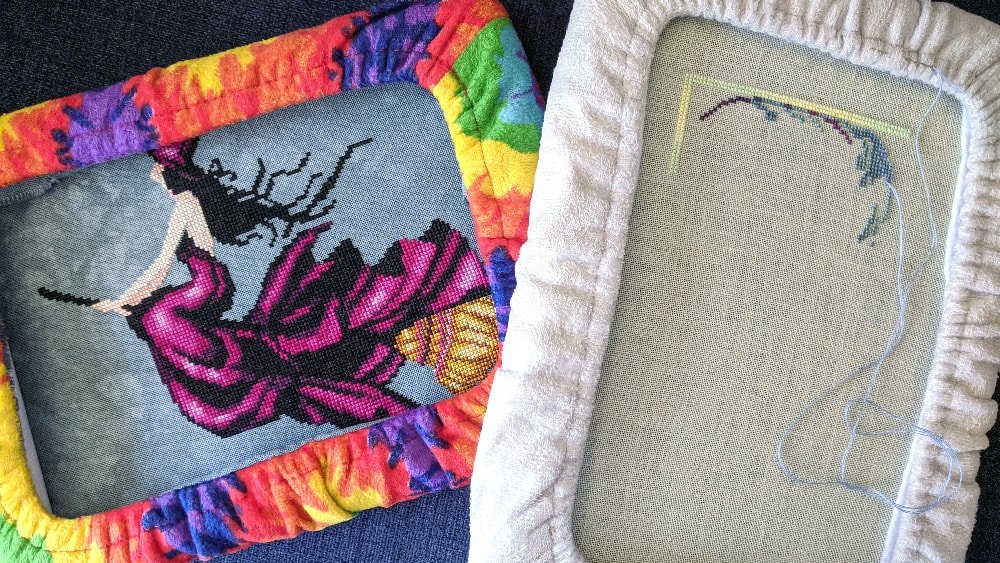
Prevent hand discoloration by using a grime guard. Have you ever noticed stains after you’ve taken off your hoop or q-snap? That is because your hand is coming into contact with the fabric causing the halo of filth.
I have really oily skin and even though I constantly wash my hands, I have noticed these oils appear on my fabric.
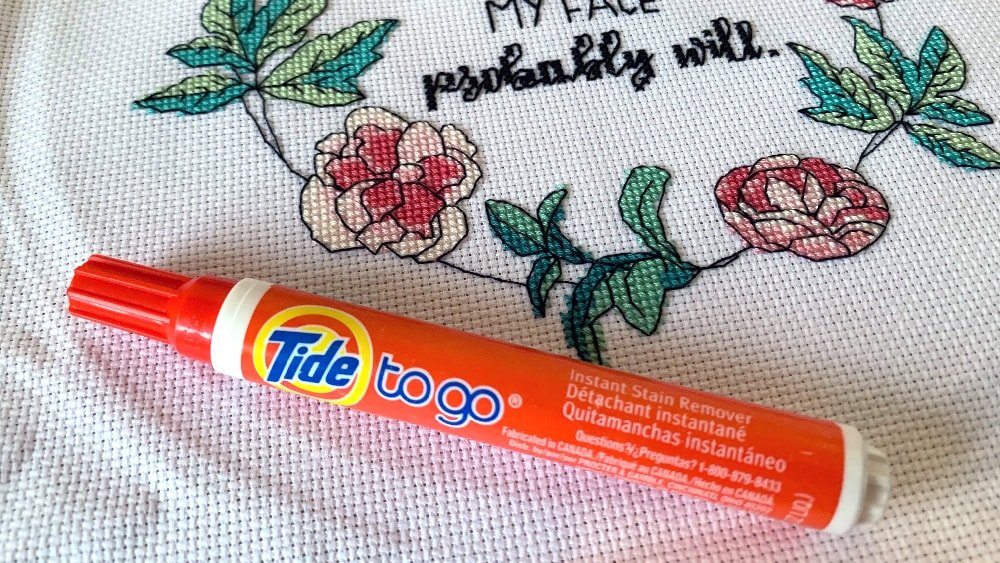
These stains can be stubborn. I have noticed that they do not come out the first time I wash my project. In that case, I pretreat the area with a Tide Pen. I leave it to soak for a while before washing to eliminate the grime. This usually does the trick.
Even if you don’t notice the fingerprints, these oils can become more obvious after a period of time and deteriorate your project. Just to be safe, wash your stitching.
Plumps up Stitches and Fills in Space
Don’t you hate when your fabric shows through your stitching?
Many stitchers prefer using a smaller fabric count or more strands of thread to prevent their fabric from showing.
A simple solution could be just to wash your project. Washing your stitching makes your stitcher appear fluffier and fuller.
Have creases from your hoop or q-snap? Washing your piece can help these stitches bounce back so that there’s no crimping.
Why You Might Not Want to Wash Your Project
Many stitchers prefer not to wash their projects and nothing terrible happens.
There are also several instances where even if you enjoy washing your stitching, you may not want to. Your threads, fabric, and beads could bleed on your work.
Bleeding Threads
There are several brands of floss that claim to be colorfast, but with stricter environmental regulations being enforced, many manufacturers have had to change their dyeing procedures.
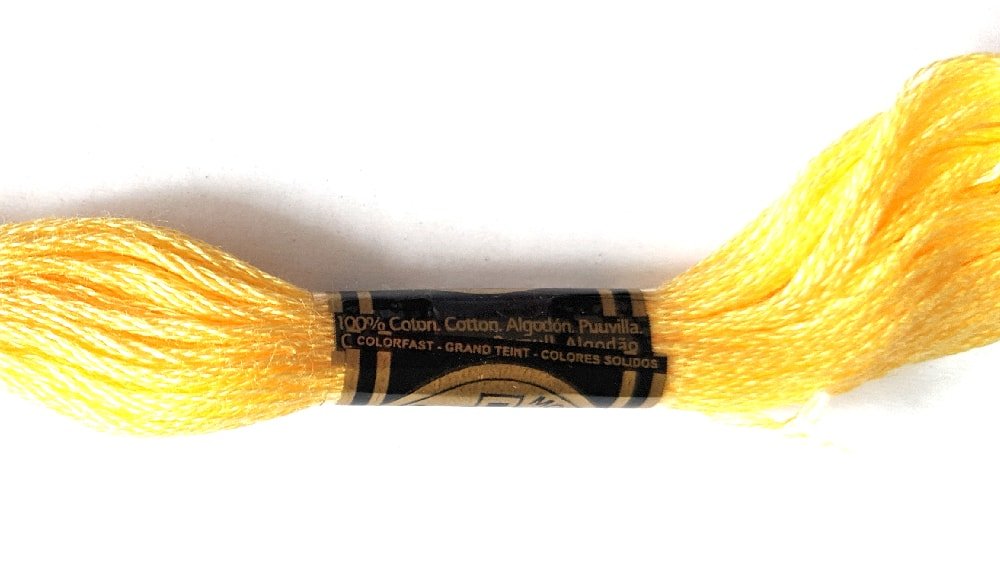
Colors like red and dark blues are more prone to bleeding. Just think about when you overlook a red article of clothing in the laundry and suddenly all your whites turn pink. The last thing you want is color transfer onto your stitching that you’ve spent countless hours on.
Prewash the threads in vinegar as a precaution. This will loosen any additional dye and help set the color.
The downside to prewashing your threads is that if the threads do bleed, the threads will appear duller because they contain less dye.
Bleeding is very common for unknown threads and fabric in cheap kits. Be very cautious about washing if you are using these unbranded items.
Hand-Dyed Fabric
Many hand-dyed fabrics are colorfast, but again that doesn’t mean they can’t bleed.
Some dyers use the washing machine technique to make sure that the dye is as colorfast as possible.
If you insist on washing your piece, use a Shout Color Catcher to preserve your fabric and threads from leaching color.
Printed Fabrics
You DO NOT want to wash printed fabrics under any circumstances. These fabrics contain inks that are on the surface of the fibers.
Washing them will definitely cause the inks to run and ruin your fabric.
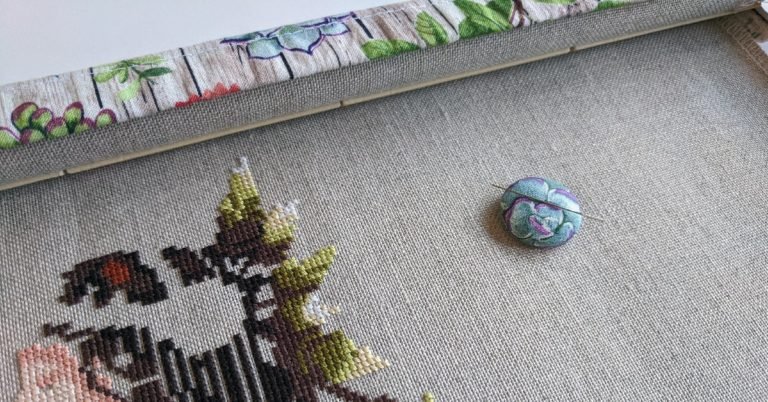
Bleeding Beads
Beads are a great addition to your project. They add an extra element of pizazz. However, beads are usually not colorfast.
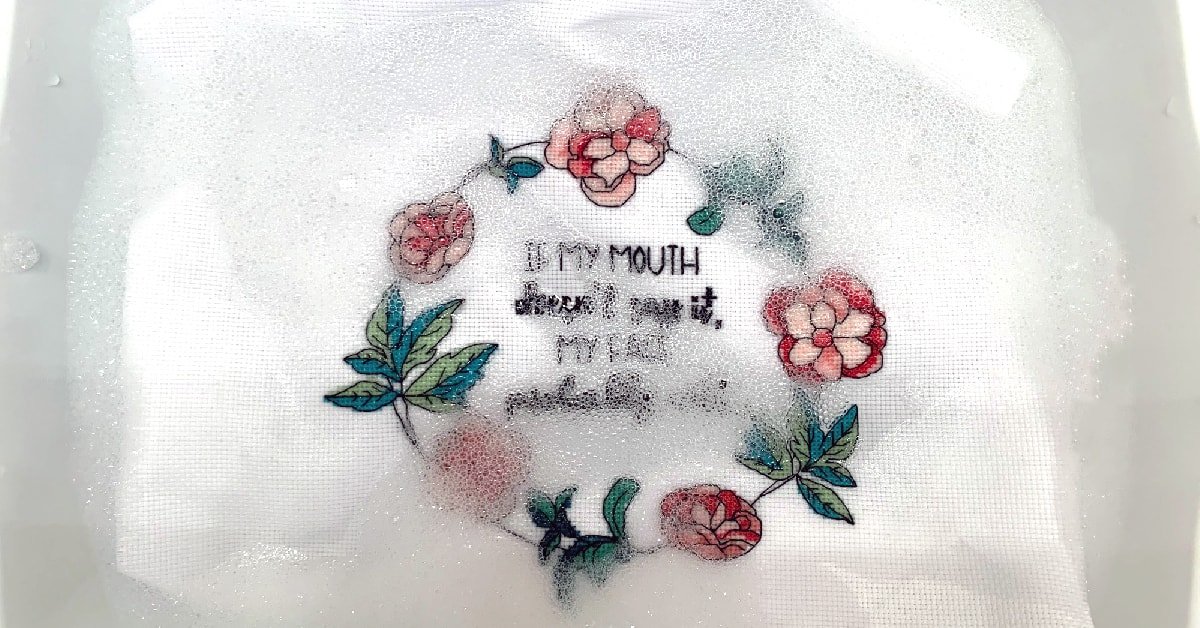
I usually stitch my piece, wash it, then add the beads.
I learned my lesson after stitching Letters from Nora T for my aunt. I did a color conversion and used cheap beads.
I used some steam to help get the wrinkles out and immediately noticed specific purple-pink beads beginning to leak color.
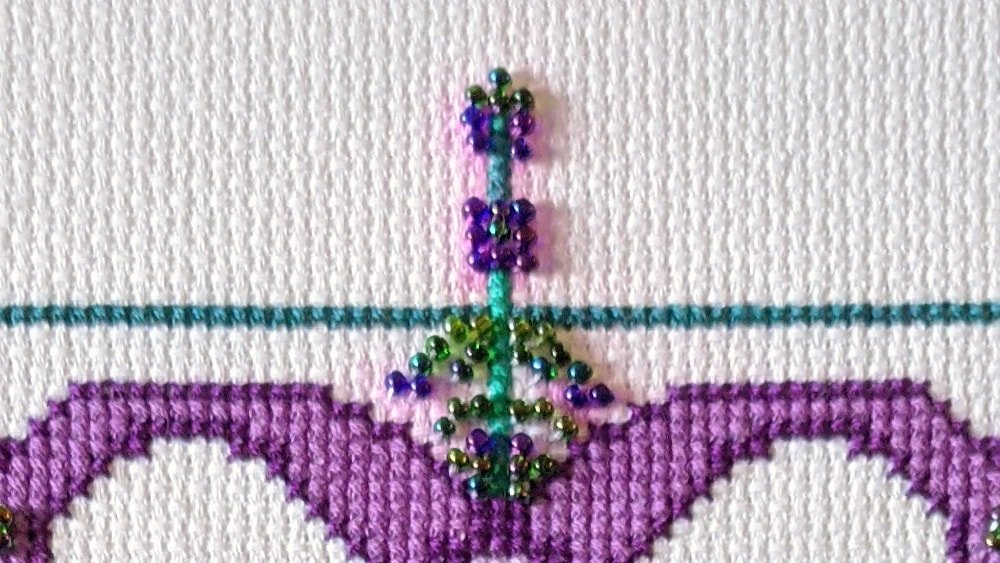
I dabbed the areas with a q-tip dipped in a high concentration of isopropyl alcohol. The alcohol took out a lot of the surrounding color. This is a trick I learned while spot-treating thrifted furniture that couldn’t be washed.
One spot was particularly tricky to get to because there was a cluster of beads. So I decided to leave this one section alone because it looked like the beads were glowing.
Another option would have been to dilute some white acrylic paint and paint over the area until you are happy with the results. Luckily, my fabric was white, but if you’re working with another color you may need to find other solutions.
Final Thoughts
The decision is up to you.
If you do decide to wash your project, always start by testing a small, unnoticeable area. In addition, test the supplies separately so that you do not ruin your project.
When in doubt, use a Shout Color Catcher. Even if there is slight bleeding, these sheets will save your project!
If something goes wrong, you can always correct it or work with the issue to fix your project. This may take some extra creativity.
Happy Stitching!