How to Prevent Cross Stitch Mistakes
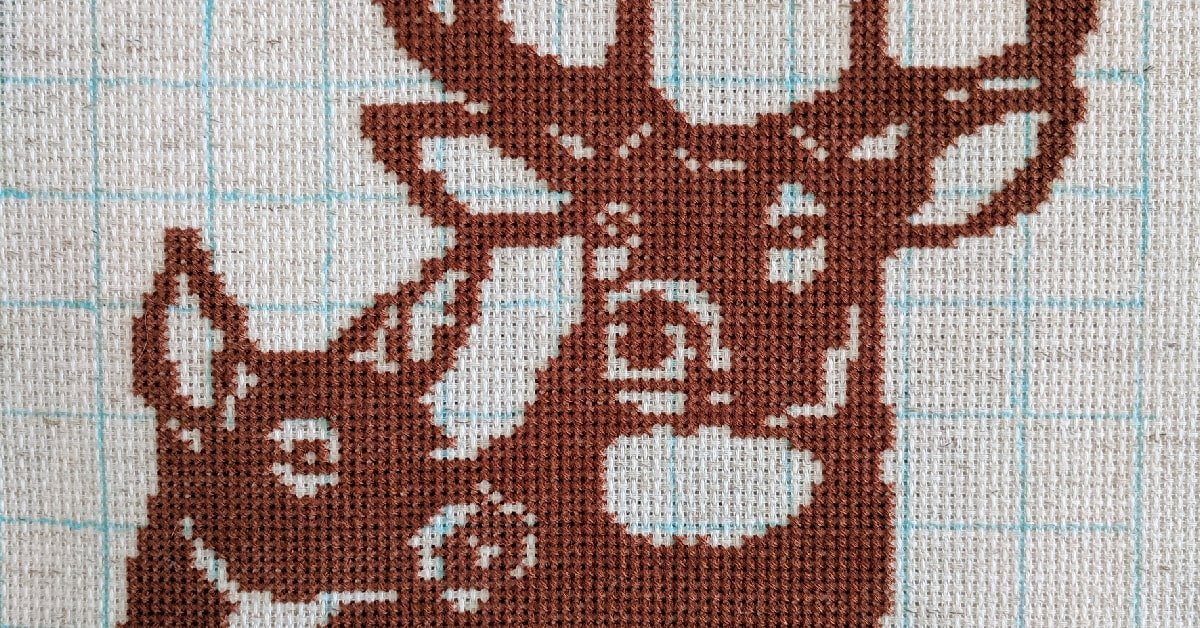
Do you ever get in the groove of stitching and then notice you are off a stitch?
This is definitely the story of my life. No matter how hard I try, I always end up with my count not quite right. It doesn’t matter how many times I count and believe me, I am obsessive about counting.
Just the other day, I was working on one of my projects and found that I had two extra stitches in a place that they weren’t supposed to be. How did I miscount to add these two stitches? No clue!
Cross stitch mistakes are almost inevitable, but there are some tips you can follow to prevent them.
WANT FREE CROSS STITCH PATTERNS?
Sign up for my newsletter to get access.
Grid Your Fabric
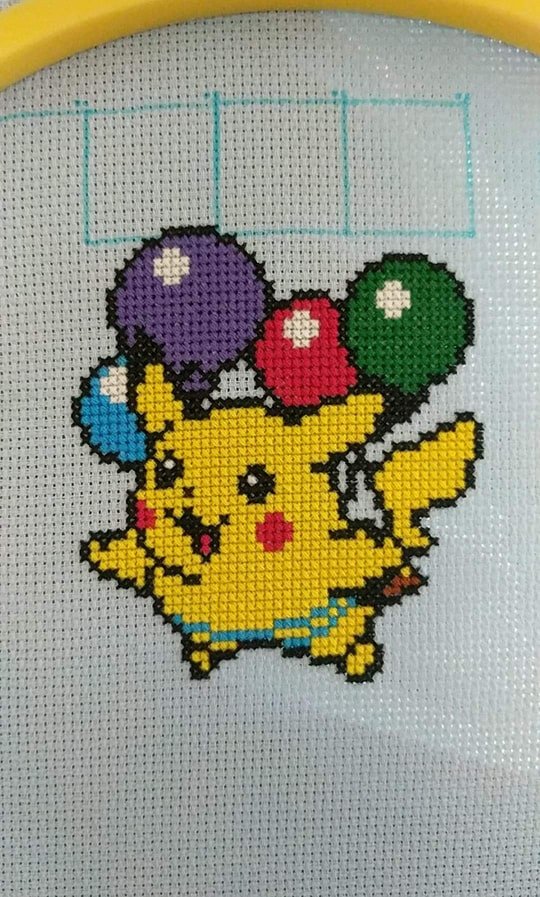
Year-to-date, I think that I have only ever gridded my fabric twice. Both times I messed up in the beginning because I started in the square, but I quickly noticed and fixed it.
You are going to grid 10×10 squares on your fabric. Your fabric count does not matter.
Figure out how big your pattern is and create that many squares vertically and horizontally. Usually, patterns have thicker lines at the 10×10 marks. Just count how many squares are in the pattern and mimic that on your fabric.
Some stitchers make full lines and others create little +’s at the 10×10 intersections.
Gridding can be time-consuming, especially if you are working on a bigger project. However, a little pre-planning goes a long way and will save you time counting later. It will also prevent you from making more mistakes and taking the time to fix them.
Water-Soluble Marker
You aren’t just going to use any marker. You are going to use a water-soluble marker!
The ink dissolves in water. This is one reason I wash my finished projects. It’s satisfying to watch all the lines disappear.
Please for the love of cross stitch do not use a pencil. This is a rookie mistake. You might be thinking what’s the big deal?
That is…until you try to get rid of the lines and they won’t come out. No matter how hard you erase you can always see ghost lines, faint but still noticeable remnants.
The same goes for if your project is full coverage. Sometimes you can see the lines under your stitching, especially if you don’t have a light hand when drawing your lines.
Just don’t do it! A water-soluble marker is the way to go.
Thin Fishing Line
Fishing line is a great option because it is durable and will not get stuck in your stitching. Most fishing lines are made from nylon or braided polymers that are optimal for preventing breakage and snagging.
The trick is to use a thin wire (8lbs or less) that can be easily removed. Braided lines are the thinnest type available.
Although a lot of fishing lines are clear, you will want a colored line so that you can see the grid. However, I would read the reviews before deciding because some products have color transfer or color bleed issues.
There is a product specifically made for cross stitch gridding called Easy Count Guideline. This red nylon filament can be purchased in 100yd spools. It’s slightly more expensive than fishing lines at the price per yard.
You can also use other nylon or polyester threads. You just want to use a thread that you won’t be able to stitch through.
I do not recommend using embroidery floss. You can accidentally pierce through it making it a nightmare to take out. The thread will also shred as it’s being removed.
Pre-Gridded Fabric
DMC, Wichelt, and Zweigart are popular fabric brands that all make their own version of gridded fabric.
Dmc’s fabric, called Magic Guide, only comes in 14 count white aida, with faint red lines, in the pre-cut size of 14”x18”. If your project works within those restrictions then great. However, if not there are other options better suited to your needs.
I’ve seen people mentioning that there is an 18 count variety, but I don’t think this is available anymore.
Both Wichelt and Zweigart provide a large number of options in different sizes and counts of fabric. Their gridded fabrics are white with gray grids with the exception of a cream and rust variation, which is only available in 14 count aida.
I found 14, 16, 18, and 20 count aida available as well as 25, 28, and 32 count lugana.
Stitch in the Daylight or Bright Lighting
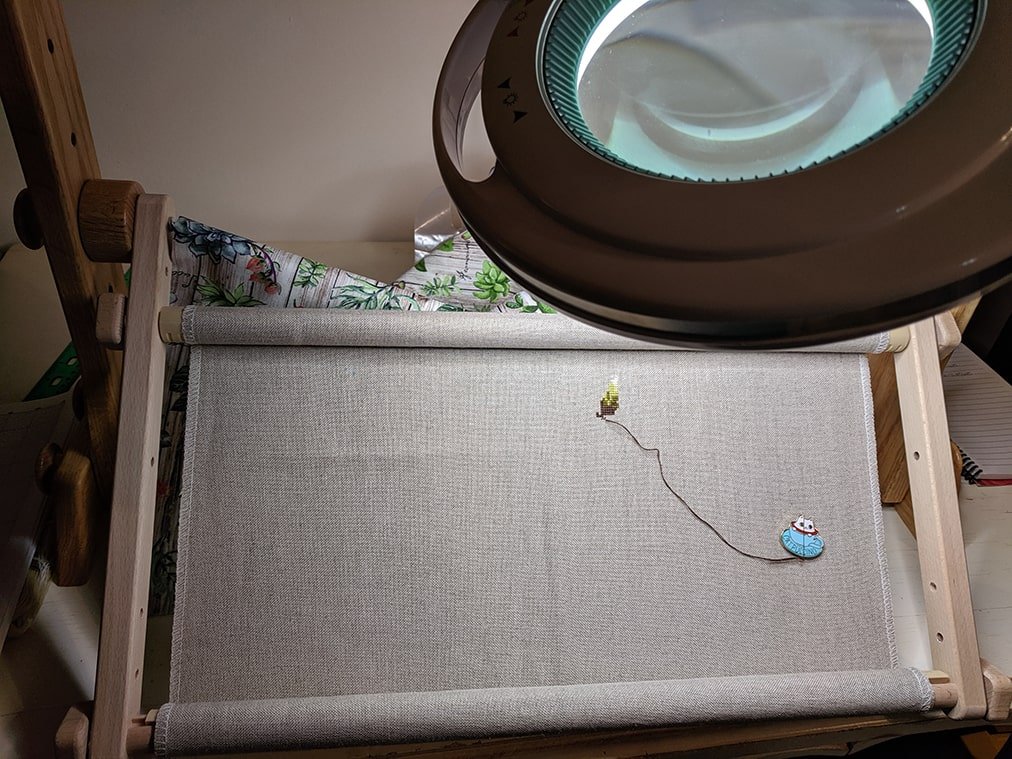
Good lighting is so important, especially when you are stitching on dark fabric. It is best to have a dedicated stitching light. Regular lights aren’t good enough.
Having a good light source will also diminish eye strain which means longer stitching time.
My husband was so thoughtful and bought me a rolling floor lamp with a built-in magnifier for Christmas when we first moved into our apartment. I love stitching using natural daylight, but eventually, it gets dark and I don’t have sufficient lighting.
This lamp is a game-changer! It looks like a dentist’s lamp. It has several points of articulation, making it extremely adjustable.
The lamp also has different light settings. You can choose between low, medium, or high cool or warm-toned light.
The only issue I have had is that this lamp is a little too bulky to be maneuvered constantly. I have only ever rolled it from stitchy spot to stitchy spot in my living room. As long as you have a dedicated stitching spot this shouldn’t be an issue.
However, for retreats and for other parts of your home something more portable is an option.
Clip-on lights are available. You can attach them to your hoop, q-snap, or frame, but maybe you don’t want that extra bulk weighing you down.
Freestanding, tabletop lights are also popular.
As long as there is direct light pointing at your stitching you’ll be good. Make sure that you choose one with a lot of flexibility and adjustments.
Stitch with Magnification
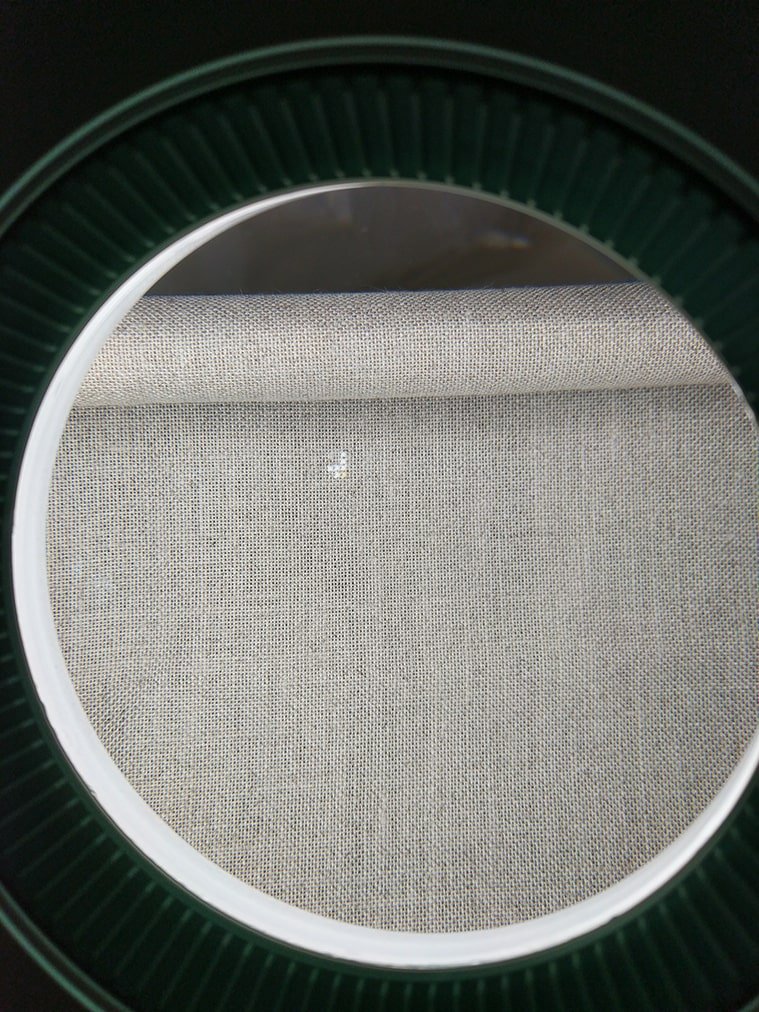
As I mentioned before, my lamp has a built-in magnifier with a 3” wide diopter glass lens that magnifies up to 175%.
I didn’t have a use for the magnifier on my lamp until I started stitching on 32 count. It was very helpful during the learning curve and now I don’t need to use the magnifier anymore because I have gotten accustomed to the higher stitch count.
Magnifiers are still useful tools though and one day I’m sure I will need them again.
Depending on your needs, there are magnifiers with greater magnification.
I know that many people who use reading glasses, or cheaters, use a higher prescription for cross stitching. This may be an option for you.
Use a Highlighter to Keep Your Place on the Chart
This tip is particularly helpful with black and white charts. Personally, I prefer color charts and don’t do complex patterns. However, sometimes a color chart isn’t an option.
Of course you can highlight or cross out finished sections on colored charts too. I just meant that on black and white charts it’s easier to lose your place because everything is one color and sometimes the symbols look the same.
It helps to focus on certain areas. I always do one color until I run out of thread in that section, even on larger patterns. I know most people like to do their 10×10 squares, but that was never my thing. Maybe that mostly applies to stitchers who work on full coverage, which I don’t.
Once you are done stitching an area, mark off the spots you have completed on your chart. This will help you keep track of where you are on the pattern.
I prefer highlighting versus using a pen because highlighters easily draw your attention to the finished and unfinished portions. However, feel free to use whatever method works for you.
Edit the Pattern to be on One Page
It can get confusing if a pattern spans across multiple pages. There is usually a shaded area to show overlap, but this can still become confusing.
Print out copies and tape them together or use an image editing software to line them up.
I used to print copies of the pattern out. Then line them up and tape them together. Don’t forget to cut any excess off. This was so much better than going back and forth between pages, especially if I’m looking at a PDF and the images aren’t aligned.
I also have access to image editing software so I can do this digitally. It’s a similar process just putting the images together through a software instead of a physical copy.
Count and Recount
Count twice and stitch once. Or in my case, count 10 times, stitch, still make a mistake, rip out some stitches, and repeat.
No matter how many times I count and recount, somehow I always manage to make a mistake.
It is still good practice to count over and over. I count horizontally and vertically to make sure my stitches match up.
Try not to stitch when you are starting to get tired. I’ve learned that it doesn’t matter how accurate I think I am, the next time I go to stitch something will be wrong.
How to Fix Mistakes
Sometimes mistakes happen and it doesn’t matter how hard you try to prevent them. In addition to trying the techniques above, if a mistake does happen there are different options to fix them.
How bad is it? Is it one stitch, a few, or many stitches?
Try some of these methods for fixing cross stitch mistakes. Before you know it you’ll be back on track to completing your project.
Happy Stitching!


Loved reading this as I am about to start a large somewhat difficult project for my first time!!! Thank you for sharing your thoughts and tips. Do you know of any company that makes 14″ aida gridded in black that I can purchase by the yard? USA made if possible. Thx again
Thank you for your kind words. I don’t know of any company that makes a black gridded fabric. Wichelt and Zweigart are the biggest fabric manufacturers. Wichelt is an American-based import company in WI and Zweigart is based in Germany. They do have a US location called Needleworker’s Delight in Metuchen, NJ. Most handmade dyers will use either of those companies as a base fabric. Charles Craft is also good quality and can be found at most craft stores. I mainly get all my supplies from 123Stitch. They are an online retailer and have a huge assortment of merchandise. I hope this helps. Let me know if you have anymore questions.